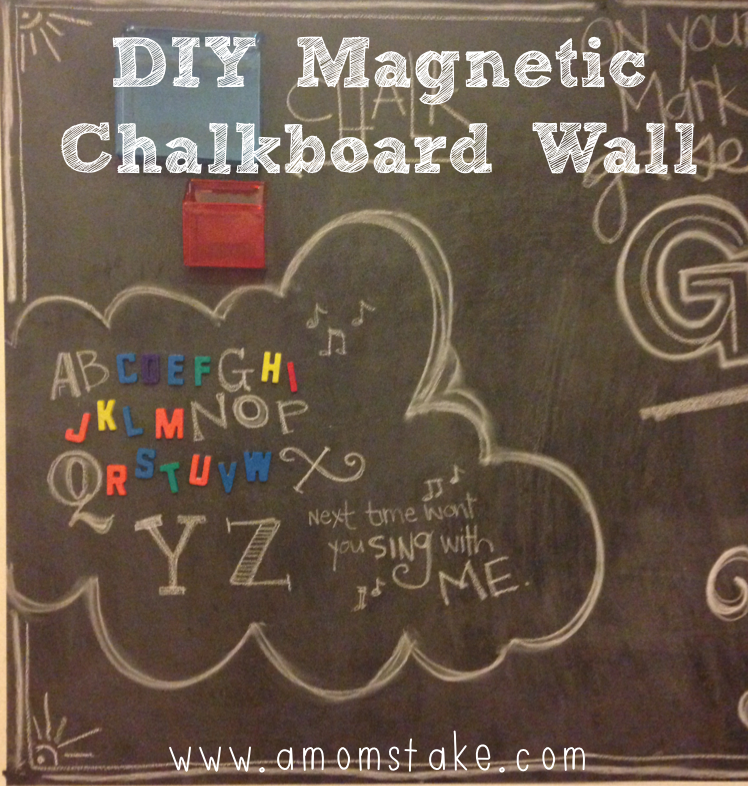

My kids love to play with magnets. The problem is they had started taking over our kitchen, not to mention I am not too keen on my kids playing in the kitchen all day. We needed a solution! Here is what I cam up with, a wall just for them to use and play with. I debated about putting it in the hallway or in one of their rooms, but the more I thought about it, we don’t really play anywhere else in our house but the living room, so I chose to keep it in the main area of our home. That is probably not the ideal location for everyone, but it works for us and we love it!
Want to make one? It is easy and fairly inexpensive.
Supplies needed:
- Sheet Metal (size will vary depending on what you want)
- Chalk Paint
- Paint Roller
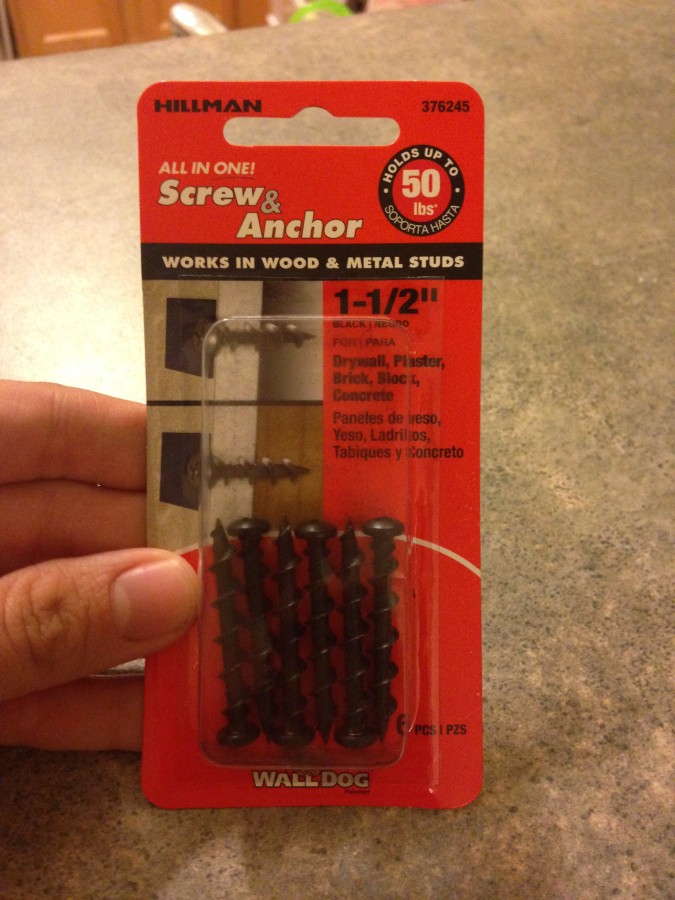
- Screw & Anchor’s in Black
- Drill
- A basket or two to hold chalk and magnets (optional)
First you want to decide where you want to hang your sheet metal and figure out how much of it you will need. You can buy sheet metal from your local hardware store in various sizes, if they don’t have one big enough you can buy two pieces and just hang them together. We happened to have a giant piece leftover from a previous project, it measures 3′ x 6.5′.

Option: They also sell magnetic paint. I have found that it is not as strong as the actual sheet metal, but is cheaper. It seems to work great for hanging magnetic letters and lightweight items, but you have to use quite a few coats and really be a stickler for following the manufacturer’s instructions.
Next grab a can of Chalk Paint, I used the Rust Oleum brand, this is offered in more colors than just black and the little can goes a long way!
Here is a tip: This paint works best when mixed really well, have the paint department at the store mix it for you before you leave. You will save yourself a ton of energy and you paint will be beautifully mixed! If you buy your paint and wait a few weeks before getting to your project, run it back to the store and have them shake it again!

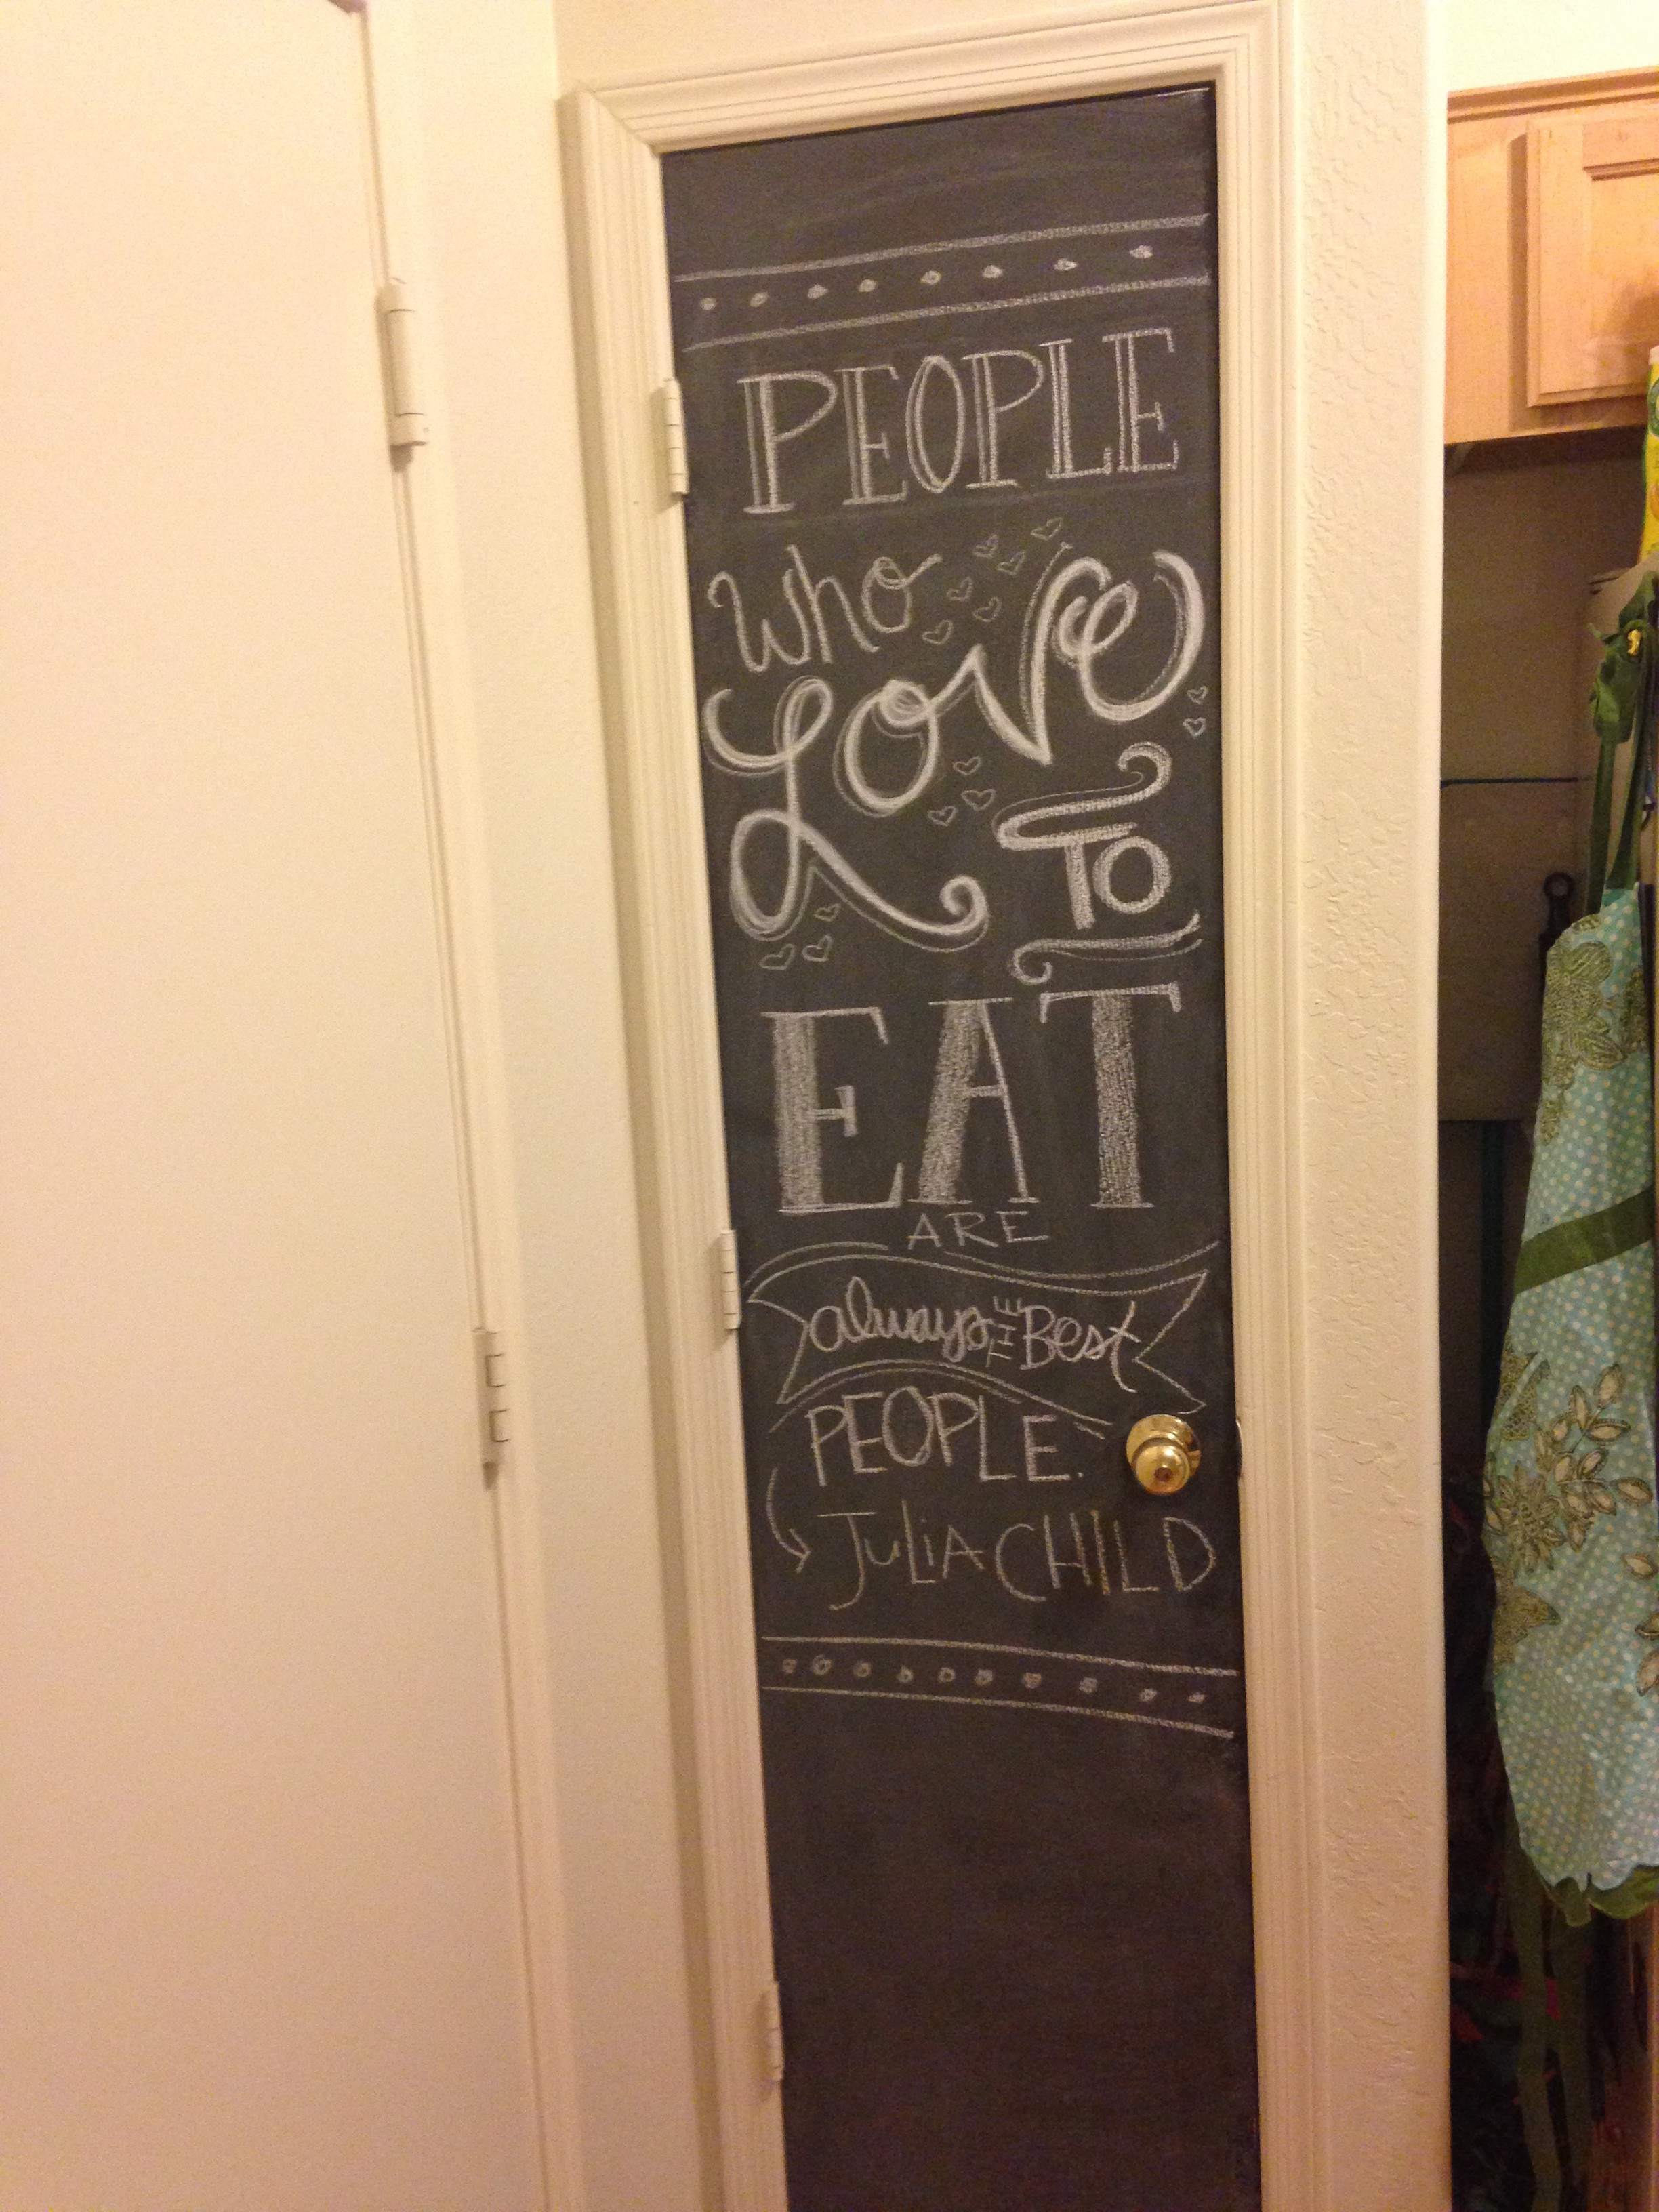
Give your metal 3-4 good coats of paint making sure to follow the directions on the back of the can! Patience pays off when using paint like this, you have to wait the full amount of time in between coats. Let it dry overnight. (If you have paint leftover, maybe paint your strangely skinny pantry door on a whim for fun!)


After mounting it to the wall we let it sit for a few days to really set up so that nothing will scratch it. Before writing on your chalkboard you should condition it by rubbing a piece of chalk sideways over the entire board. Then erase it. It can be wiped clean with a damp cloth, always recondition it after cleaning.

Add a magnetic marble track or gears to add some fun or even some cute abc’s!
Here’s another fun DIY project: Garden Ladybug Rocks


Shine a Spotlight Saturday #2 | Linky Party | Deborah L Melian | Dial M for Moms
Friday 17th of January 2014
[…] very clever DIY Magnetic Chalkboard and Magnetic Wall (#43) from Janel at […]
Making Monday [#22] - A Bright and Beautiful Life
Sunday 12th of January 2014
[…] Kid’s Magnetic Chalkboard Wall from A Mom’s […]