This post brought to you by BAND-AID® Brand. All opinions are 100% mine.
A house full of little kids means lots of “ouchies” happen in this house. Whether it’s a skinned knee or a stubbed toe, we have more than our fair share around here. Often, my kids aren’t seriously hurt but they need that reassurance that everything will be alright. We have a few tools we keep on hand for all their knicks – including the more serious ones. There’s a few things you can’t be without! Let me share our Boo Boo Kit Essentials and then a super easy 5 minute Boo Boo Bags tutorial!
Boo Boo Kit Essentials
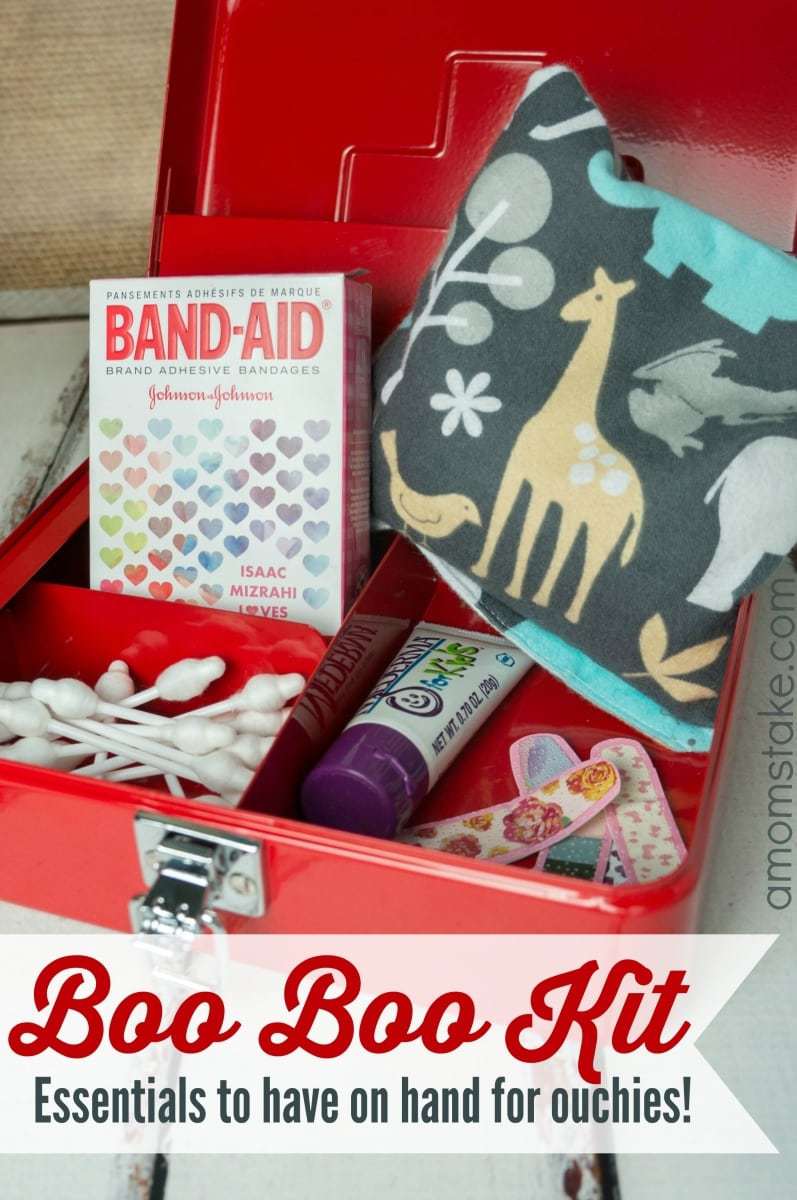

- Hugs & Kisses – This goes farther than anything else to comfort your little one! It’s a miracle drug, apply regularly!
- BAND-AID® Brand – Even without bleeding, my kids always want a BAND-AID® Brand to help them feel better. Super simple fix!
- Hydrogen Peroxide or Antiseptic wipes – To clean out any germs
- Q-tips – Help apply ointments or clean out a wound.
- Medicines your family frequently might use. We keep a small scar prevention tube on hand.
- Boo Boo Bags – To comfort your child.
A boo boo bag is just a simple hot/cold rice pack that can be used to help your child when in pain. I use one all the time myself for sore muscles and to relax at night. Kids love them too, even if they don’t really use them for a serious need, it’s a great distraction from their new ouchie.
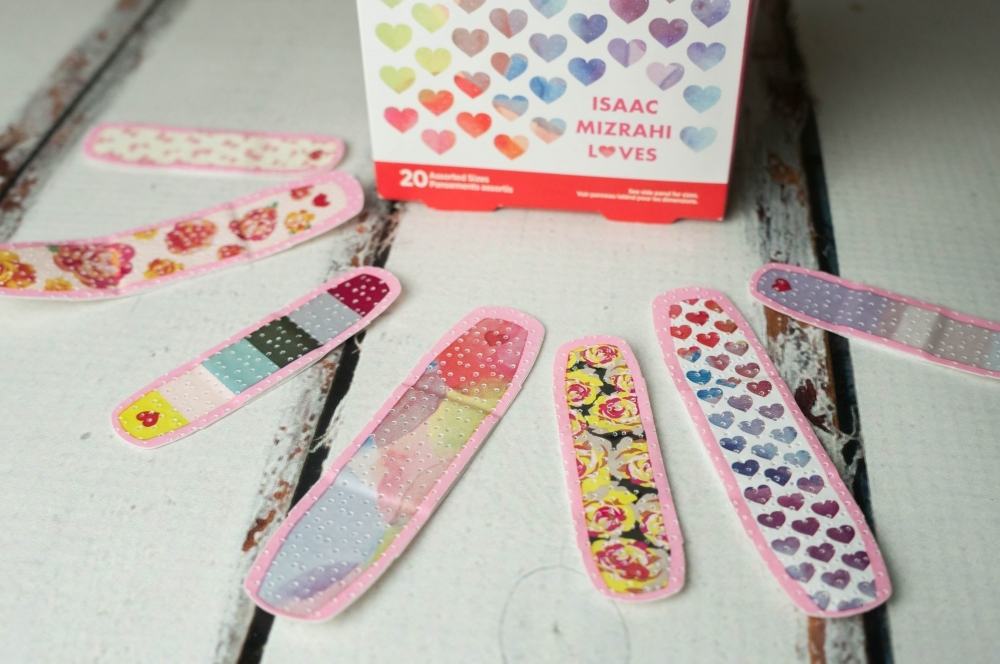
It always amazes me how BAND-AID® BRAND can make everything “all better” even during those times when they don’t need one at all. With kids around 3 and up, style starts to matter! They don’t want a boring, skin-toned BAND-AID® BRAND! They want to show off their ouchie with a favorite character, sports, or other cute design. BAND-AID® BRAND just released a new gorgeous set of bandages featuring Isaac Mizrahi prints with hearts, watercolors, stripes, flowers, and other adorable prints!
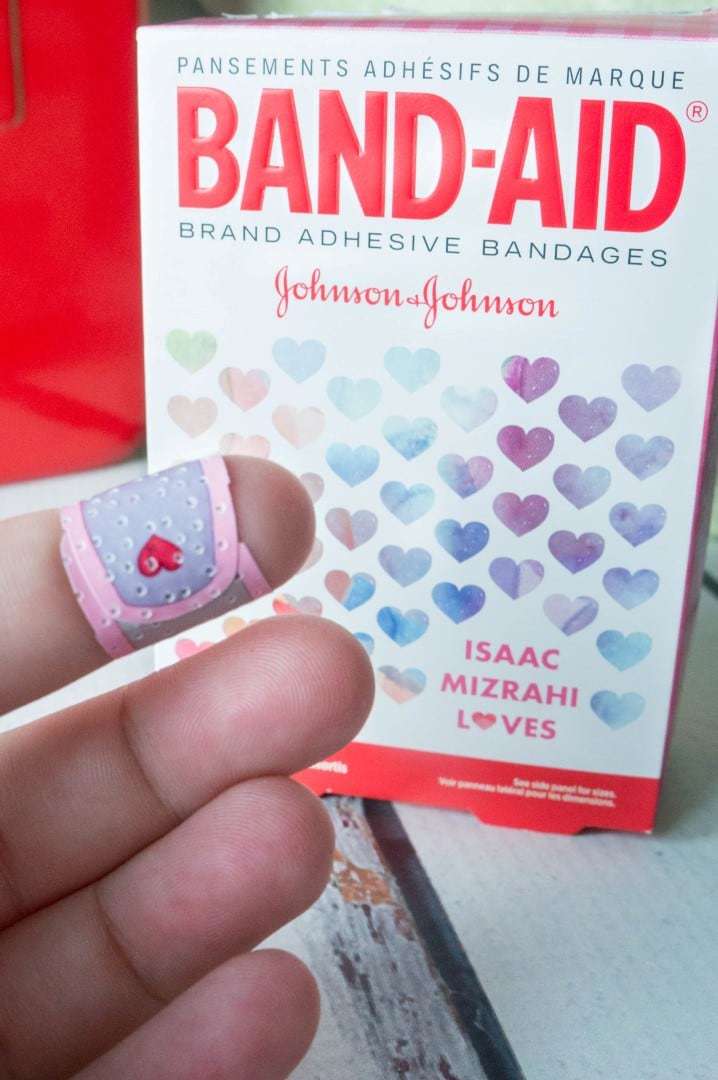
Aren’t these BAND-AID® bandages adorable? They are totally cute enough prints that even I’d want to sport one with a cute manicure to cover a ripped fingernail. The styles are perfect for little girls that love all things pink and hearts! The new style is available at Walgreens and Walgreens.com at a retail price of $2.99.
How to Make Boo Boo Bags Tutorial
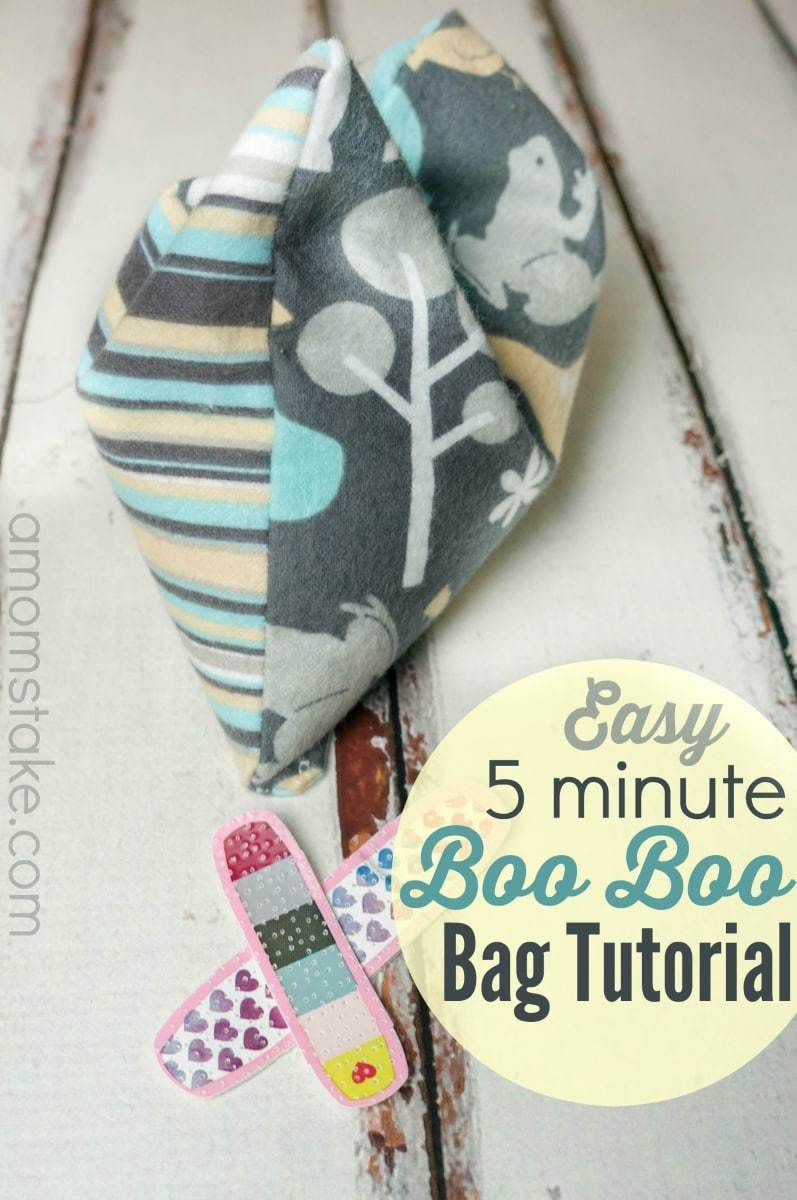

Supplies:
- (2) pieces of flannel, cut to 6.5″ squares
- Sewing Machine
- Rice
- Essentials oils for scenting, if desired
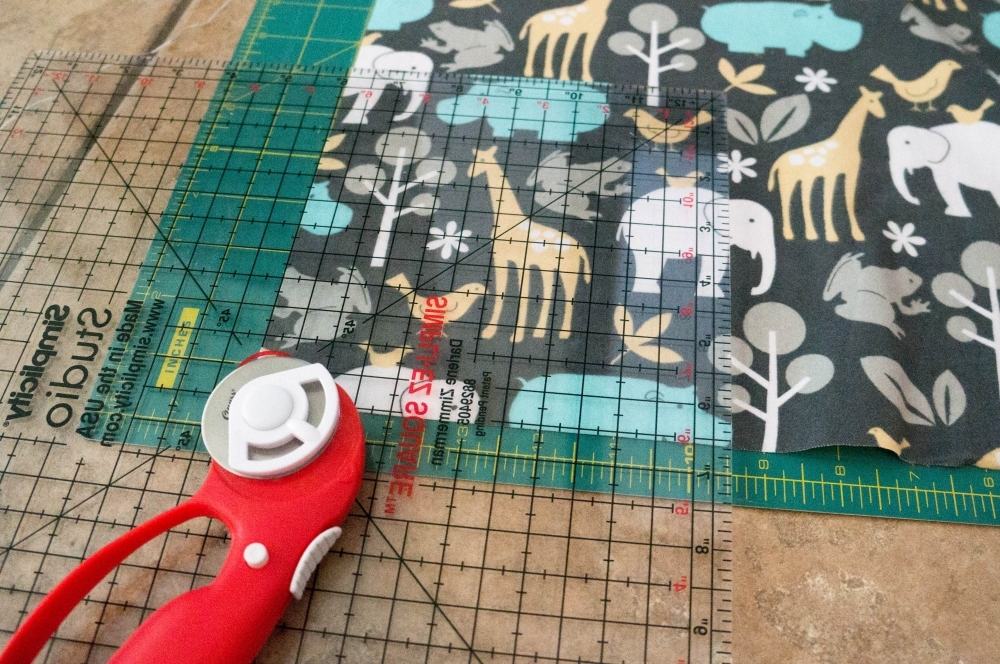
Start by cutting your fabric. For small kids, I like to cut two coordinating pieces of flannel into 6.5″ squares. I have a rotary cutter and square guide from making rag quilts, so that makes it’s super fast and easy, but you can use a measuring tape and sewing scissors if that’s all you have. Cutting to 6.5″ gives me a 1/4″ selvage edge all around the boo boo bag.
Next, put the right sides together, your pretty patterned sides facing each other. Then, start at your bottom edge of the boo boo bag about the middle and sew a straight stitch all the way around pausing and turning your fabric just before you reach the corners. When you get back to the side you started at, stop before you reach where you began leaving about a 2″ opening.
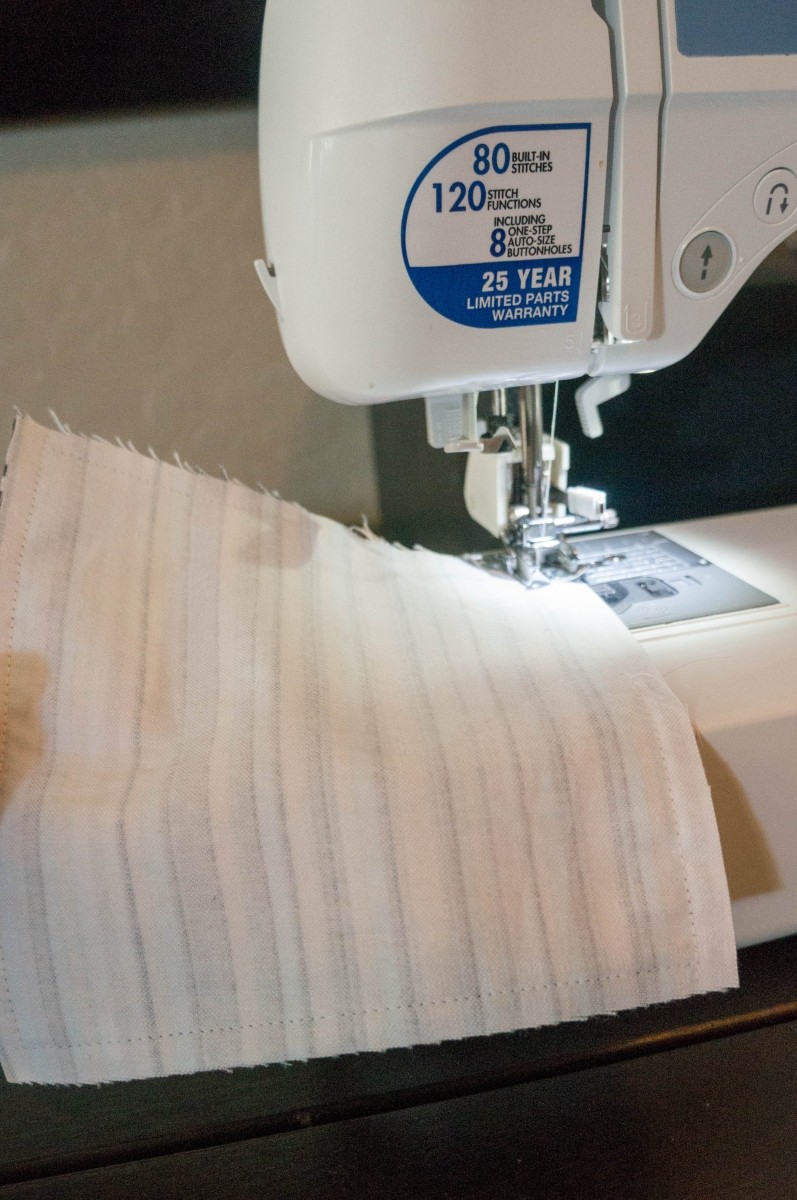
Flip your fabric right side out by pushing the inside of the bag out through the hole you left in the fabric. Just keep pushing until it’s all the way flipped.
Next, grab a small scrap of paper and roll it so that one end is small enough to fit into your boo boo bags and the other end opens up wide creating a funnel. Next, pour in rice into your funnel and let it fill up your bag. Fill the bag about 2/3 of the way full, you want to leave room for the rice to move around and not be stiff when in use. I used about a cup and a half of rice, but I didn’t measure, just pour some rice in until it feels about right – still flexible but enough to fill the bag if laid flat.
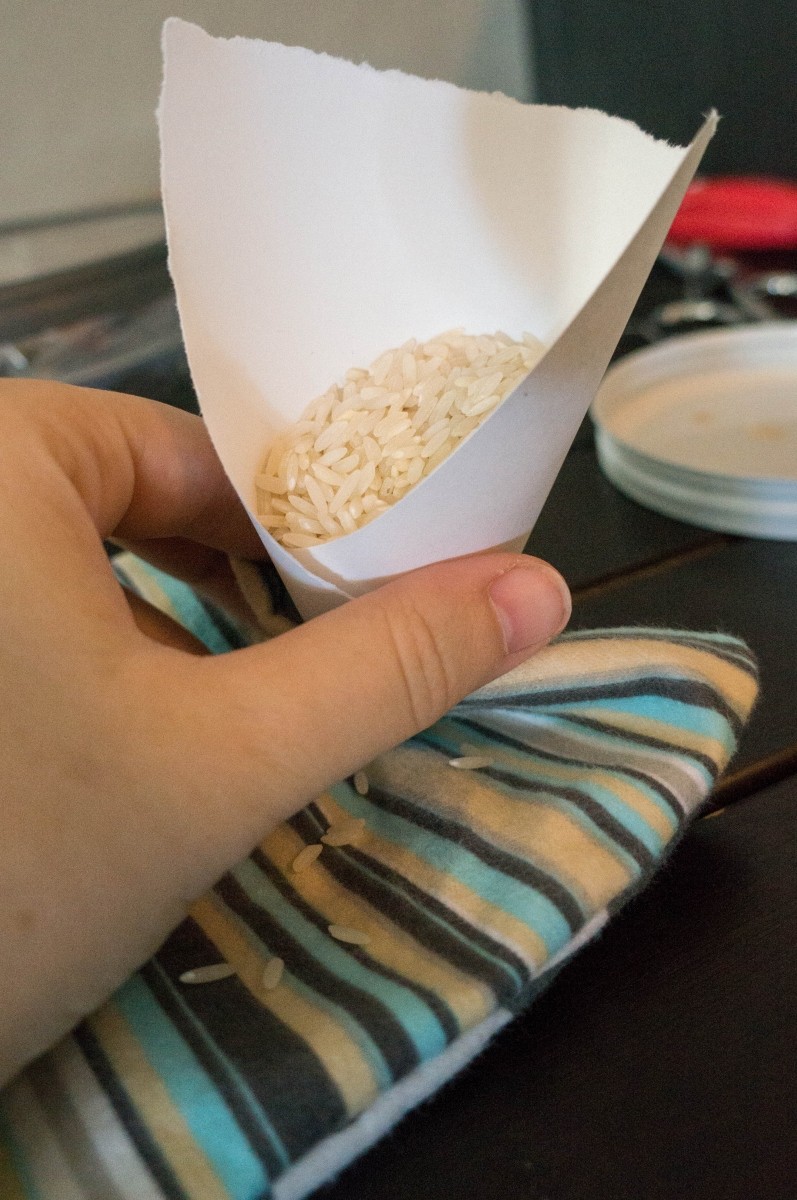
If you want to add any scents like lavender or eucalyptus to add a soothing scent, you can just drop in a drop or two of essential oils onto the rice now.
Finally, squish all the rice down to the farthest edge away from your hole and stitch up your hole. You can do a hand stitch for this part if you want to just grab the hole. I just did two rows straight down the entire edge for ease and to secure the edge from spills.
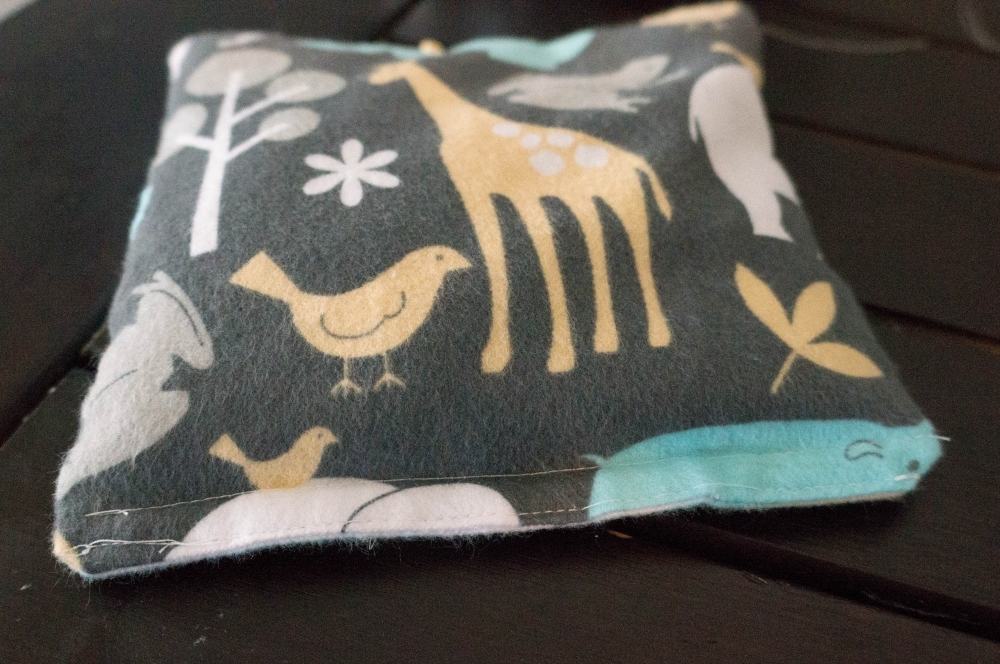
That’s it, that’s all there is to it! Your boo boo bag is now ready to use!
For Heat: Place the boo boo bag in the microwave and heat for 30-45 seconds. Young kids will only need about 30 seconds so it’s warm but not hot.
For Cold: Put the boo boo bag inside a freezer safe ziploc bag and freeze. You don’t have to freeze overnight to start using it, a little bit of cold goes a long way!
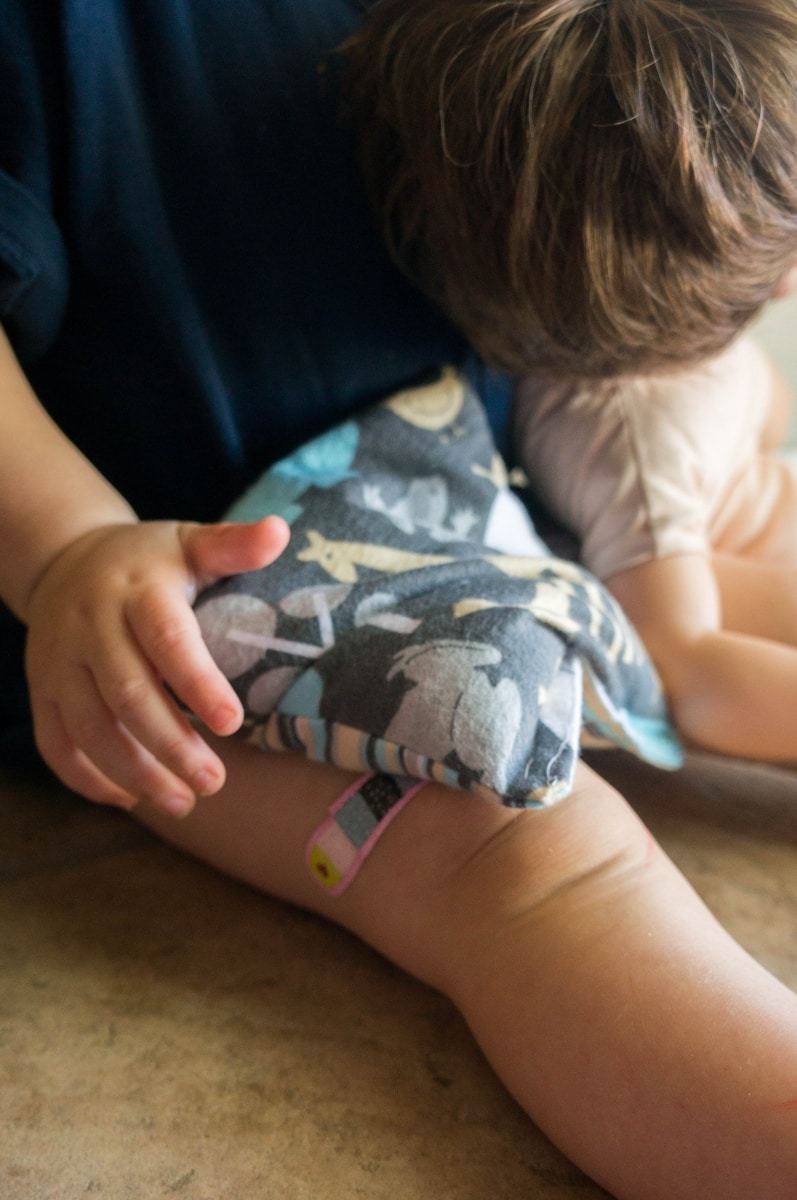
My youngest hit his knee on the counter trying to climb up and a simple BAND-AID® BRAND bandage and boo boo bag did the trick to make him happy again! Of course, after he was feeling better, “baby” had an ouchie next! He no longer needed these two comfort items but loved being able to comfort his baby doll who was obviously in pain.
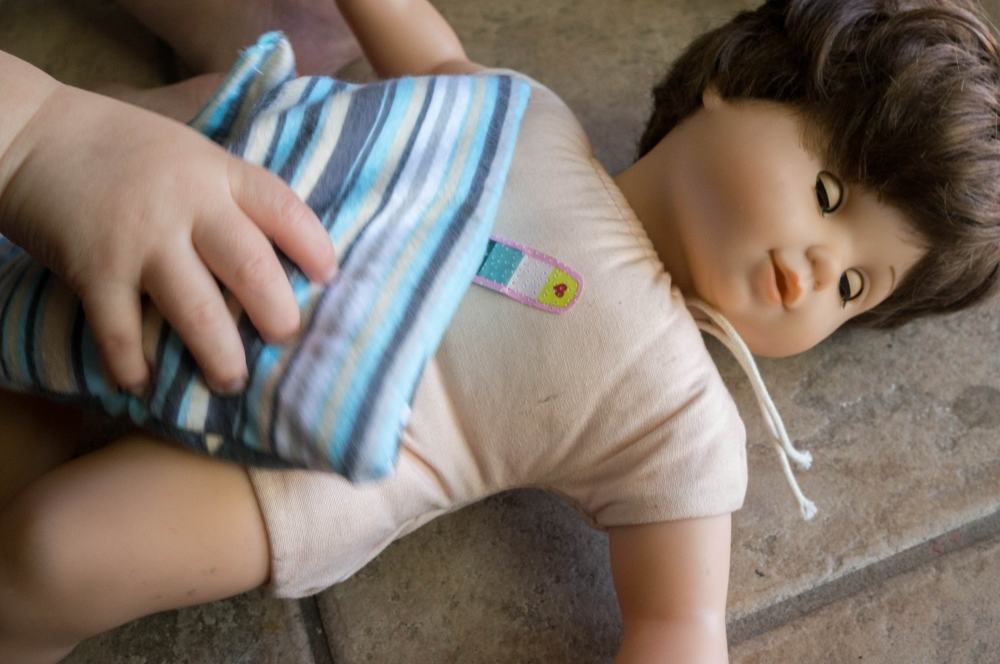
I loved watching him interact with his baby and show compassion and love to him. It’s been a great tool to show us what he’s been thinking about and feeling himself as he cares for his baby. Today, baby even took a turn sitting on the potty!

Christmas/Holiday DIY, Part 2: The Big Gifts | Jacksonville Moms Blog
Wednesday 26th of November 2014
[…] Boo Boo Kit | A Mom’s […]
Link Round-up: Thanksgiving Ideas, Cake Pops, Boo-Boo Bags, and More
Thursday 13th of November 2014
[…] A Mom’s Take inspired us to make some boo-boo bags. […]
shelly peterson
Sunday 2nd of November 2014
I love these! My sister made me some a while back. I didn't think to freeze them for a cold pack. I would love to make some of these myself.
Kimberly Lewis
Saturday 1st of November 2014
What a sweet idea! Pinned. Lou Lou Girls
Nicole Neverman
Thursday 30th of October 2014
Thank you so much for attending week 8 of #PureBlogLove and linking your fantastic blog post, I can't wait to see what you have in store for our party next week Thursday 8 PM EST- Sundays at midnight. Your post has been added to the #PureBlogLove Pinterest board for all to see :) Have a great day! Nicole http://picnicnz.blogspot.co.nz/