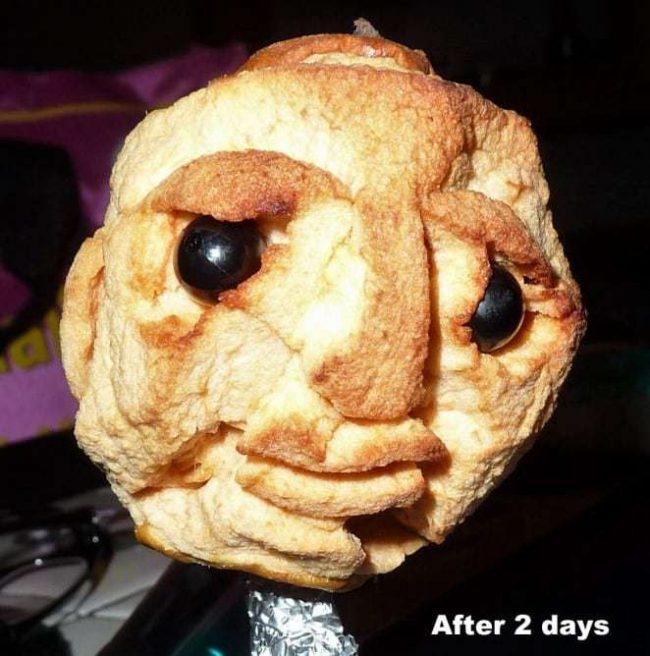
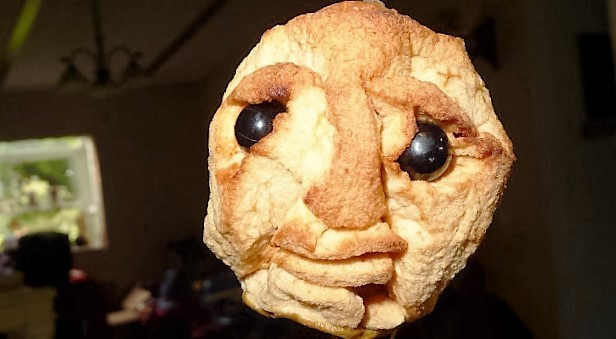
This is a great activity for Older Children who want to try their hands at carving. They’ll be able to design their own creation, and then watch it magically turn into a shrunken head!
To start you will need:
-
Medium to large apple
- paring knife
- skewer or stick
- lemon juice
- 2 small black beads for eyes, or other eyes you might like to use.
You can just start peeling the apple or else have the child start by sketching a face about the size of the apple so they have something to look at. The only draw back to pre sketching is that the child might think they have to make it look like the sketch, and chances are no matter what they do, it won’t.

I started by peeling my apple. Then you need to decide where you want the nose and using the tip of your knife, cut the outline, then decide where the eyes and cheeks will be. Also cut the out lines. Then carefully cut away the empty space. The area on the outside of your outline, between the nose, cheeks and eye area. It is kind of tricky but you leave the lips, nose, cheeks, ears, eye brows.
The wonderful thing about this project, is that you can’t really mess, up. The worst that happens is you eat your apple and start over. It might take a couple apples to practice cutting away the correct areas.

After you get all the details carved that you want. You coat your raw apple in lemon juice, and put him/her on a stick of choice. You then place the beads into the eye sockets that you have formed, so that as the apple dries, the eyes get set into place and stay put.
You can just let them set out to dry, or use a dehydrator. I do have a dehydrator, but I chose to put him in the oven after I was done with dinner. I allowed the oven to cool down to the 200degree area, then laid him in and closed he door. This took a couple of times over a few days .

As you can see after a few times of being In the oven to dry all the features begin to really take form. If for some reason you are not using your oven to bake, you can just heat your oven to 200 degrees turn it off and then place your apples in it to dry.

This final pictures is what my apple person looks like after 2 weeks of finishing to dry just out in the open air. I dried him about 4 times in the oven first before I just put him out to be viewed and finish drying. He started off about the size of this muffin. Now you can see how much he shrunk.
I am now free to make a body for him. Or just add hair and make a necklace???? This is just a fun way to learn how to carve and make a fun fall project. I would love to see some of your creations.
Granny

20 Fun Educational Activities For Kids - Foreclosure 2 Frugal
Monday 23rd of June 2014
[…] Colors Alpha-Bits Spelling Treasure Sensory Bin Sprouting Seeds Carve Dried Apples Pool Spelling Chalkboard Spelling Game Number Sense Game Post It Math Sticky Math Farmers Market […]
Happy Earth Day.
Thursday 15th of May 2014
[…] 5. Dried Apple Head Carving […]