Sitting in my Arizona living room, glancing outside at the sunshine and palm trees, words to the popular Christmas carol “I’m Dreaming of a White Christmas” echo in my mind. Don’t get me wrong, Arizona’s weather is BEAUTIFUL this time of year, but there’s something extremely magical about snow and Christmas.
To help bring the Christmas spirit into the Ivie household, I’ve begun preparing for National Decorate Your Home for The Holidays Week. I’ve set out on a quest: to find inexpensive and unique ways to decorate my home for the Holidays. Looking to decorate your home on a dime this Holiday Season? Let me tell you a little secret; it’s all about the planning. Follow these 3 simple steps and you too can creatively and inexpensively decorate your home for the Holidays.
Holiday Decorating on a Dime
1. Choose a color palette:
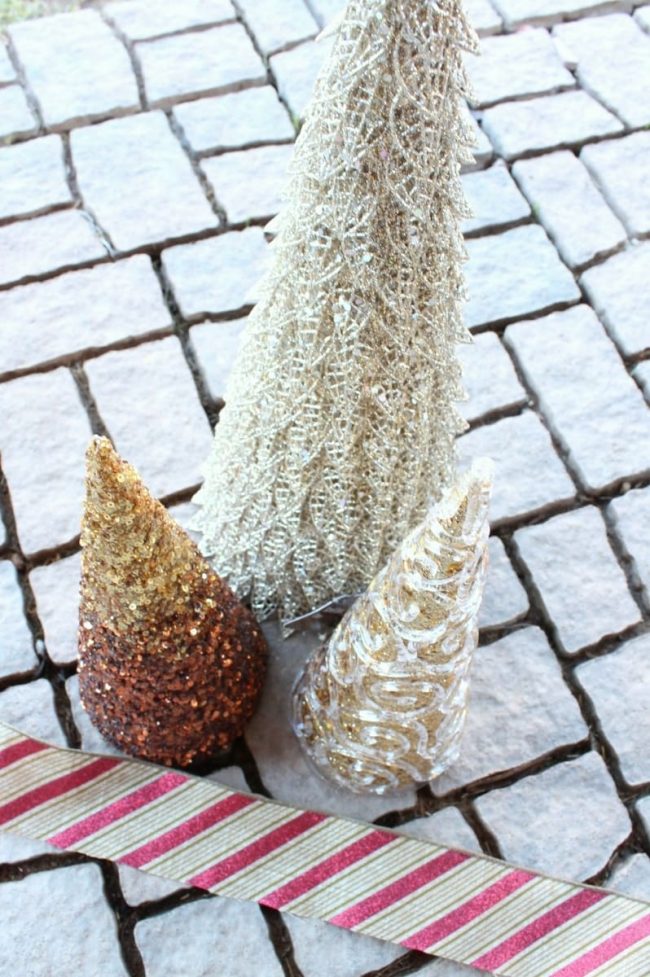
Using a few inspiration pieces, choose a color palate to inspire your design. Check out these chic and glamorous trees I found for only $14! Pairing the various shades of the trees with this striped ribbon, I’ve chosen a classy yet timeless color palate: bronze, gold, white, and red.
2. Use various textures and sizes:

Choose pieces that vary in size and texture. Combining a few boxes of different sized $4 ornaments, I crafted a wreath to display as part of my Holiday decor. Stay tuned for next week’s post for DIY instructions and a photo of the finished product. Trust me, the texture and varying sizes of these ornaments add incredible dimension to my Holiday design.
3. Get Creative:
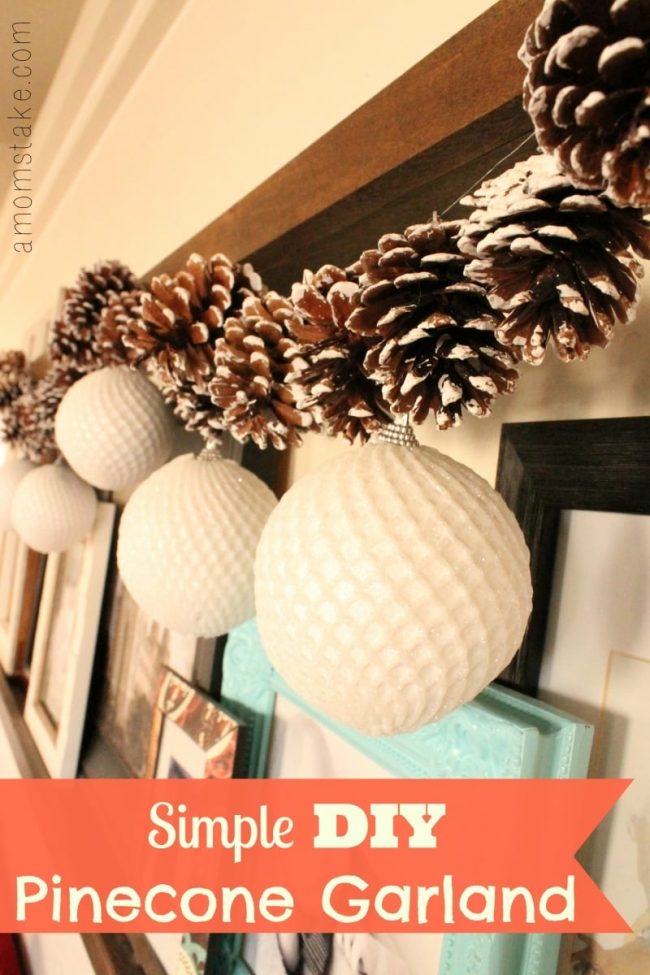
In order to save a little money on Holiday decor, don’t be afraid to add a little creativity with some DIY projects. This easy DIY Pine Cone Garland adds the perfect festive and modern touch to any space. Add a little Holiday spirit to any space by hanging this garland over your door, on the tree, mantle, or wall shelf. Craft this garland in under and hour (and for less than $25).
Simple DIY Pine Cone Garland

– Pine cones
– Wired Ribbon
– Ornaments of choice
– Scissors
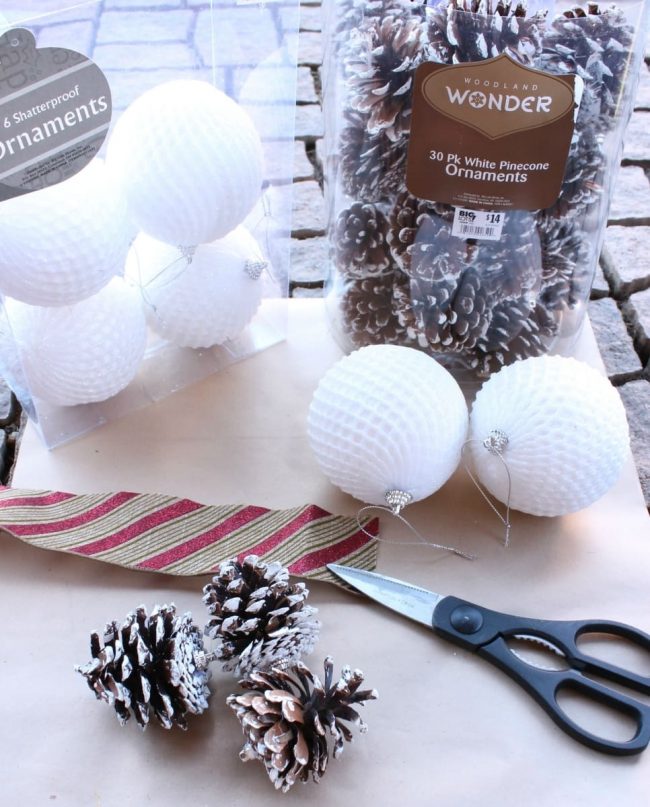
Instructions:
1. Start by measuring the desired length of garland. Because I am going to be decorating one of my DIY Wall Shelves, I decided to make a 3 foot garland.
2. Although a variety of string will work for this project, I decided to use the wire from some wired ribbon (I will be using the rest of the ribbon in my final room reveal). With your scissors, separate the wire from the fabric.
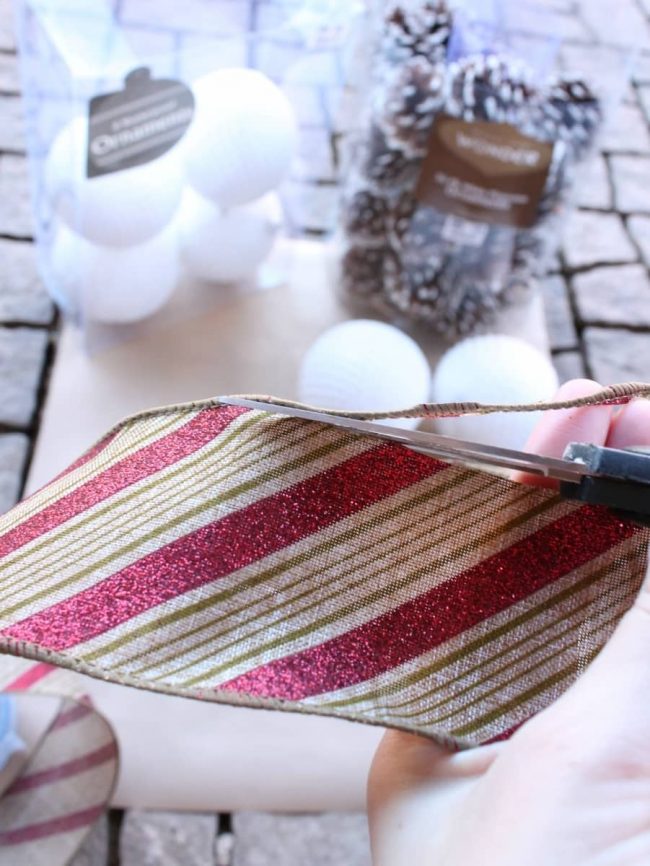
3. Separate the rest of the fabric so you are left with only the wire.

4. Secure your first pine cone by simply knotting the wire. Be sure to leave a few extra inches of wire on the end.
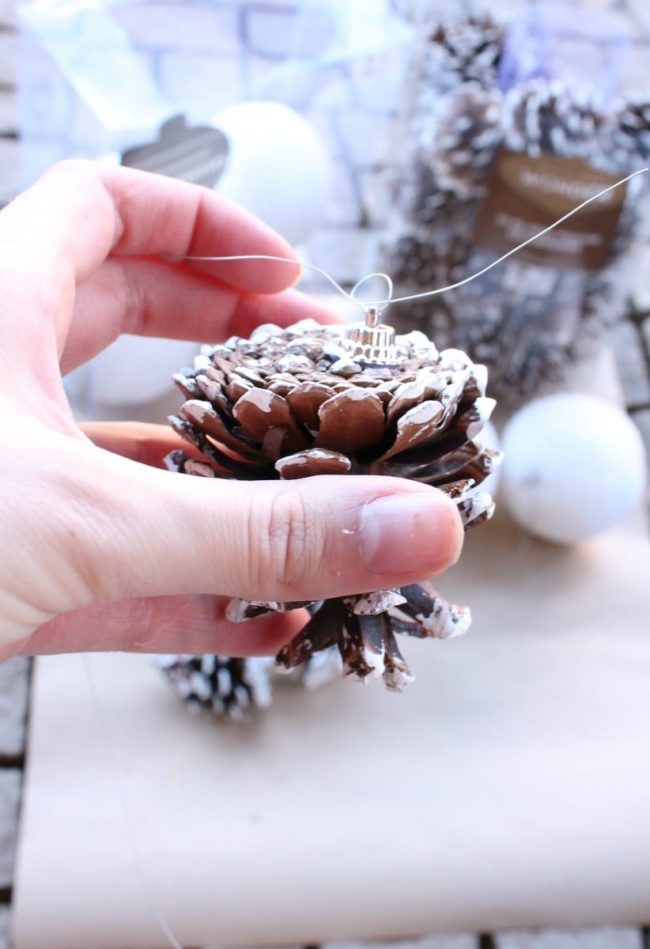
5. Start stringing your pine cones and ornaments like you are beading a necklace.
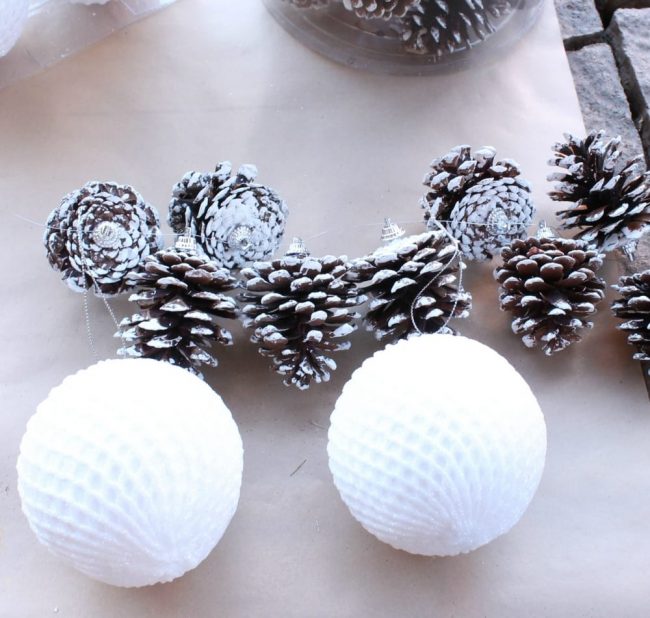
6. After stringing all of your pine cones and ornaments in desired pattern, secure pine cones in place by twisting them 360 degrees (the wire will then hold the pine cones perfectly in place). Hang your garland and enjoy its modern flare to your Holiday decor (I secured my garland with duct tape on both ends and in the middle).
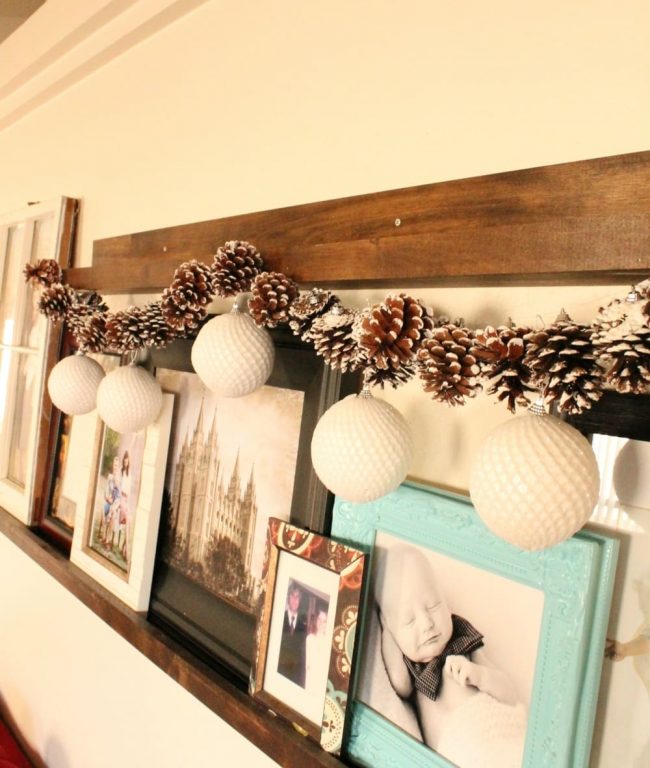
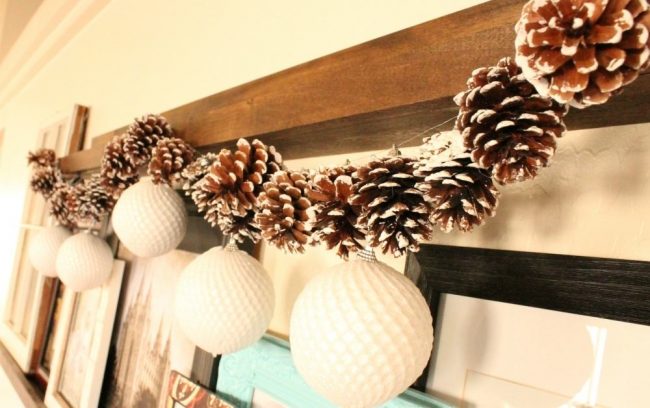
Don’t you just love the finished project? Extremely simple, inexpensive, and unique! Stay tuned for next week’s big reveal where I will show you how all of my DIY project came together to decorate my shelves for the Holidays.

10 DIY Rustic Christmas Decorations || Practically Functional
Tuesday 23rd of December 2014
[…] Pine Cone Garland from A Mom’s Take […]
70 Best Christmas Ideas for the Holidays! - A Mom's Take
Thursday 11th of December 2014
[…] Simple DIY Pinecone Garland […]
Think & Make Thursday | Party 9 - Petite Modern Life
Saturday 6th of December 2014
[…] This past week’s most clicked links were Sadie Seasongoods- Cool Totes, Totes Cool and A Mom’s Take- Holiday Decorating on a Dime! […]
Think and Make Thursday Party 9 - Dwell Beautiful
Thursday 4th of December 2014
[…] {Holiday Decorating on a Dime from A Mom’s Take} […]
Think and Make Thursday Link Party Week:9 ·
Thursday 4th of December 2014
[…] Holiday Decorating on a Dime + DIY Garland by A Mom’s Take […]