Homemade Teething Ring


For myself, I like my children to have things that I know what is in them and what they are made of. These homemade teething ring/chew toys can be as organic and wholesome as you want to make them.  It is all in your control.
Homemade Teething Ring


Homemade Teething Ring

Things you will need:

  • Fabric of choice: (2) 19″ long x 3″ wide (suggested size, feel free to change after you try the first one)
  • 3″x 17″ crinkle plastic / velum
  • Straight pins
  • Sewing machine
  • 3″ diameter wooden ring

P1100770

To start, cut your fabric to size, then place them right sides together.

P1100772

Cut your 17″ piece of crinkle velum in half and pin to each end of the strips as shown above.

P1100771

If you place your pins into the fabric from the inside toward the edge you will be able to leave the pins in as your sew and just run right over them.  This makes it easier for the 3 pieces to stay in place correctly while you are sewing them. 🙂

P1100773

As shown in the picture above, start just before the velum, then sew, following the edge all the way around until you are about 2 inches from reaching the start point. Back stitch both at beginning and ending of sewing to make sure this holds while you are turning your project right side out.

P1100774

Carefully turn your project right side out.  I used an un-sharpened pencil as a tool for getting the fabric pushed all the way out.  You will then want to top stitch the 2 inch hole closed.

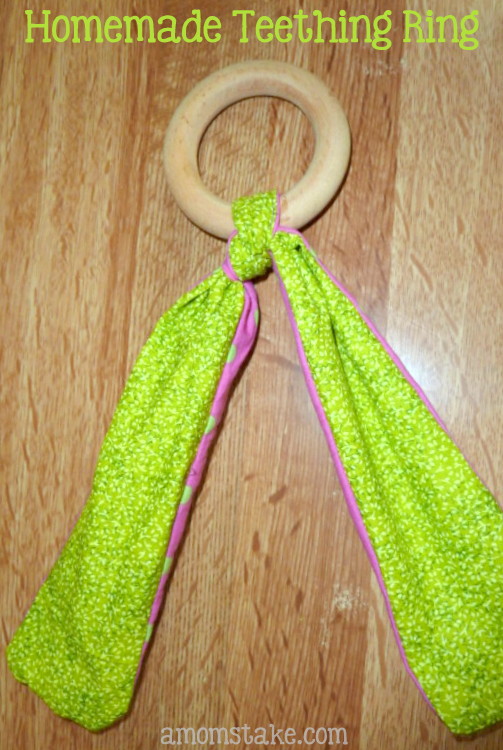
Take this finished piece of fabric with the crinkle velum inside and tie it onto the wooden ring.  The part without the crinkle velum should tie nicely around the ring.

P1100775

This is the finished product of the measurements we started with.

P1100799

Here is another option if you cut the fabric just a bit wider and shaped like bunny ears.  Leave the same space between the crinkle velum.  Have fun and be creative.  Small children love to chew on a homemade teething ring.

Be sure and enjoy your wee ones, they don’t stay small long.

Granny


More Posts

  • Tips for Traveling with a Baby


    This is a sponsored post written by me on behalf of Fisher-Price for IZEA. All opinions are 100% mine. I don’t know about you, but as a young mother, traveling with an infant stresses me out beyond belief. Living states away from both sets of grandparents, my kids…


  • SIDS Prevention & Sleep Sack


    As a new mother, SIDS (sudden infant death syndrome) is my worst nightmare. However, the risk of SIDS can be greatly reduced by following these simple guidelines: SIDS PREVENTION Guidelines 1. Children under 1 year should be placed on their backs when sleeping. This will help your baby’s…


  • Space Saver Wipe Warmer Review


    I received a Space Saver Wipe Warmer in exchange for this post. All opinions are my own.  Diaper changing time is a constant battle at my house. Whenever my little toddler sees me pull out the diapers and wipes, he makes a run for it. Capturing him is…


  • Pregnancy Checklist: Your 2nd Trimester


    This post is sponsored by P&G but all opinions are my own.  Congratulations, you’ve made it through your first trimester! Hopefully your morning sickness is letting up a little and you have a bit more energy. The second trimester of pregnancy is a personal favorite of mine –…


  • Personalized Cups DIY


    I received Expressions Vinyl supplies in exchange for this post. All opinions are my own. We frequently take long trips with our kids to see grandparents. Long car rides can be painful with toddlers and babies, but over the years I have a few tricks up my sleeve…


  • Share the Joy with Holiday Toys from Fisher-Price


    This post is brought to you by Lunchbox. All opinions are my own. Wondering what the perfect gift is for your children this year? We had the opportunity to test out some of the adorable products from Fisher-Price. I am convinced that they offer a perfect gift for…