I received Expressions Vinyl supplies in exchange for this post. All opinions are my own.
We frequently take long trips with our kids to see grandparents. Long car rides can be painful with toddlers and babies, but over the years I have a few tricks up my sleeve when it comes to spending 14 hours in the car. One of our lifesavers is just wrapping up a few little gifts to pass back to the kids when they are behaving but getting kind of restless. They only get them if they are being good, it works as a reward and encouragement as well as keeps them occupied for a little bit longer.

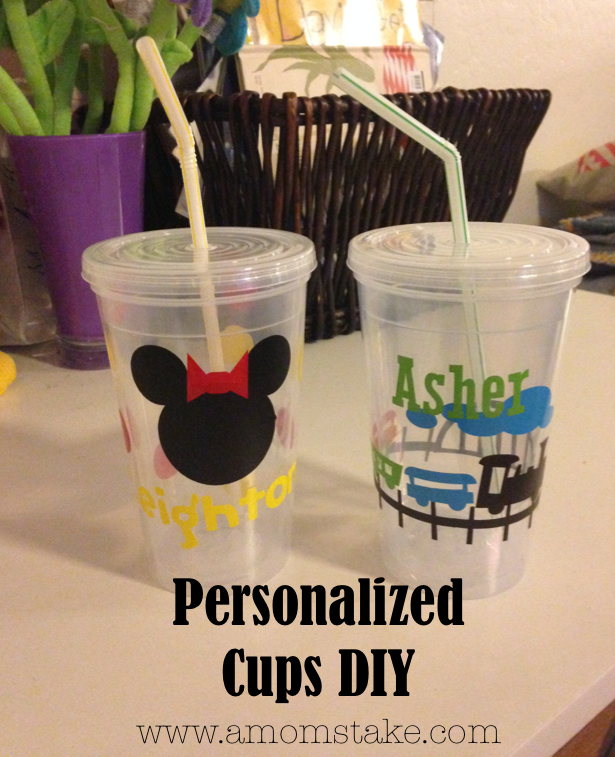
We usually grab a few little trinkets at the dollar store. Nothing fancy or expensive. The most I have ever spent is 8-9 dollars for books I wanted to buy my kids anyway! As I was preparing for our upcoming trip, I thought it would be fun to make the kids some personalized cups they could bring in the car with them.
Using my Silhouette and a few supplies from Expressions Vinyl, I was able to whip these little babies up in about a half an hour. These personalized cups are a great project to use up scraps of vinyl you have laying around, or go grab some new colors you have been eyeing.
For this project you will need:
- Cup or Water bottles. I found mine here.
- A Variety of vinyl pieces or scraps. I ordered mine here.
- Conact paper or Transfer Tape.
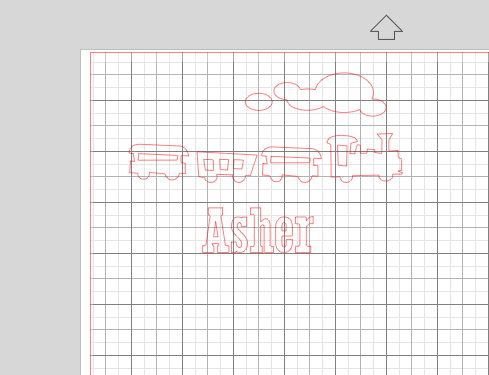
Decide what you want your personalized cups to have on them. This was a no brainer for me. My kids are in total obsessions phases with Trains and Minnie Mouse. I searched the Silhouette store until I found a train I loved and purchased the shape. Next I made it the size I needed (this will vary depending on your container), I cut out several copies in different colors in order to piece together my colorful convoy of train cars.

After searching for Minnie in the Silhouette store, I came up totally empty handed. I just free handed my minnie using the shape tools and then merging my image. This can be done by selecting all of your shapes, right clicking, and selecting merge. I made a few extra circles to be used as polka dots.

Once all of your shapes have been cut out, cut a piece of Contact or transfer paper the size of your cup and arrange the shapes the way you would like them. Go ahead and press them onto the outside of your cup!

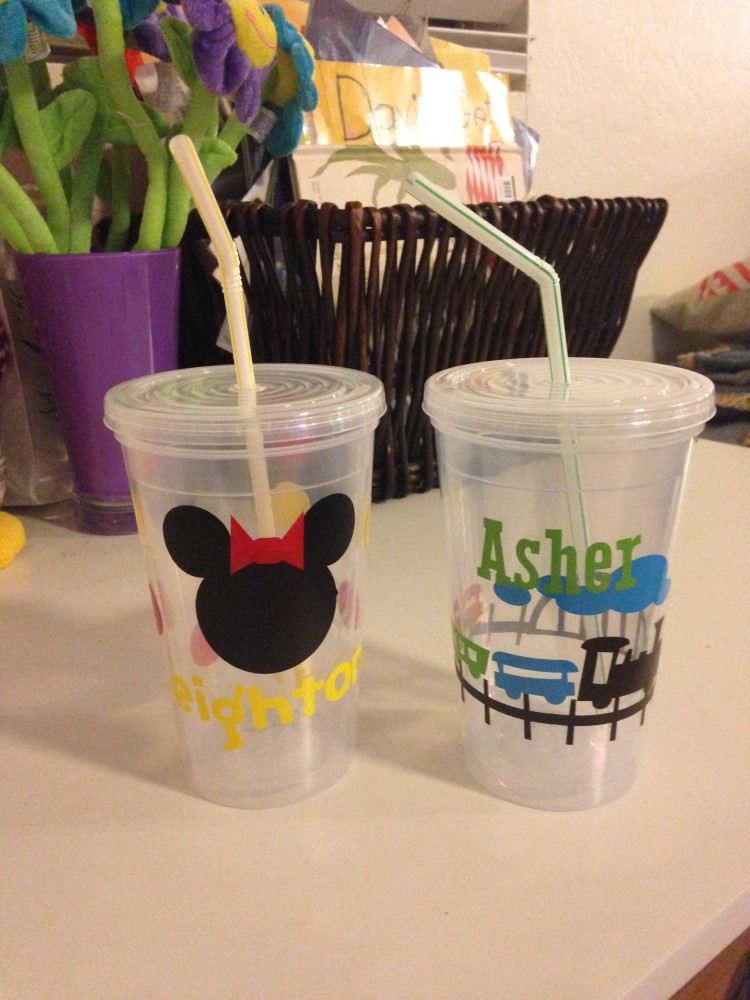
I can’t wait to take these on our trip! My kids love their personalized cups!

If you need vinyl for an upcoming project, you have got to check out Vinyl Expressions. They have the best quality vinyl and it is really affordable. My favorite feature on their website is their Machine settings tab that gives you the setting you will need to use on your machine based on the type of Vinyl you are using. The have been spot on for every project I have done! I am still gaga over their gold glitter heat transfer vinyl I used to make these cute pillows. Enter to win $25 dollars to spend on their site below!
