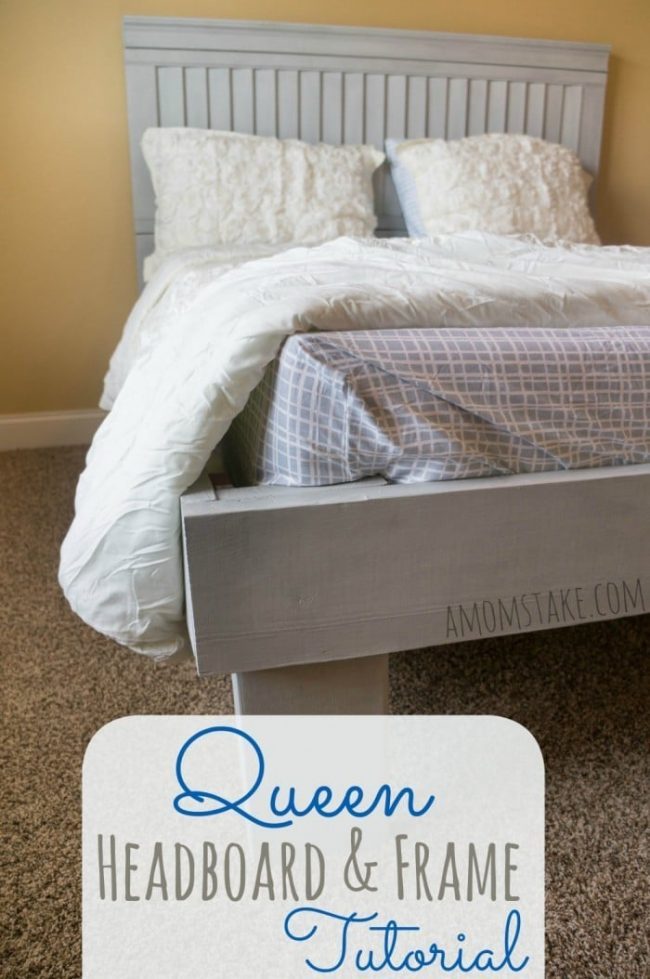
You can use this tutorial to make a queen headboard or an entire queen bed including side rails and footboard. The whole project cost me just $115 for a incredibly sturdy, heavy duty, solid wood headboard and frame and I’m so happy with the way it turned out!
I received a complimentary eve Mattress in exchange for this post.
Affiliate links are used in this post. All opinions are my own.
We were inspired to make this queen headboard and frame when we got the opportunity to partner with eve Mattress. I didn’t want a inexpensive particle board bed frame for such a nice, high quality mattress, and solid wood beds start in the thousands of dollars. I have been itching to build a bed frame for a long time, it was finally my chance! Make sure you read on after the tutorial about eve’s incredible mattress!
DIY Queen Headboard and Frame
Wood Cut List:
- Headboard cuts*
- 1 1/2″ x 22 1/2″ x 67 7/8″ Wood shutter
- 2 x 10 x 67 7/8″
- Decorative molding cut to 67 7/8″ length
- 1 board for the footboard* – 2 x 8 x 67 7/8″
- 8 slats* to support the mattress – 1 x 4 x 64 1/2
*My headboard width was based around a wood shutter I found at habitat for humanity that I based my headboard around. A queen mattress is 60″ wide so something about 64″ wide is ideal, but use what you can find. Your length here should match what your shutter length is. You’ll also need to adjust the footboard and slat widths to coordinate with the headboard width.
- 2 wood boards for the back legs to support the headboard – 2 x 8 x 53″?
- 2 long wood boards for the side rails – 2 x 8 x 82″
- 2 thin wood boards to support the slats along the side rails – 2 x 2 x 80″
- 2 short legs for the end of the bed – 2 x 8 x 20″
Supplies:
- Sandpaper
- Paint / Stain / Wax
- Wood glue
- 2 1/2″ #10 screws
- 1 1/2″ screws
- 4 – Metal brackets
Tools:
- Electric sander
- Drill
- Drill bits
- Saw may be necessary
Finding Your Measurements
Decide on measurements for your bed. You’ll need to determine how wide across the headboard, how high you want your headboard to stand, and how long down the side rails.
All of the measurements for my queen bed started based on a wood shutter that I found at habitat for humanity for just $5. I loved the way the shutter looked and thought it would be so interesting for a headboard. It was 67 7/8″ wide, so just a couple of inches wider than I was hoping to find, but the price was right and I loved the look, so I went for it. Ideally, you’ll want to look for something about 63-66″ wide to accommodate a 60″ wide queen mattress. You can go a little smaller if you’re doing just a headboard attached to a metal frame. If you find something you really like, you can also add additional wood to the sides to widen it, as necessary.
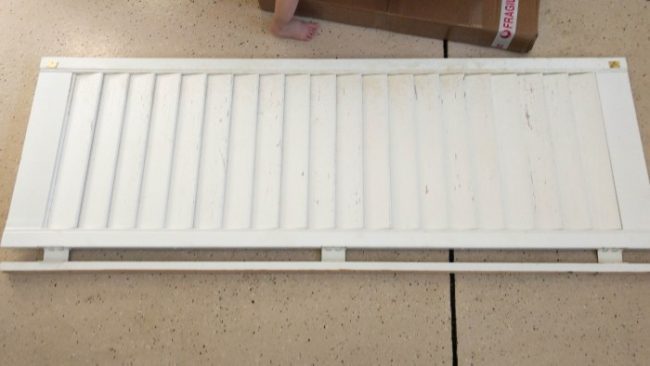
Measure your main decorative board you’ll use as the focal point for your headboard, and base all of your cut list measurements around that width. You can skip the main decorative piece and instead line up four 2×8 boards to create a simple, nice looking headboard. You may need to adjust the widths and the vertical height of the other boards that will surround it to get the size of bed you want for your room.
Do a little bit of simple math and a simple sketch of your headboard layout to get the dimensions and boards list you might need for your project. For mine, the shutter wasn’t tall enough to be a dramatic headboard, so I decided to add a 2×10 board below it and a 3.5″ molding piece above it to give my headboard a finished look.
Aim for a headboard height of anywhere from 50-60″ and for the top of your mattress to end between 26-29″. I like a higher bed, so I planned 20″ feet height with the mattress sitting a couple of inches down inside my box frame and a 10″ mattress that would bring the height to about 28″. Add together the height of your headboard pieces and the height you will need for your legs to get the total length of a 2×8 you’ll need to run behind your headboard cuts of wood.
Preparation Steps
When you have all of your measurements, it’s time to get your wood cut! This meant a little bit of adjustment while at the store to measure the exact width of the boards, as 2×8 aren’t 2″ x 8″ like they sound. A 2×8 is more like 1.5″ x 7.5″ and that may change your numbers just a little bit.
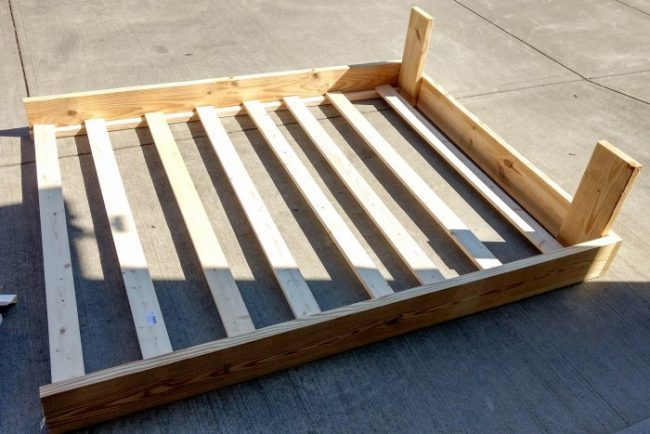
Laying out all of your boards, after they are cut, can really help you to see how they will all fit together and will ensure your cuts will all work together. I set up my frame and headboard separately on the ground to make sure they were going to work. Once I could see them all laid out, the process was smooth sailing from there. (The legs in this picture are pointing up, but would really be straight down when complete. I just can’t go lower than the ground and this helped me visualize everything.)
Sand all your wood. If you have an electric sander, this will only take 20-30 minutes. It’s really fast and easy, I highly recommend an electric sander! You don’t need to sand or paint the 2×2 that will support your slats or the slats. You also won’t need to sand any decorative molding pieces and may or may not need to sand your shutter, depending on it’s condition. I sanded mine as it had peeling paint, and didn’t use an electric sander for that part as I didn’t want to break any of the wood slats on the shutter.
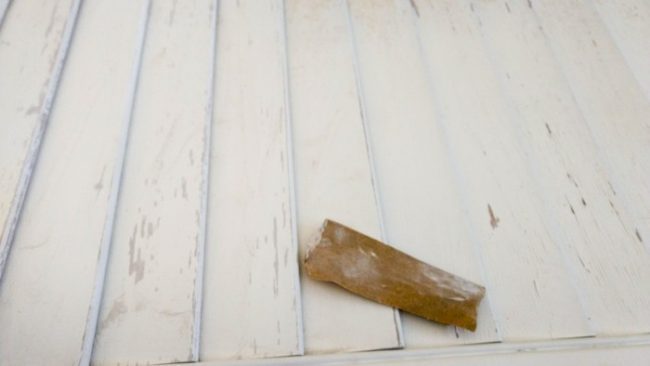
Wipe down your boards with a dry cloth after sanding to remove any sawdust before painting. You can then stain the wood, or prime and paint. I used a chalk paint so instead of primer I painted then waxed following the directions for chalk paint application. I liked how fast the chalk paint and wax dried, it really sped up the process.

Queen Headboard Directions
If using a piece of decorative molding, attach it to a 1×4 with wood glue and allow to dry to secure in place or use finishing nails.
Line up all of your headboard wood with the backsides facing up. Line the legs on top of your headboard wood so that it will sit flush with the edge on the back of the headboard out of sight. Screw from the back of the legs towards the front of the headboard, making sure your screws are not too long that they’ll pop all the way through the wood. You’ll likely want to pre-drill holes so that your screws will go in easily and nicely.
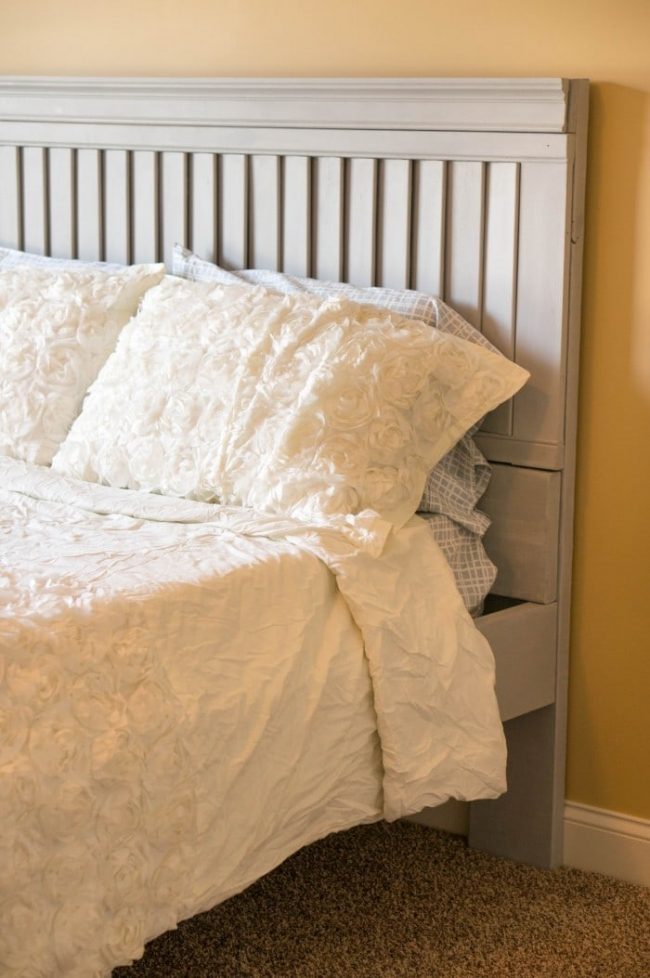
When you have each of the boards securely attached to the legs, your headboard is complete. If you want to use a simple metal frame, just drill holes as needed into the legs, and attach the metal frame to the headboard.
Building a Queen Platform Frame
After your headboard is complete, build the footboard by laying the solid 2×8 footboard cut of wood with the better side facing down. Lay your 20″ leg cuts flat on top of the footboard lining it flush with the top of the board and using one of your side rail boards right beside the leg to measure for spacing where your foot should sit. You won’t attach the side rail here yet, you’re only using it here to ensure you have the right amount of spacing you’ll need when you stand up the footboard.
Screw using 2 1/2″ screws from the leg into the footboard using your metal bracket about 1/4″ away from the top of the leg all the way to the outer edge of the leg. You’ll attach the other side of this bracket to the side rail in the next step.
Repeat these steps on the other side, lining up the leg and attaching the bracket keeping in mind the spacing for the side rail.
Now, lay your side rail flat on the floor with the better side facing down. Lift up your footboard and line up the bracket, making sure all ends are flush with each other before screwing together. Here you are making one corner of the footboard and the footboard should be up on it’s side straight up in the air with the metal bracket attaching onto the side rail on the inside of the board. You’ll want to use your 1 1/2″ screws for this step as you are only going through one 2×8 width (about 1 1/2″) and the metal bracket.
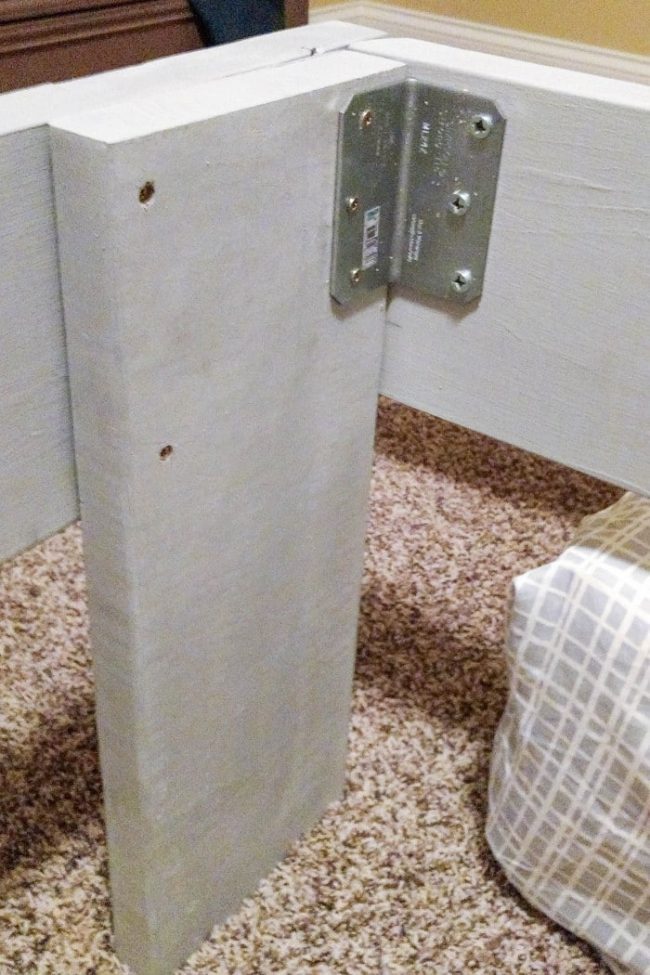
When your first side rail is attached, stand the footboard up as it will sit at the end of the bed and attach the side rail to the headboard using a metal bracket. You may need to measure to ensure your footboard is attached at the same height at both the footboard and the headboard. If you did your math right accommodating the same 20″ for feet on both ends, you should be good to put the side rail all the way at the top of the leg, right where your headboard boards end. Attach the bracket here a 1/4″ from the top of the leg and 2×8 using your 1 1/2″ screws.
Repeat with the other side rail attaching the side rail at your footboard first and then your headboard.
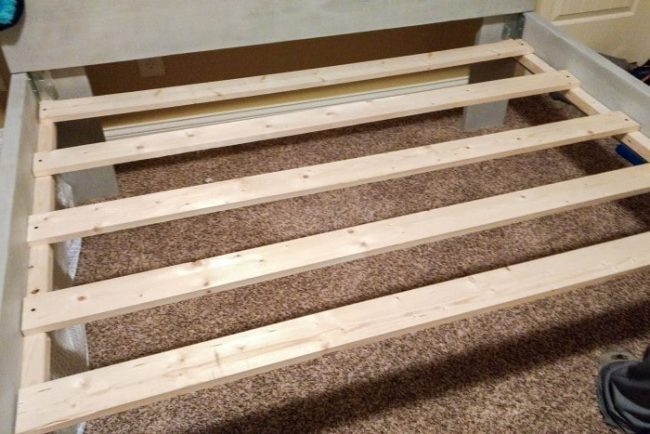
Attach your slat support board 2×2 keeping in mind the height that you want your mattress to sit off the floor. We attached the 2×2 right below the metal bracket, which would put our slats right about the middle of the side rails. Put in about eight 2 1/2″ screws along the length of the board to securely attach. You can pre-drill the holes in both of your slat support boards before attaching, just line them beside each other so you get the screws in about the same spot.
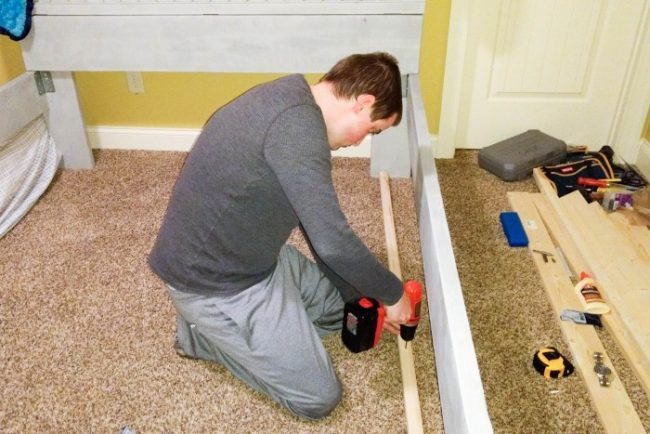
Now line up your slats to sit on top of the slat support bar you just attached. The slats will go across the width of the frame from side rail to side rail. You’ll want a slat about every 8″ or so. We used 8 slats. Just screw a single 1 1/2″ screw straight down from the slat into the slat support board on each side of the slat.
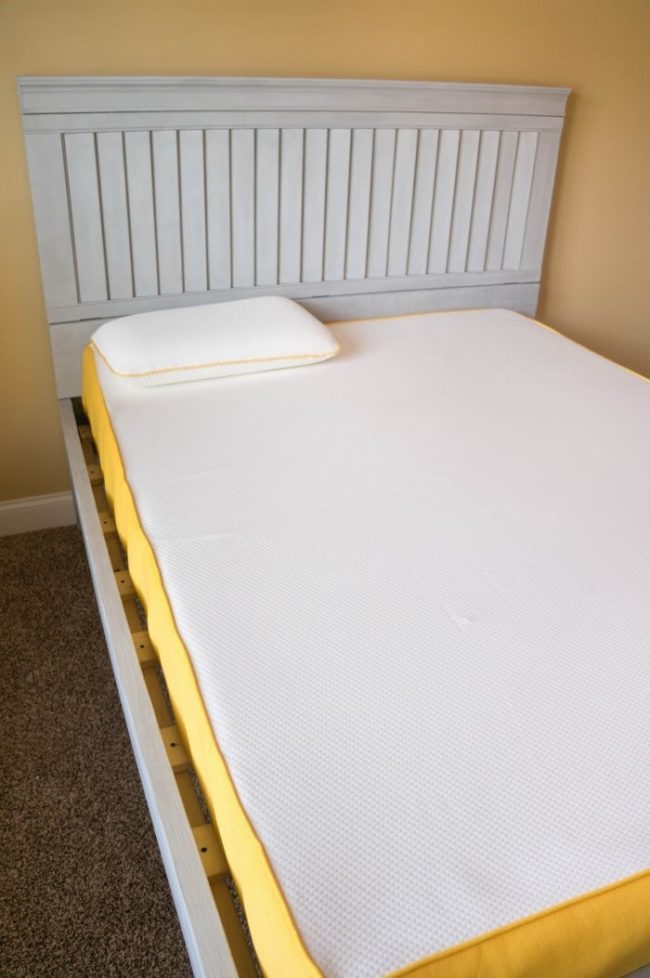
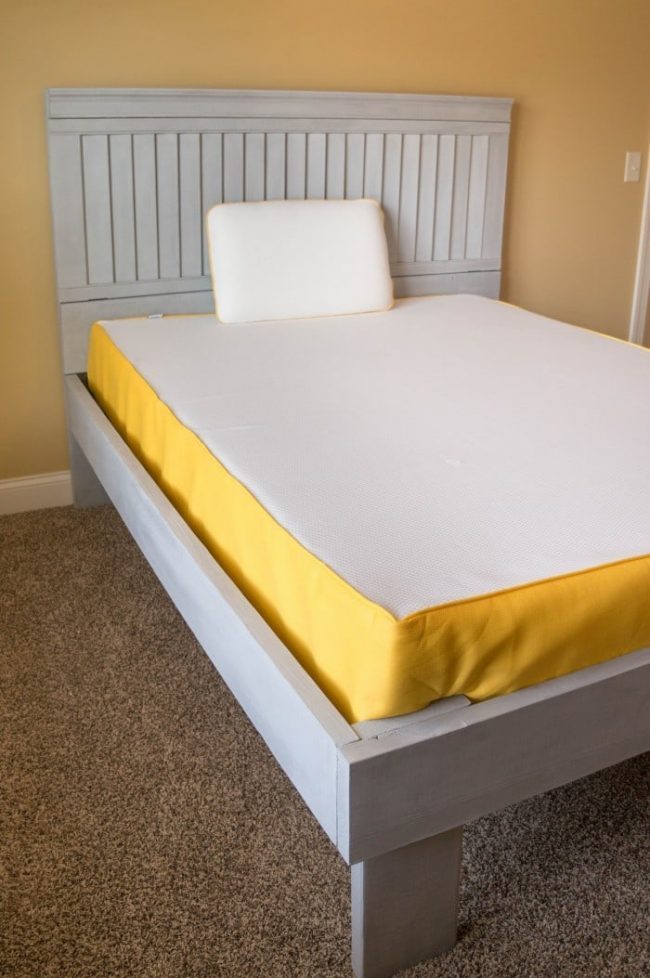
Now move your bed around in the room to where you want it, add your eve queen mattress, and you’re done!
eve Mattress
Have you ever shopped in-stores for a mattress? I have. They are insanely expensive. You either go really cheap or you go broke. There really doesn’t seem to be an in-between in the mattress stores. eve Mattress has changed all that. They created a mattress that is, “simply beautiful and beautifully simple.” They mastered that in every way.
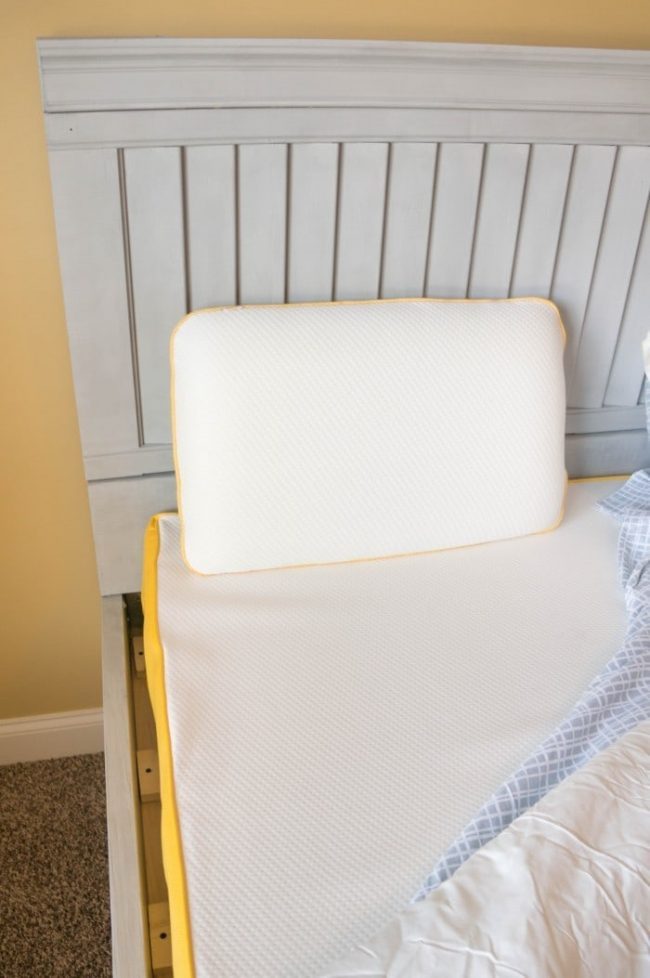
The eve mattress is incredibly comfortable. We bought our king bedroom mattress second hand from a friend when they moved. They paid a couple thousand dollars on the mattress, and we were happy to get it at a fraction of their cost, used. The eve mattress is so incredibly close to this name brand, top-of-the-line mattress that I was completely shocked! How could they create a mattress for a fraction of the cost, a mattress that wouldn’t break my back or the bank!
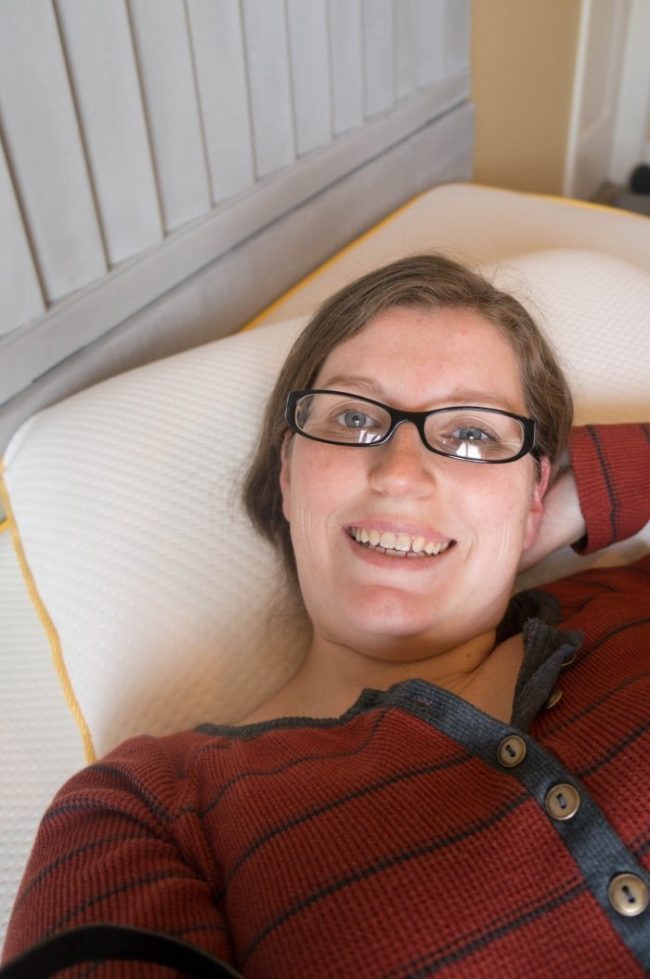
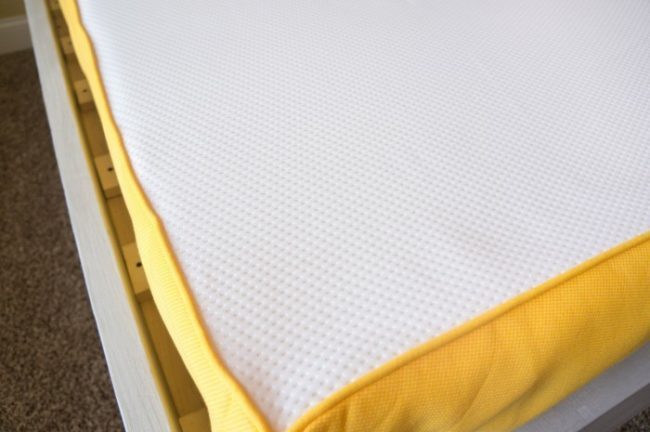
eve mattress spent 12 years testing and tweaking to get the mattress just right. They went through 70,000 prototypes until the perfect mattress was created. It has no springs and instead is made with a new generation memory foam. The memory foam evenly distributes weight and your body’s pressure so that it is both supportive and comfortable. The new generation foam lets you sleep cooler and has more bounce so you won’t feel like you’re sinking giving you the best of both worlds.
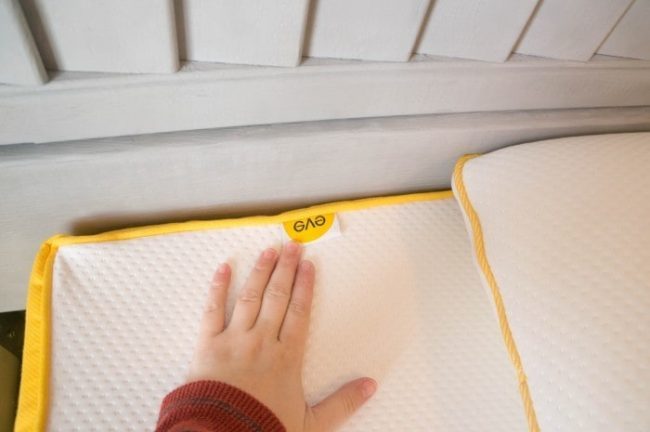
They have the most comfortable foam pillows, too. I’ve never been a fan of foam pillows, until I tried eve’s! It is soft, responsive, comfortable, and supportive. Everything I look for in a pillow!
Try eve mattress yourself with their 100 nights warranty. If you don’t love your mattress, you’ll have 100 nights to change your mind – they’re that confident! Skip all the expensive mattress stores with their overhead costs, hidden fees, and long wait times, you can have your eve mattress will arrive within 3 working days straight to your front door.
By cutting out all the middlemen and the expensive store, eve is able to pass on all those savings to you. A queen eve mattress is just $649 or pay by monthly installments with their interest-free credit option.

ellen beck
Tuesday 4th of April 2017
I like how you were inspired by reclaimed materials. The shutter I really like and the trim piece on top completes it nicely. I could even see trimming the end aa bit too, but I am an 'old wood' fanatic as hubby is a carpenter.
rhonda miotke
Sunday 2nd of April 2017
Thanks for the detailed instructions, i think i will try this
Hali @daytodayMOMents
Tuesday 28th of March 2017
Wow, this is really impressive! Would've never know, what a great idea.
Nancy at Whispered Inspirations
Tuesday 28th of March 2017
This is so pretty! I love that frame, I want one just like that and that mattress looks super comfy.
Lisa Collins
Tuesday 28th of March 2017
That headboard turned out awesome! This would look great on my teen daughter's bed!