
DIY Halloween Welcome Sign
I received compensation for this post from The Home Depot. All opinions are my own.
Don’t you love decorating for the holidays? It makes it feel so much more festive, exciting and brings alive the spirit of the holiday. This is especially true for me living in Arizona where we don’t have season changes and it feels like summer all year round. To get ready to roll in fall and Halloween, I created this cute DIY Rustic Pumpkin Welcome sign, inspired from Home Depot’s upcoming DIH Workshop where they will be making a DIY Rustic Pumpkin Stand. You can use their idea or mine as a start to customize this basic idea and do your own creative wood pumpkin art to decorate this year!
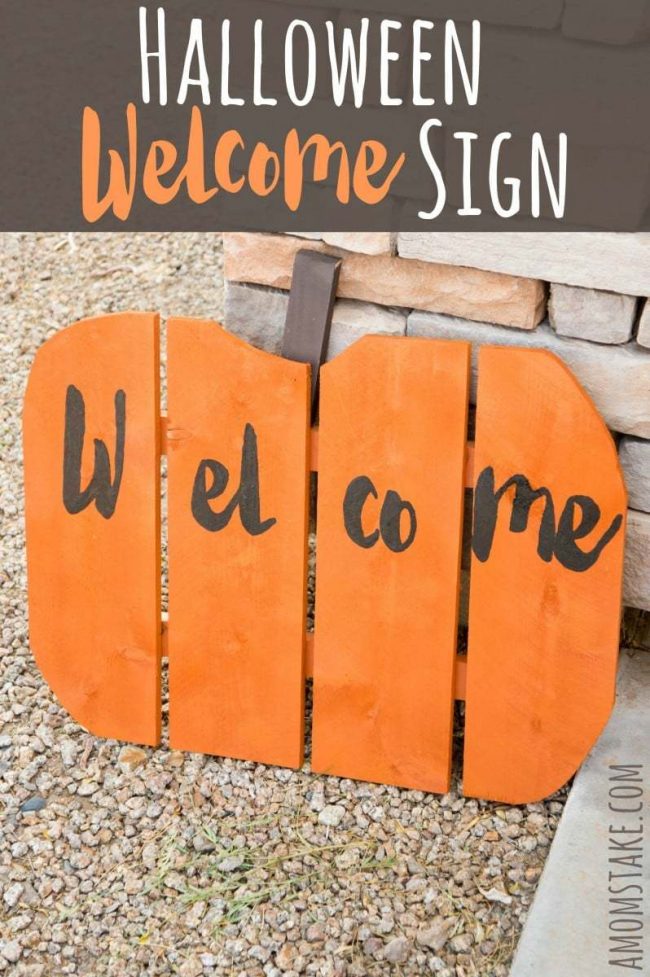

DIY Rustic Pumpkin Welcome Sign
You’ll Need:
- (1) 72″ x 5.5″ Fence Picket wood, cut into four equal parts
- (1) 1″ x 2″ x 4′ long wood, cut into (2) 20″ pieces and (1) 8″ piece
- 1″ staples or finishing nails
- Tape measure
- Circular or miter saw (or ask Home Depot to cut your wood for you)
- Paint
Directions:
Head to your local Home Depot store and go straight to the lumber department. Pick up the wood you’ll need. If you’re not certain what fence picket looks like, it can be found by complete sections of fencing, or simply ask a Home Depot staff member to help.
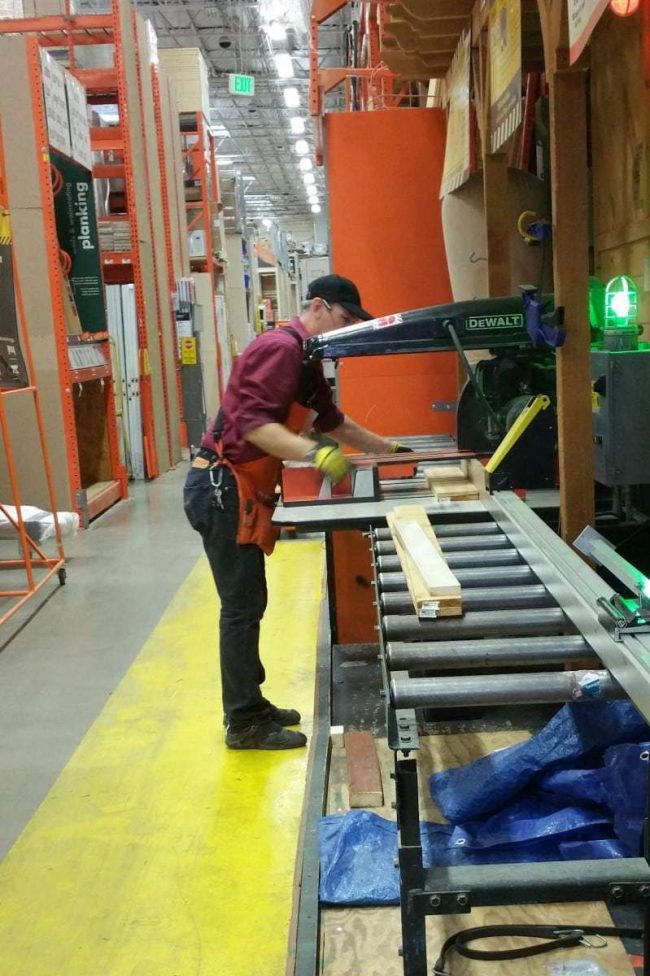
If you have a circular or miter saw at home, you can make your wood cuts at home. Or, you can rely on the staff at Home Depot to assist with your cuts. I love having Home Depot help with my cuts because it’s much easier to bring the boards home.
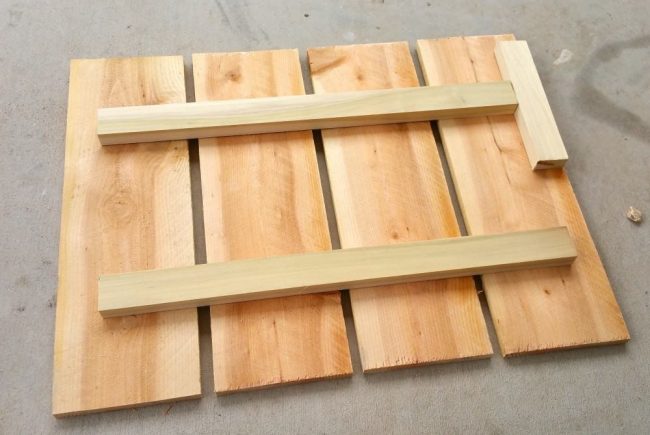
Line up your four boards side by side leaving a small 1/4″ to 1/2″ space between each board. Line up the 20″ boards on the back of the four boards. Use the 8″ stem piece to measure out a good 1.5″ spacing from the edge of the outside boards to the 20″ centered brace boards on the back. Use finishing nails or staples to secure the bracing boards to the back of your fence pieces of wood.
Draw your basic pumpkin shape on the back of your board, and then cut away the excess board to create your pumpkin shape.
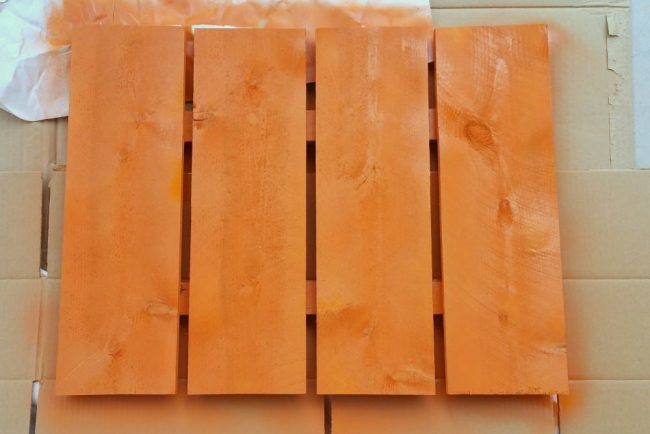
Paint your pumpkin and your stem (or repaint if you’re like me and applied a base coat of paint already). Spray paint is the fastest and easiest way to paint, but you can also use a paint brush or roller if you prefer.
Now attach your stem to the back of the wood with your finishing nails or staples.
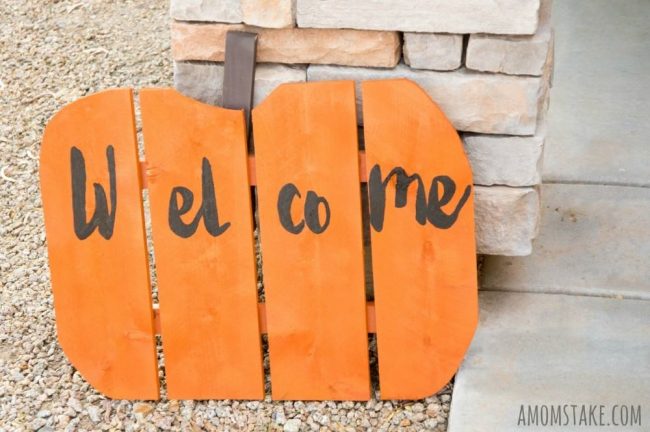
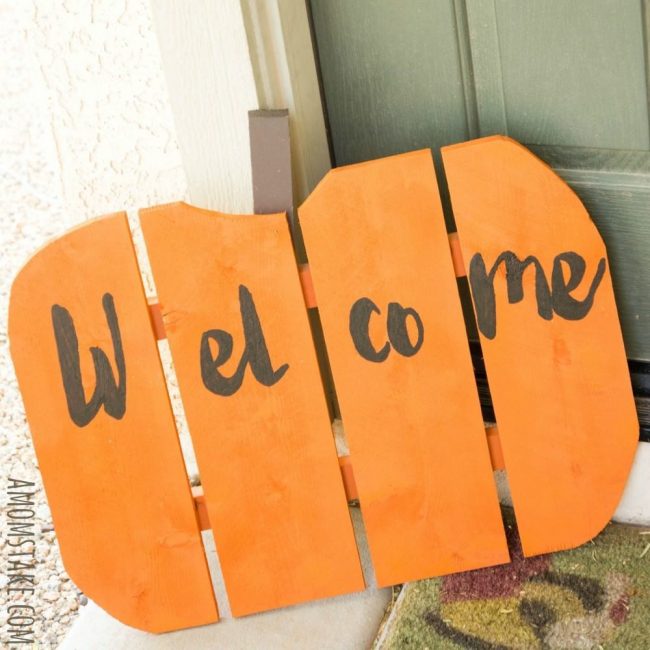
Finally, you can add a cute welcome message to the front of your pumpkin to personalize, or add a candy box to the front following Home Depot’s DIH directions! Feel free to make this project unique to you by changing it up a bit.
And, of course, set it outside on display to welcome your guests!
Home Depot DIH Workshops
The Home Depot wants everyone to have the skills and confidence to create your own DIY projects. They have a monthly series of DIH (Do-it-Herself) workshops designed to give women the boost of confidence they need to make cute home decor items, fix or upgrade things around their home like installing a backsplash, or simply giving them the chance to try something new!
Each month features a different theme with a hands-on experience where Home Depot staff show you step-by-step how to make a project or easy home improvements. Attendees will go home with directions and can purchase a ready-assembled kit with all the items you need to make the project again at home.
![Rustic Pumpkin[1]](https://www.amomstake.com/wp-content/uploads/2015/09/Rustic-Pumpkin1-650x519.jpg)
Plan to visit The Home Depot on each third Thursday for a new Do-It-Herself Workshop! This month, stores will be making a DIY Rustic Pumpkin Stand with a cute front box for candy or use it as a planter. All workshops are free, but registration is encouraged to make sure you don’t lose your seat!
Head over to DIH Workshops and register for Septembers workshop!



that looks really pretty 🙂
You are welcome to join my BlogParty
SATURDAY SHOW OFF
Hugs from Håkan in Sweden
This looks great – I’ve seen this project around the web and have enjoyed the creativity. I’m thinking of making something similar.
very nice job; i love all the fall and halloween diy projects – so festive 🙂
Okay – I am obsessed. I love this and it looks like a simple enough craft that even I can do that!
That looks so pretty. It will be fun to do this project as a family.
That’s an adorable sign and it’s perfect for Halloween! Thanks for the design!
How fun! I love doing little DIY projects like these. And I always get all my supplies at Home Depot!
OMG…this is adorable! I’m so going to have to see how I can pull this one off too!
I keep meaning to get to a home Depot class so I can learn handy stuff like this! I love how helpful they are in getting I need too.
I love making Halloween decorations. This would look great for my house. My girls would have fun helping me.
This is a great DIY project. I will have to get the kids to help me make a few so we can give the grandparents one.
I love this idea. I will have to get the supplies together so i can make one for my house.
That is really cute! I had no idea that Home Depot would cut your wood to the size you need!
Such a cute and easy way to decorate for Halloween! This would look great on my front porch.
This is super cute! A friend was just telling me about the Home Depot work shops for ladies. Sounds like a great idea!
Well, I guess I know what my husband and I are doing this weekend. That is awesome!
This is the perfect project! It’s both adorable and super easy. LOVE!
What a cute sign! I had no clue Home Depot will cut wood for you in store! What a revelation! I can imagine buying something like this pre-made would be expensive. Such a creative idea, thank you for sharing!
Very cute idea! It looks easy enough to make doesn’t take long and it looks really cute!
I absolutely love it. I think that i s the cutest thing ever.
I never knew Home Depot would cut your wood for you… That makes everything so much easier! Cute craft 🙂
Oh that is such a cute idea! I love it! I would love to make one for our home!
This would be so fun to make and it’s super cute! I really like what you did with yours.
This looks pretty easy to make thanks for sharing!
I really like this and have the wood here to do it. Thanks for sharing, might be fun for the kids and I to make together
This turned out super cute!
Your Pumpkin Sign looks great. Thanks for the great idea and the How-To. It’s helpful that Home Depot can cut the Boards for you.
This is such a beautiful project that you did for Halloween and Fall. I would love to make one of these!! Your did a good job.