We have a purse hook right by the front door where we enter the home. I really love having hooks there to corral everything that comes in the door. However, all summer I got to ave these hooks to myself, and with school coming back into full swing, I could already see my hooks being overrun with backpacks and no space for my own library bag, church bag, purse, and other items I like having handy by the front door.
I decided, I wanted to make a DIY backpack station to give a specific spot for my boys to corral their backpacks and their own things, without overcrowding our front entry. I looked up a few ideas, found something I liked from a few different plans, and dreamed up a combination that would fit my style and space!
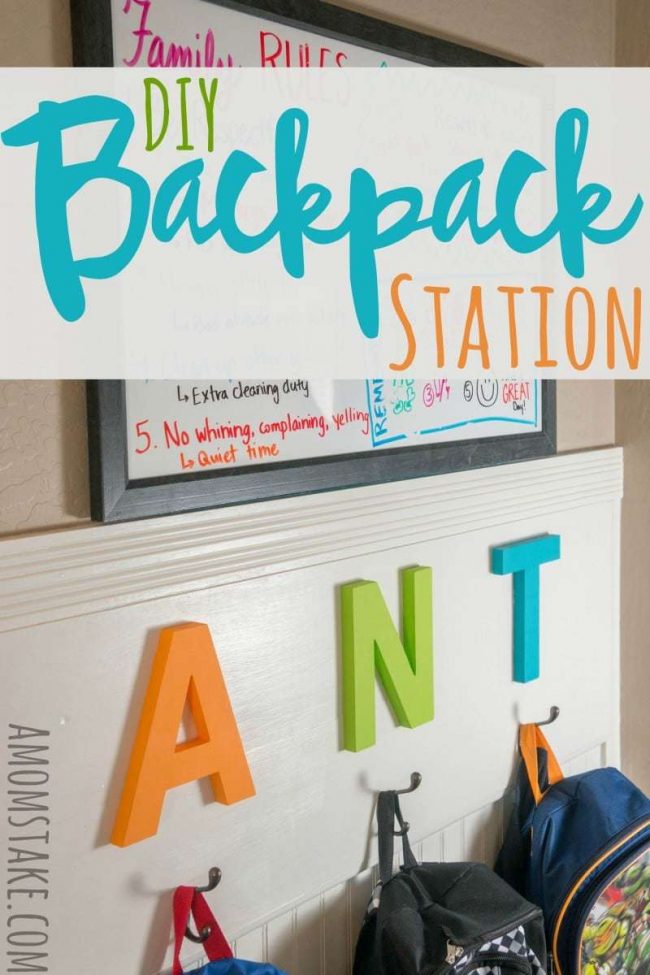

DIY Backpack Station
You’ll Need:
- Beadboard sheet
- (2) 1″x8″ solid wood boards
- Decorative top molding
- Edge molding
- Quarter round molding
- White finishing screws
- Strap toggle anchors
- Caulking
- White Paint
- Backpack Hooks
- Wood Initial Letters
Directions:
Start by finding a perfect wall to build your backpack station. We have an area in our hallway right across from the broom closet and right beside the hall closet. It was the perfect place in our space to build a place for our backpacks as it had an overhang molding so the backpacks wouldn’t stick out and it was a defined small area that we could easy transform.
Measure your wall, being sure measure top, middle, and bottom widths as walls are not always completely straight. You’ll also need to measure your desired height.
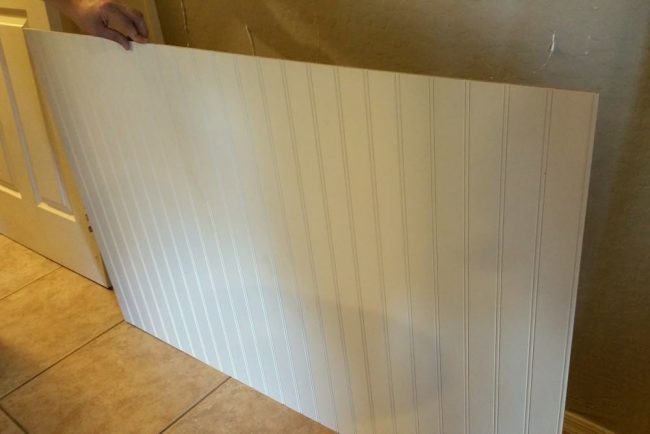
Then, head to the hardware store with your measurements in hand and pick out your wood. We did a single sheet of beadboard with 48″ width which was perfect for our space. Then, we picked up two boards that were already perfect width and a single piece of edge molding to line the edge of our project. As we would be meeting the edge of a closet door which was already encased in molding, we matched the same molding type and measured from tile floor up to the top edge of our project.
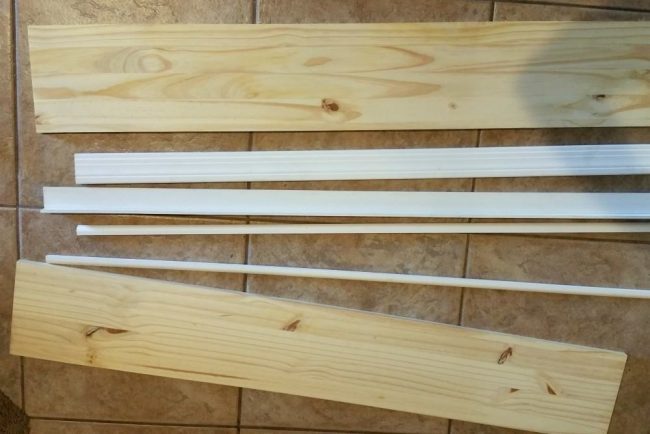
We also added a top decorative molding piece and two pieces of quarter round molding to finish off the edges. Pick out your own boards, and line them up on the floor until you get the look you’re going for. Then, head over and have them cut the boards for you before you leave the store so the hard part is done.
Since we would not be hanging any weight from our beadboard, we spread caulking on the back of the board, and pressed it against the wall. Caulking works well as a glue, if you don’t need to support any weight. We then tacked the board to the wall with a few small finishing screws.
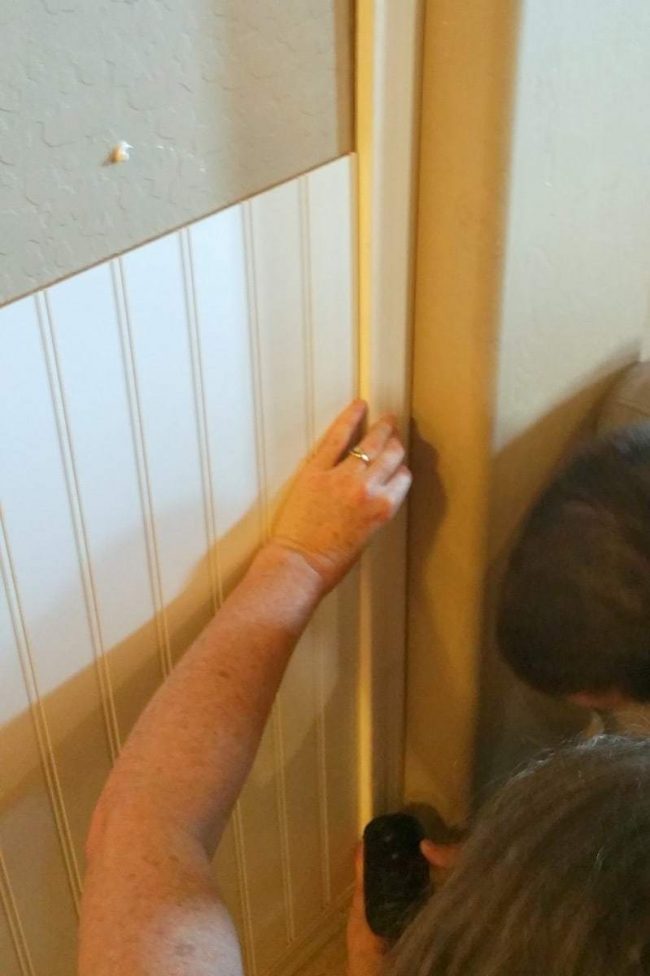
Once we had our beadboard up, we starting on the edge molding. To have the look be symmetrical, we needed to cut out our existing molding down to the tile to accommodate the 2″ width of the molding piece. Once that original small piece of molding was removed, we slid the new piece into place and fit it right beside the beadboard. We tacked on the edge molding with caulking for glue and finished with a series of small finishing screws to secure.
Now, we planned to mount the solid wood boards. We planned to hang the backpacks directly on these wood boards, so we wanted them anchored directly to the wall. We used heavy duty strap toggle anchors. We use these anchors for everything, as we have little boys that like to pull on things and every other type of anchor rips right out of the wall. You drill a starter hole, push in your anchor, and then it zip ties tightens against the wall. Once the outer clip is flush and tight against the wall, you break off the excess part of the plastic strap, and you have a very strong anchor support. We added the strap toggle anchors to the wall, and mounted the boards, drilling a screw through the board and into the anchor.

Because we didn’t want the screws to show, we drilled an indent for the head of the screw to sit below the face of the board and puttied in the screws holes before painting.
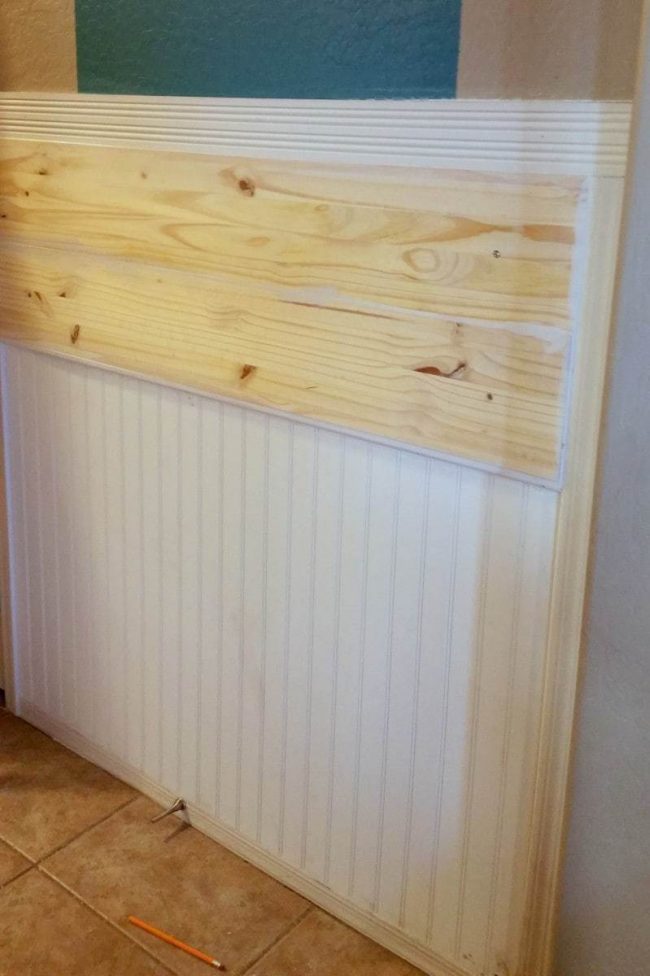 Once both boards were up, we added a top decorative molding with caulking and finishing screws. Then, we added a piece of quarter round molding right below our 1″ solid boards to give a nice finished edge where the boards met the beadboard.
Now, all that was left to do was prime and paint.
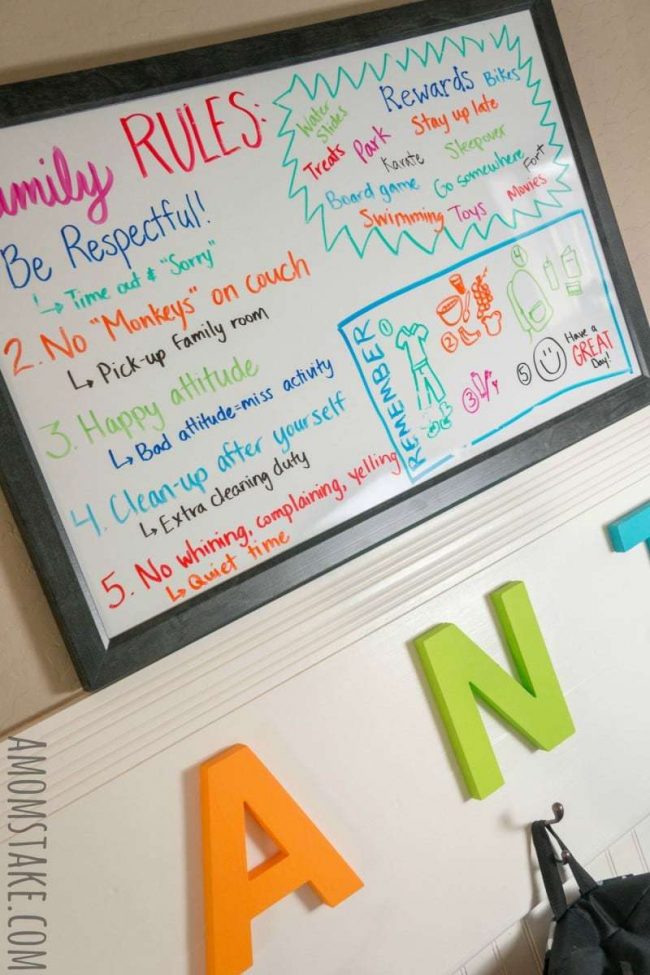
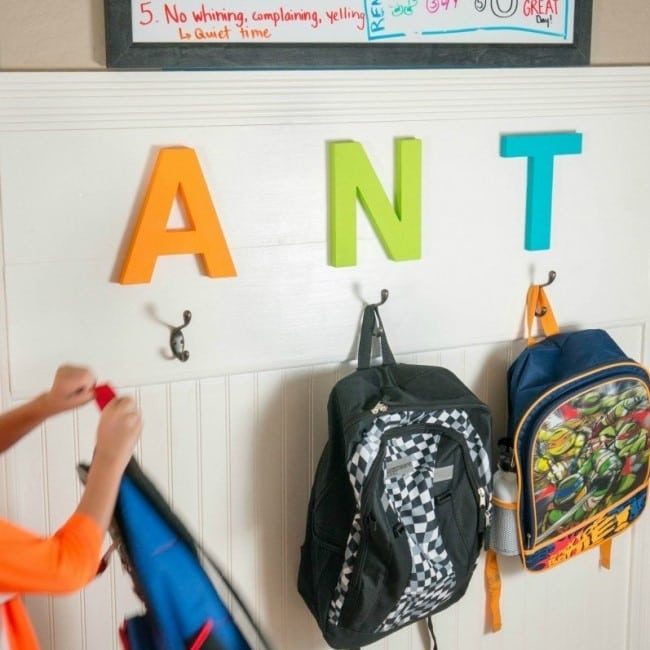
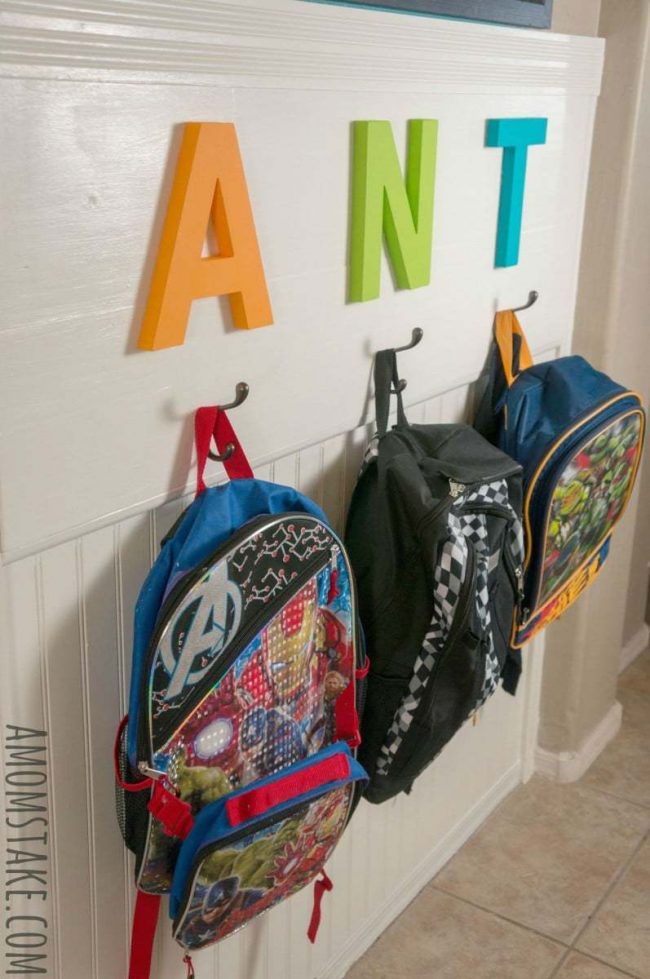
From there, it’s just personalizing the space to your own style. We added a first initial letter for my three school aged boys and right underneath their letters we added a two spot hook so they could hang a backpack and a jacket both by their spot. We just caulked the letter right onto the front of the board and screwed on our hooks.




Jamie
Friday 18th of September 2015
That is adorable!! I could even use that for my husband's lunch box, too! :) Thank you for sharing with us at the #HomeMattersParty
Alayna @AlaynasCreations
Thursday 17th of September 2015
Great solution! Love the beadboard and the bright letters add just the right pop of color.
I am co-hosting the #HomeMattersParty link party this month and would love to have you stop by for a visit. The next party opens at midnight Friday! www.alaynascreations.co
Suzanne
Friday 11th of September 2015
Love this! SO cute!!!!!
Allie D.
Thursday 10th of September 2015
This is super cute! Love the backpack station. We have something similar, just not nice like yours, lol.
susan
Thursday 10th of September 2015
This is such a wonderful idea! I am always tripping over my daughters back pack, or we just cannot find it… This would help us get organized and always know where the bags are.