
DIY Burlap Wreath
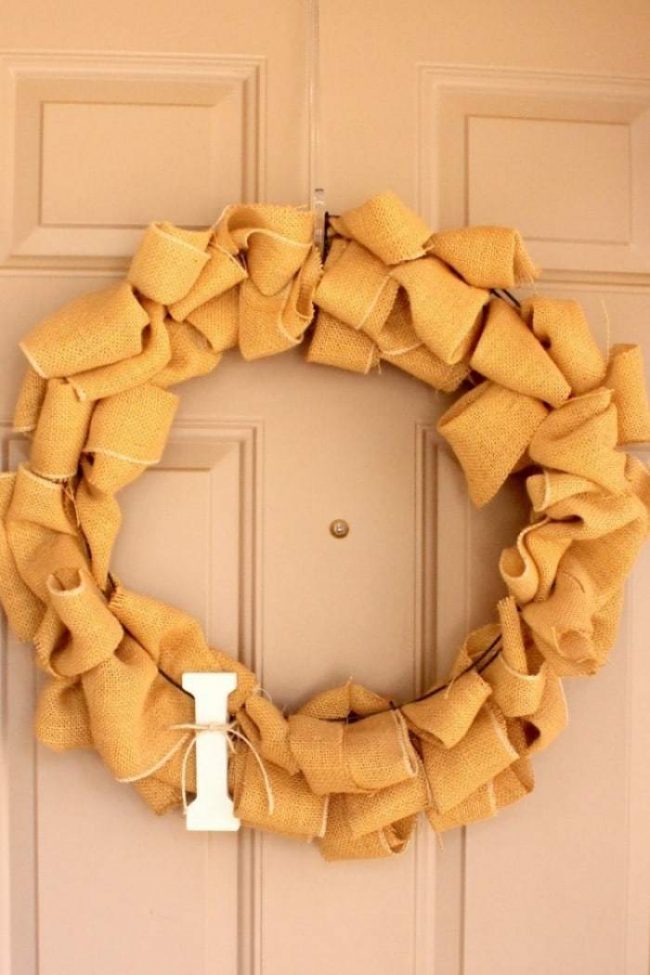
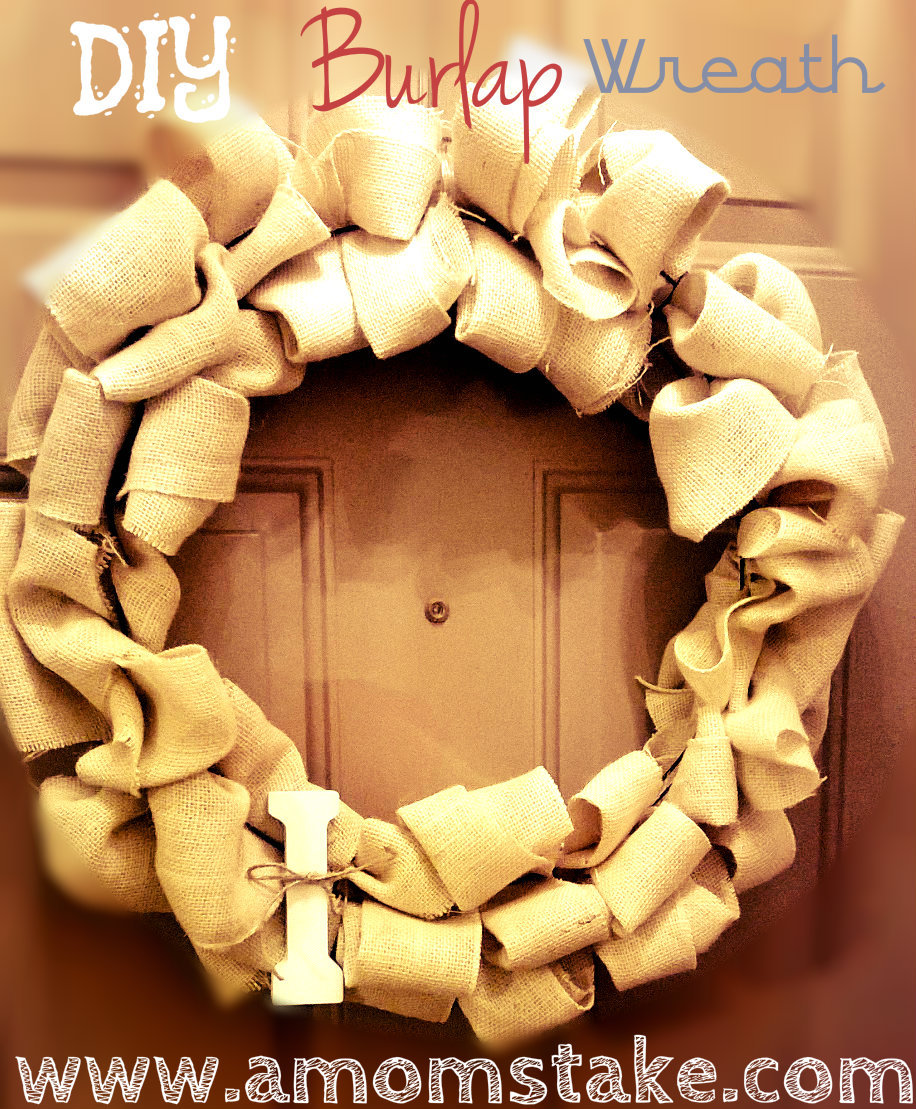
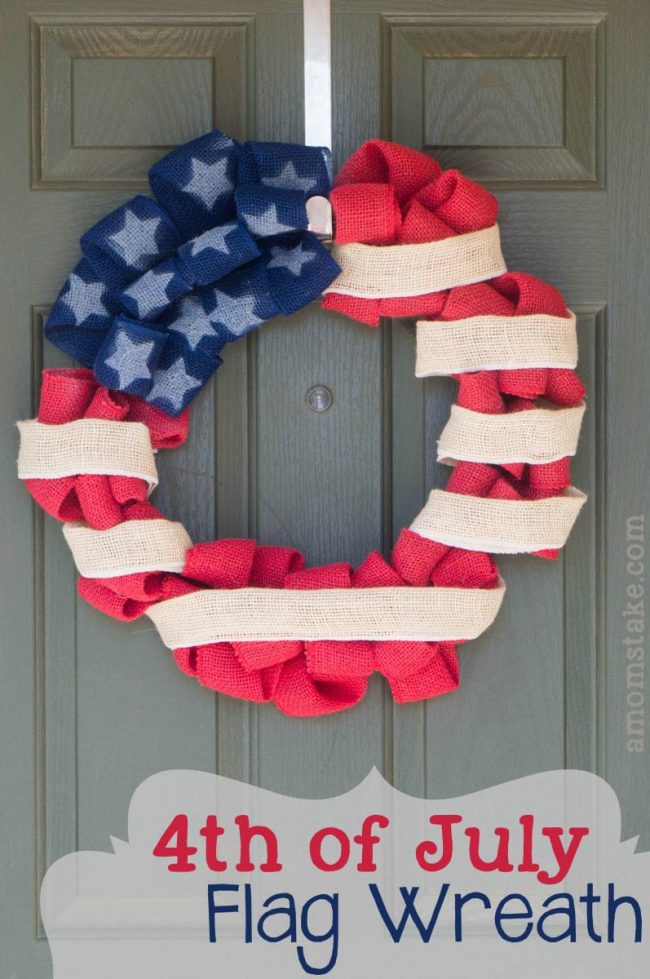
I’m always looking for fun and simple crafts to decorate my home. Having a love for all things burlap, I decided that I wanted to make a burlap wreath for my front door. This wreath took no longer than 20 minutes and I love how it turned out! Not only does it look great, but the whole project ended up costing less than $10. I was able to purchase my wire wreath at Michael’s for $3.49 and found a roll of burlap for $3.50. The monogram letter I used was only $1. Have fun creating this burlap wreath!
DIY Burlap Wreath
For this wreath, you will only need 4 simple items:
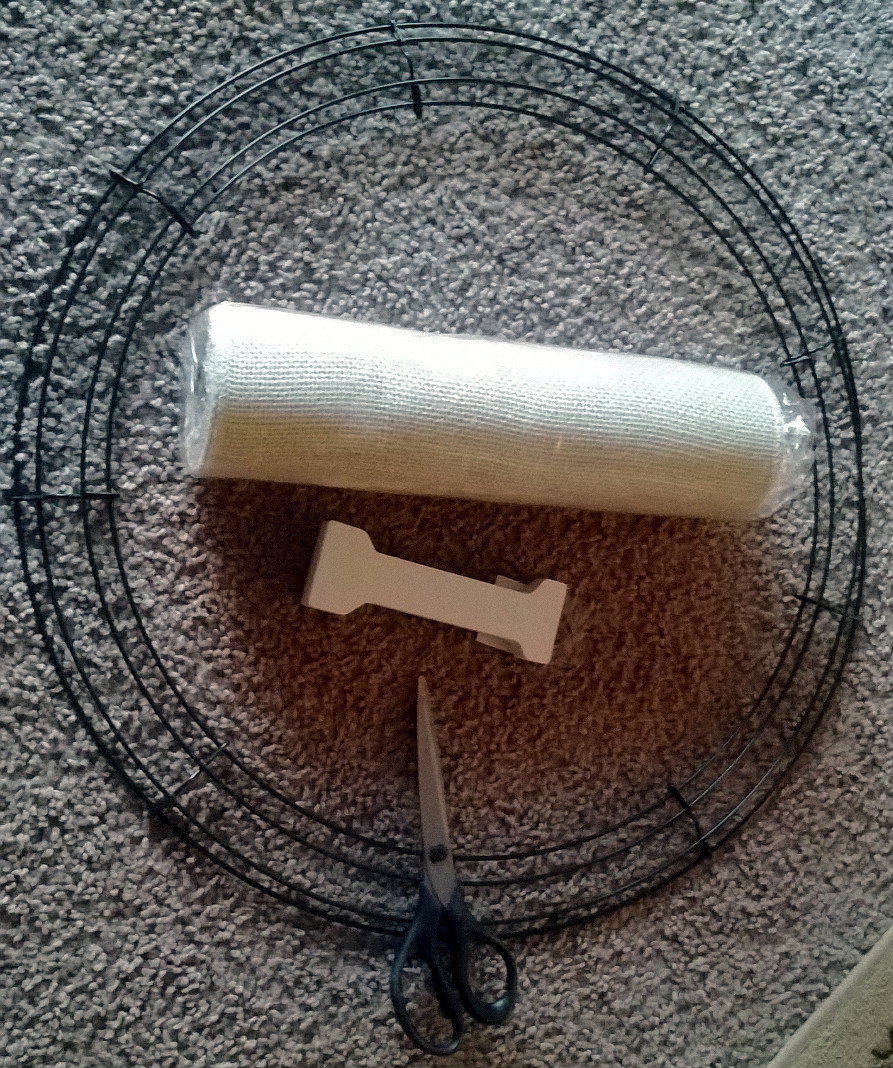
– Wire Wreath
– Scissors
– 1-2 Rolls of Burlap (I used burlap that was 9 inches wide and cut it in half)
– Monogram letter
To start, gather your wire and burlap. As I mentioned earlier, I bought burlap 9 inches long and cut it in half using strips that were approximately 4.5 inches long. To help secure the burlap, for my first row, I folded my 4.5 inch strip of burlap in half to make it thicker. If you decide that you like the look of the burlap folded in half throughout the wreath, you can continue to fold the 4.5 inch burlap in half as you create your wreath; I think it looks good either way.
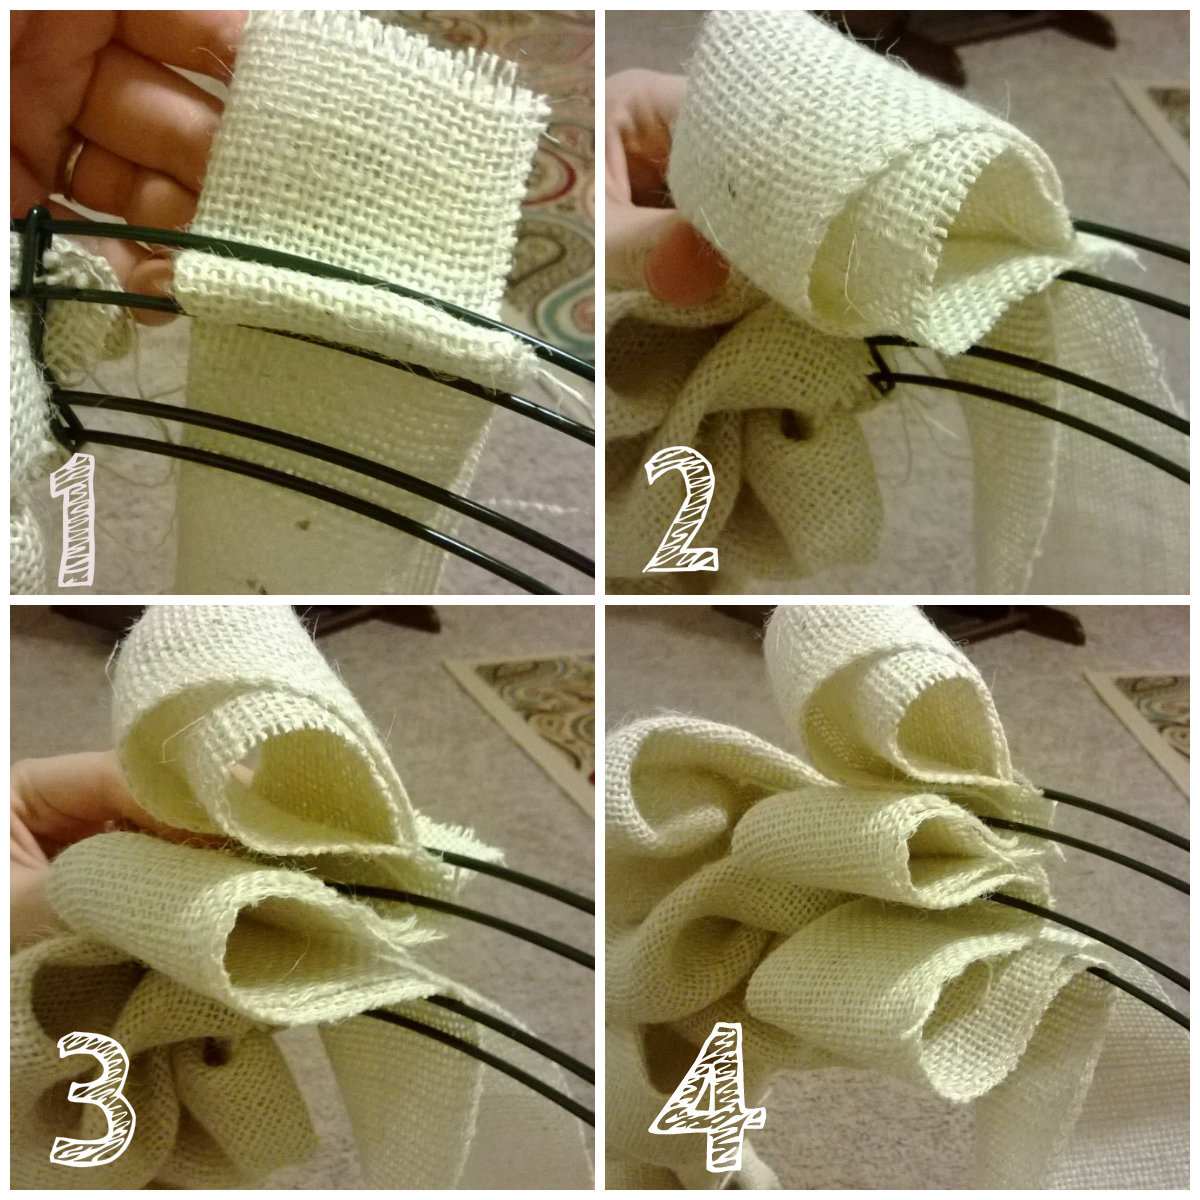

1. Place your folded burlap behind your wire wreath. Using your finder, poke the burlap through the first gap.
2. Continue to pull the burlap through the hole until your loop looks like this.
3. Repeat the “poke and pull” instructions as you move on to the second and third gap.
4. After finishing your first column and ending at the bottom, to complete your second column, repeat steps 1-3 from bottom to top, the following column should flow top to bottom, etc.
5. Continue this pattern until you finish your wreath. Once wreath is finished, secure monogram letter to wire wreath using twine (you can secure with whatever you like, I just like the look of twine and burlap). You may choose to use hot glue to secure extra decor, but by using twine, you can easily change embellishments depending on seasons.





4 Comments
Comments are closed.