St. Patrick’s Day is just around the corner! How did that happen? I swear it is still Christmas, but I guess I better get with it! I love St. Patrick’s Day. It is such a fun time to reflect on all the things you are lucky to have!
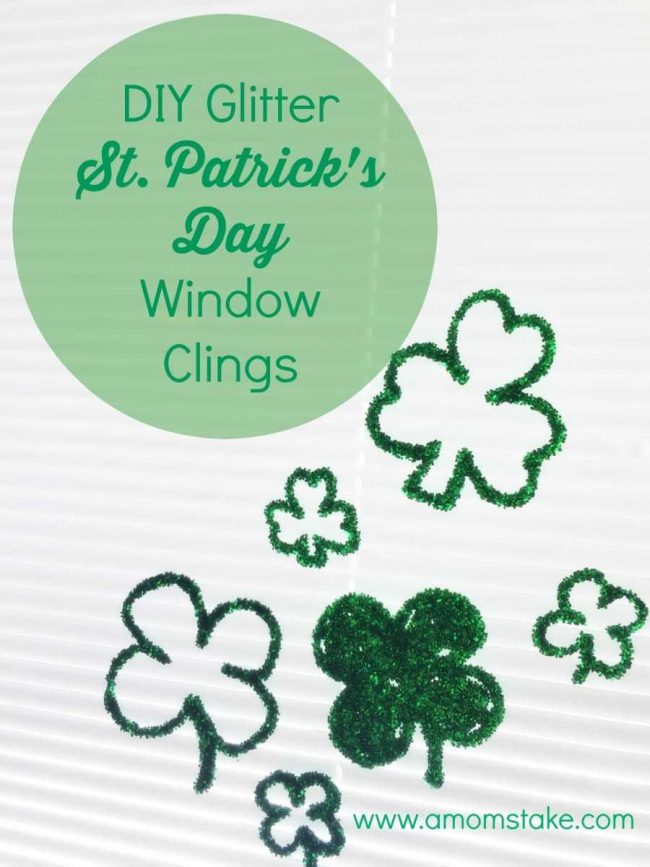
Not to mention I love seeing bright green pop up all over the place! Me and my kids thought we would spend some time getting some decorations ready for the house. We decided to make our own window clings, it is a fun and easy project that even my toddlers can do!
I received compensation and samples for this post, all opinions are my own.

You will need:
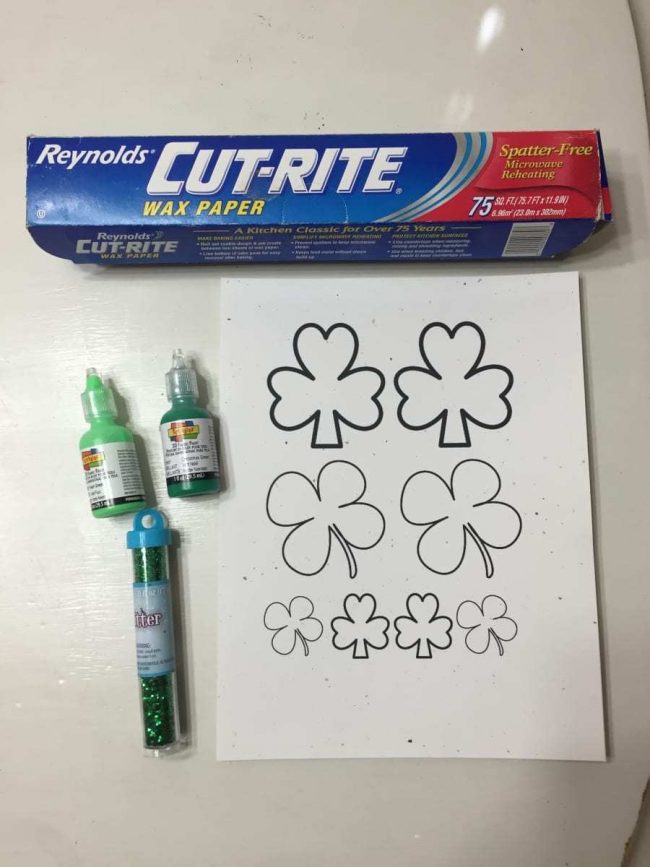
Wax Paper
Fabric Paint
Glitter
Tape
A Pattern (optional)
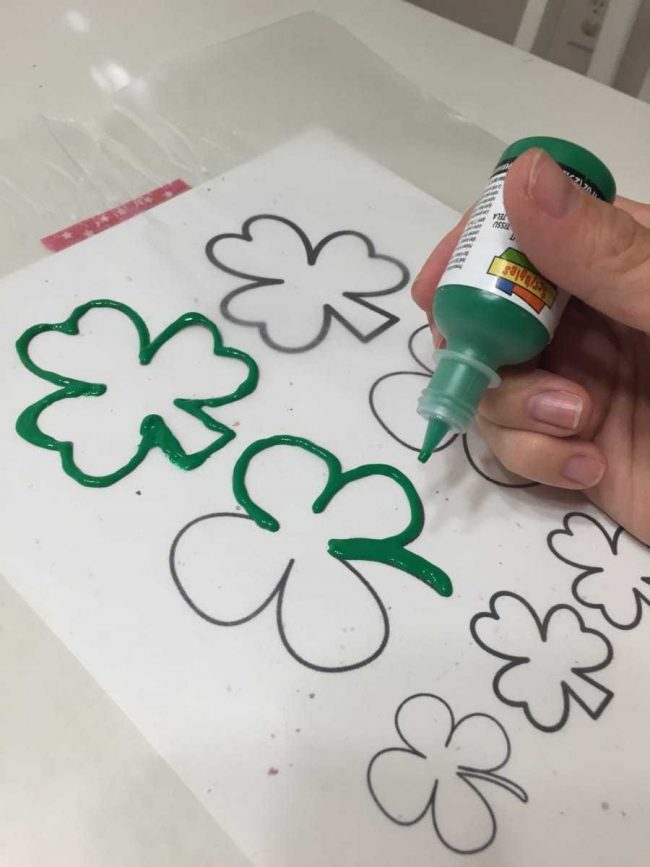
To get started choose what shape you want to make. We just went with clovers, but rainbows and pots of gold would be super cute too! I printed out some free clip art on a sheet of paper and we were ready to go.
Tape your pattern to the back side of your wax paper.
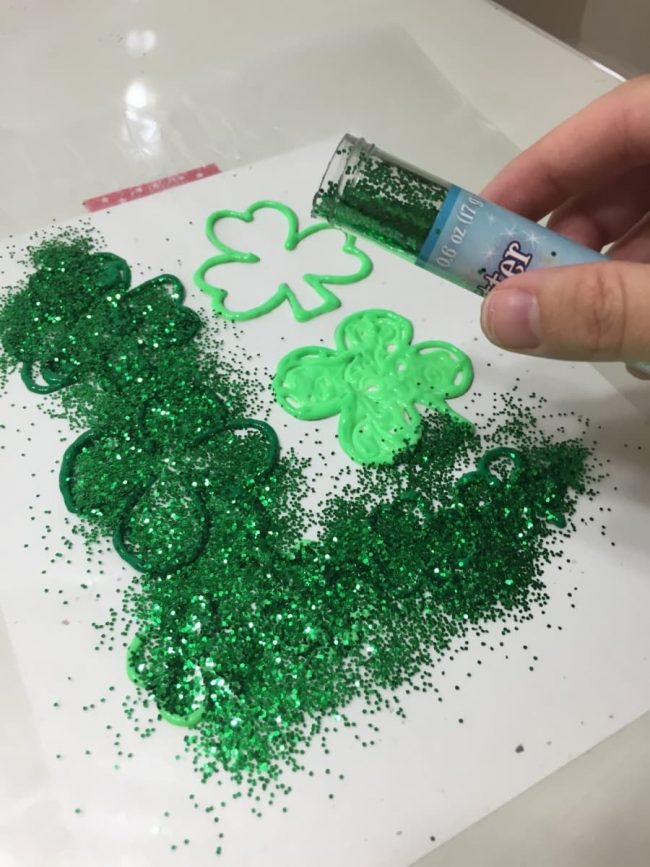
Trace your pattern with the fabric paint, make it pretty thick so that you can pull it off later. After you have done all your painting, cover the paint with glitter, and shake off the excess.
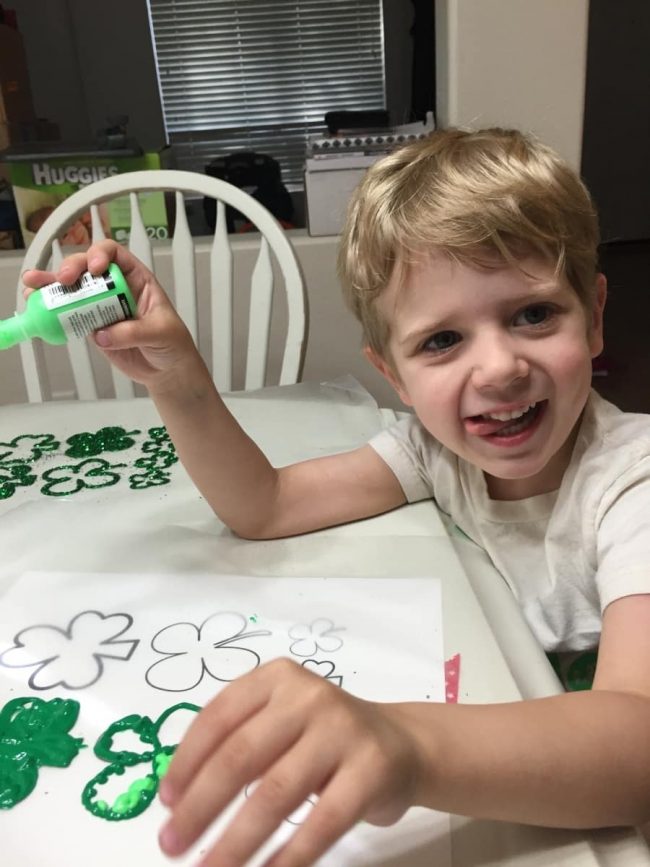
Let these shapes dry for a good long time, like a full 24 hours, and then they are ready to put up on your windows! We love to use window clings to decorate the mirror in the kids bathroom. That is where ours will hang!
Because they are delicate these shapes should not be moved over and over again, they can be, they just can break with too much stretching. So, make sure they are where you want them!
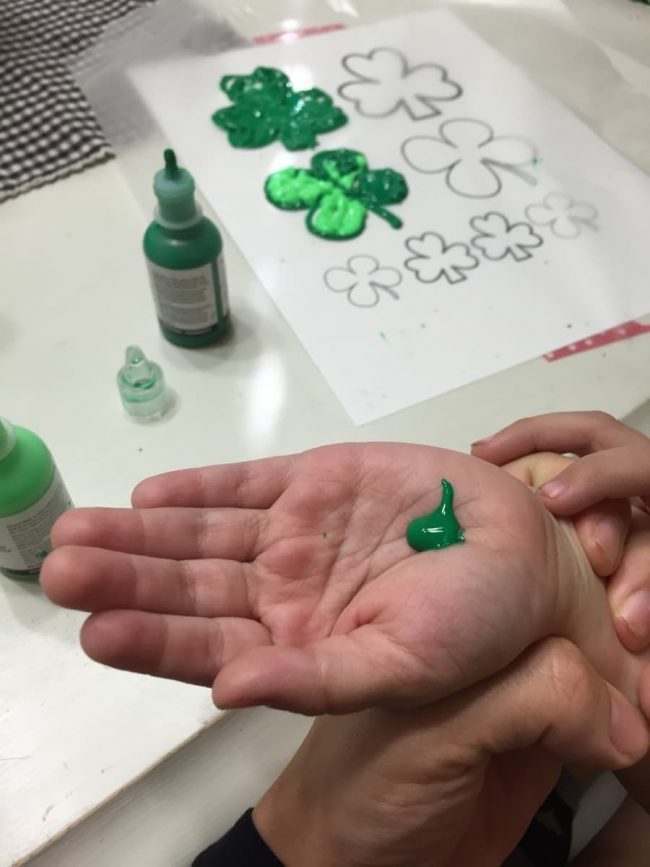
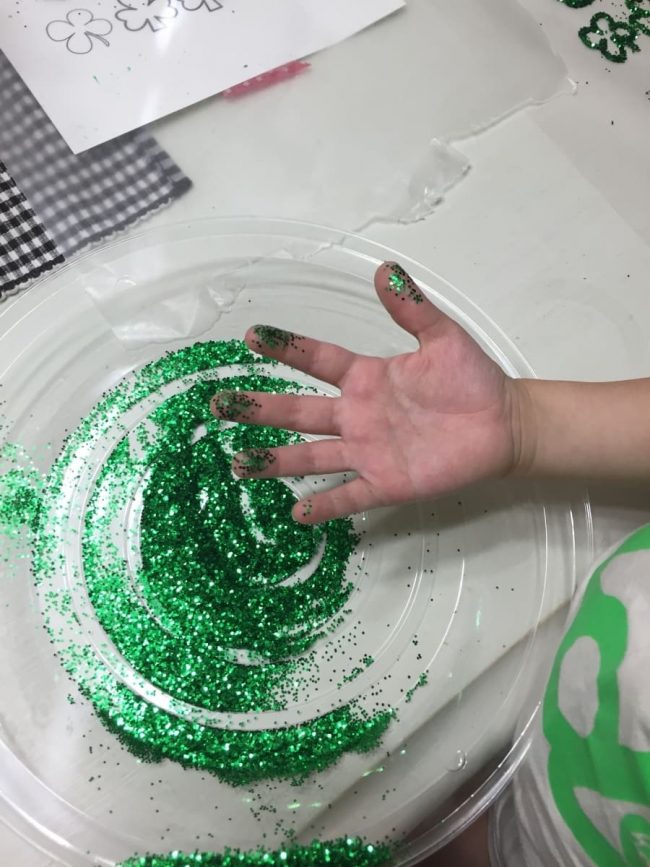
Usually when we do a project like this, I dread clean up. Especially when there is glitter involved. But, I have a secret weapon: Mega Mess Wipes.
These awesome wipes can be used to clean up pretty much everything! Think kitchen, bathroom, tables and chairs, and even hands and faces. Their large size makes it really easy to get the whole job done with less wipes.
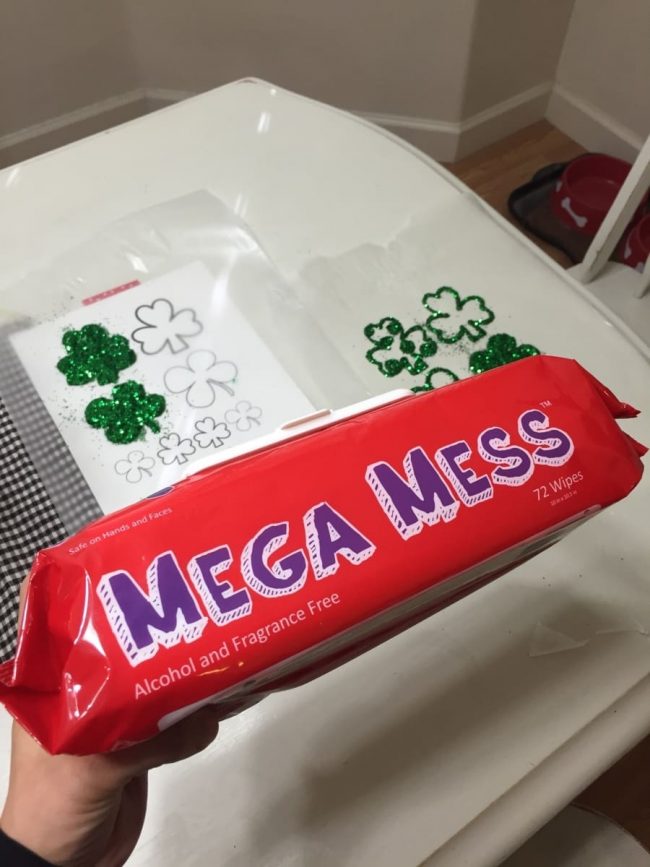

After we finished our window clings I was able to easily wipe all the paint from my sons hands AND clean the glitter and paint from the table, and I only used ONE Mega Mess Wipe.
I love how thick and durable these wipes are. I love their large size, and I LOVE that they can be used on skin. It is the beauty of a baby wipe and a cleaning wipe combined!
I have pack in my kitchen, my bathroom, and even a package in my car! You just never know when you are going to have a Mega Mess to clean up with kids around, right?!

Ann Bacciaglia
Tuesday 17th of February 2015
This looks like a fun craft to do with the kids. i love messy craft projects. These wipes would be great for the cleanup.
Mama to 5 BLessings
Tuesday 17th of February 2015
What a cute craft. Definitely need those wipes with all the glittery mess!
Sandra @ A Dash of Sanity
Tuesday 17th of February 2015
These are so much fun! Thanks for sharing the idea. my kids will love making these.
Aubrey
Monday 16th of February 2015
Those are a super cute idea. Very fun and easy to do. Those Megamess wipes are awesome. My friend keeps them around her place and the first time I used them I did not expect them to be that large. So much bigger than a regular wipe.
Lee
Monday 16th of February 2015
This is a great craft idea but can we back up to the Mega Mess part? I need these immediately. I always wish I had a wet wipe big enough for hands and then to wipe off the item which made the hands dirty or got dirty as well. These sound like a perfect product! Lee