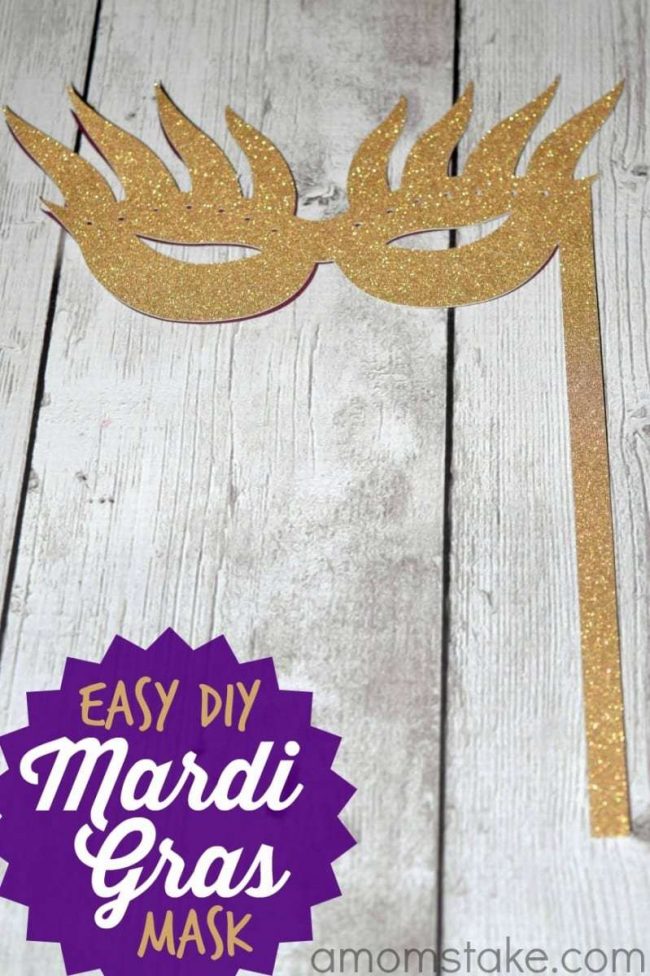
Mardi Gras is one of my favorite “fun” holidays and I love spending it with my family every year. It’s so much fun to decorate the house in fun, bold colors and to wear masks. Every year I make a new and creative mask for myself and my family to wear and I had the help of the Cricut Explore machine this year. The mask I created is double sided and is full of gold glitter and purple simmer and it turned out fantastic!! Lets get started.


Mardi Gras Double Sided Mask
Supplies:
- Gold Glittered DCWV 12 x 12 Cardstock
- Purple Shimmer DCWV 12 x 12 Cardstock
- Adhesive Tape Roller
- Mardi Gras image from the Cricut store
- Cricut Explore Cutting Mat
- Cricut Explore Cutting machine
Directions:
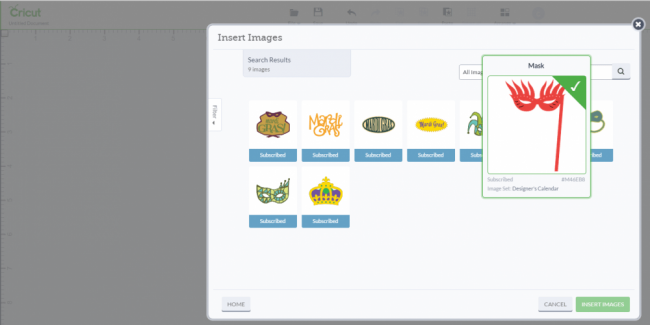
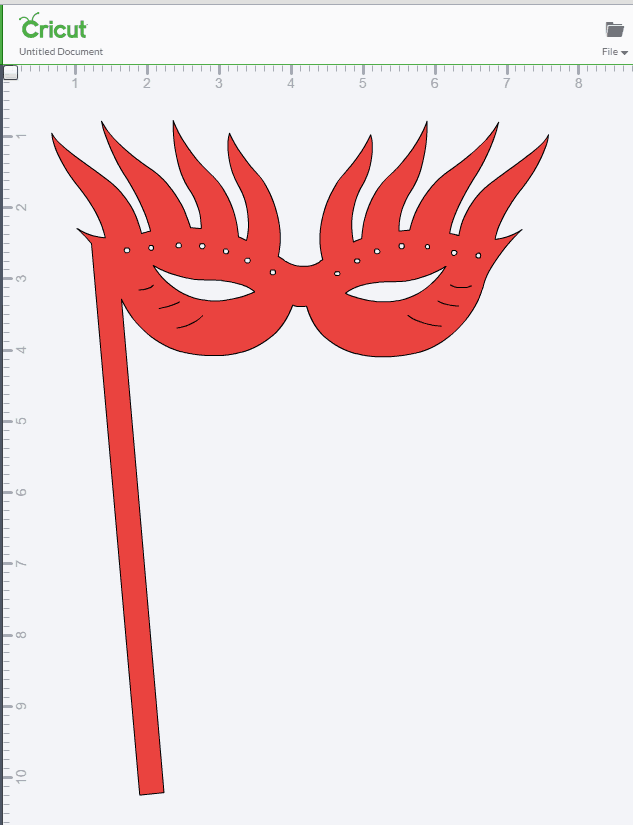
Head over to the Cricut design online software and go to insert image. Select the Mardi Gras mask and click insert and stretch the size to 6.91” Wide x 9.37” Length.


For this Mardi Gras mask we are going to be cutting out two of the same images to glue back to back. Once you’re happy with the size of the mask click on it and select copy. Now paste the image and go to edit and select mirror so it’s the same image but facing different directions. Once that’s complete we’re going to head over to cut settings on the Cricut cutting machine.

Load the paper into the machine using the arrow button and then go to cut settings and follow the directions. Be sure your turn dial is set to Cardstock+ to ensure a deep and proper cut for this project. Once the cut is complete remove is from the machine and pull the excess cardstock away from the piece. Your cuts are now complete and ready for assembly.

Place the two masks on a flat surface and apply adhesive tape to just one side and firmly place the other mask onto to assemble. Your mask is now complete and is perfect for kids, teens and adults.
