Affiliate links are included in this post. All opinions are my own.
My husband surprised me with Gloomhaven as a gift for Christmas in 2018. The game literally overtook all my gaming time and it was the game of choice 9 times out of 10 games that hit the table. If you’ve played Gloomhaven, you know why!
We absolutely loved the game and experience, but the boring, unpainted characters left a lot to be desired. They were hard to tell apart which character was yours and made it more difficult to really care about your character.
I decided, I wanted to paint my Gloomhaven miniatures. I had never done anything like this before. So off I set to watch some tutorials. I actually found this post on painting miniatures extremely helpful. It gave me the courage to try something new. It was actually fun, and I loved the result!
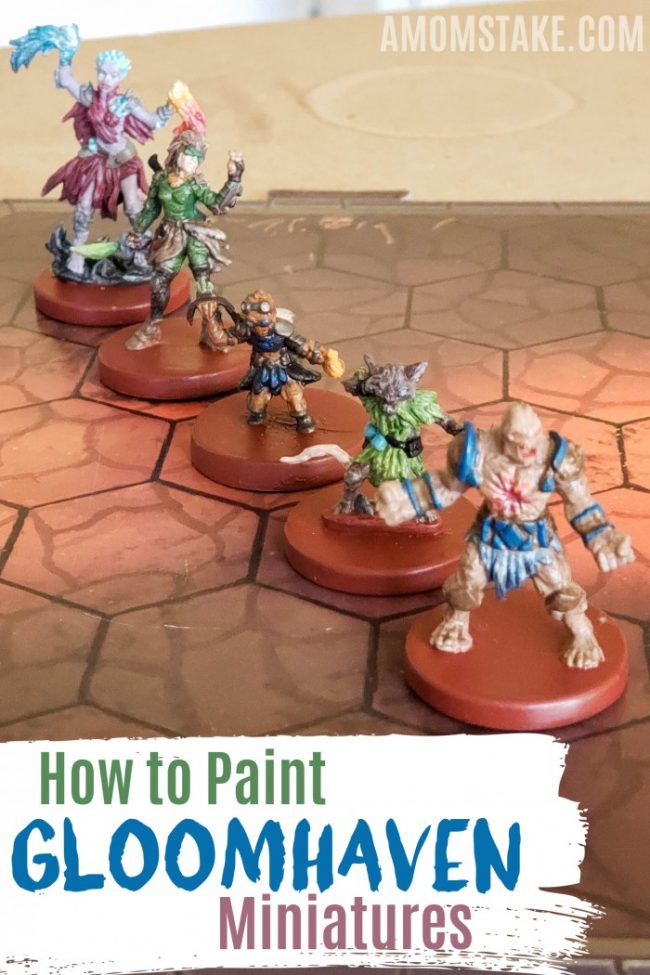
Painting Gloomhaven Miniatures
To get started, you’ll need some basic supplies. Some of these you likely already have on hand, but there are a few you’ll need to shop for. You can find all of these supplies at your local Walmart or pick them up on Amazon. I did a little bit of both.
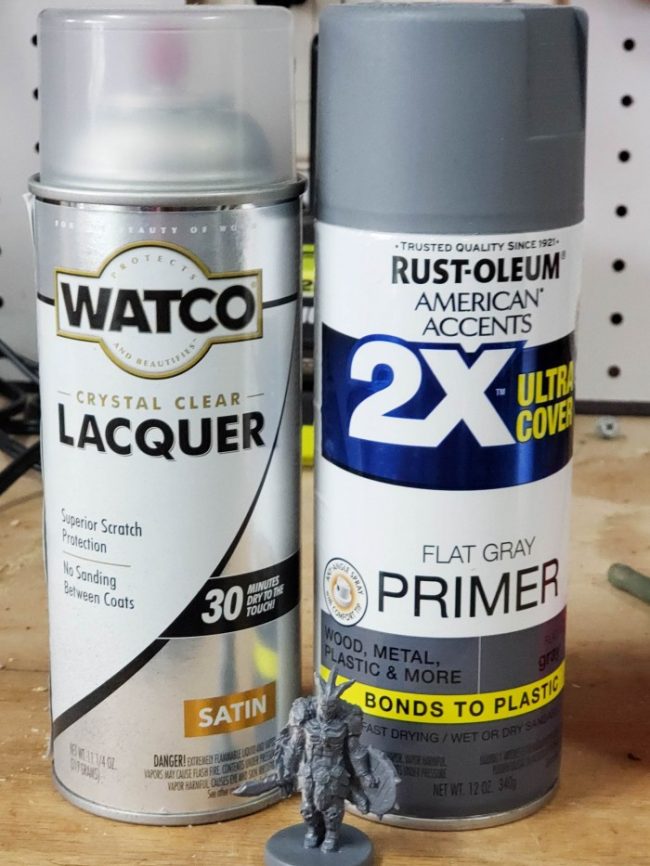
Supplies:
- A wide variety of paint colors
- Spray paint can of paint primer for plastics
- Spray paint can of clear protective coating
- Tiny paintbrushes
- Water
- Paper towel
- Paper plate
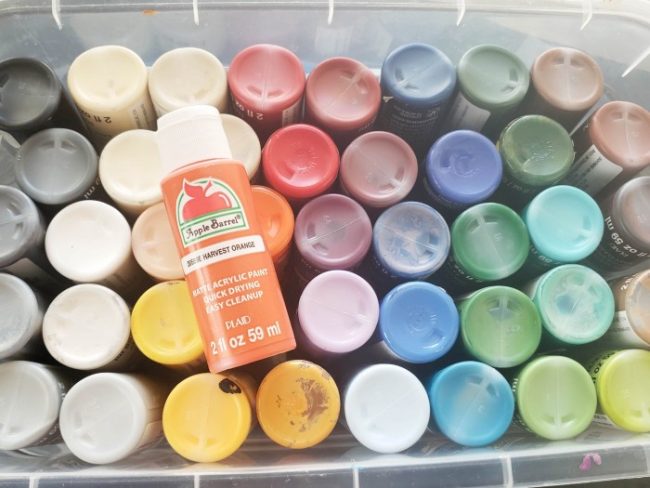
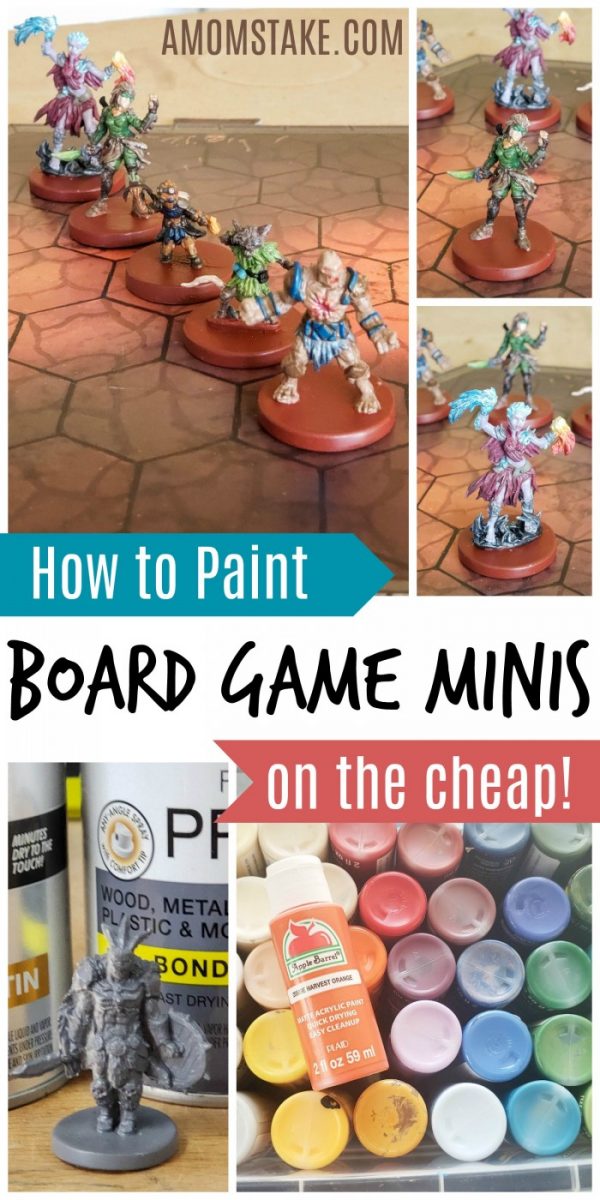
For paints, I literally used the really inexpensive, under $1 paints like the Apple Barrel brand. In addition to those, I did add some metallic paints which I really enjoyed using. I picked up a gold, bronze, silver, and a pearly white that have been great for mixing in with other paint colors and using straight as well.
How to Paint
Board Game Miniatures
1. Prime Your Board Game Miniatures
Start by spray painting a flat paint primer to your miniatures. You don’t want this to be a super heavy coating, though, so that you don’t lose any of the characters details. I just lined up all my starting characters and quickly spray painted them all in a line.
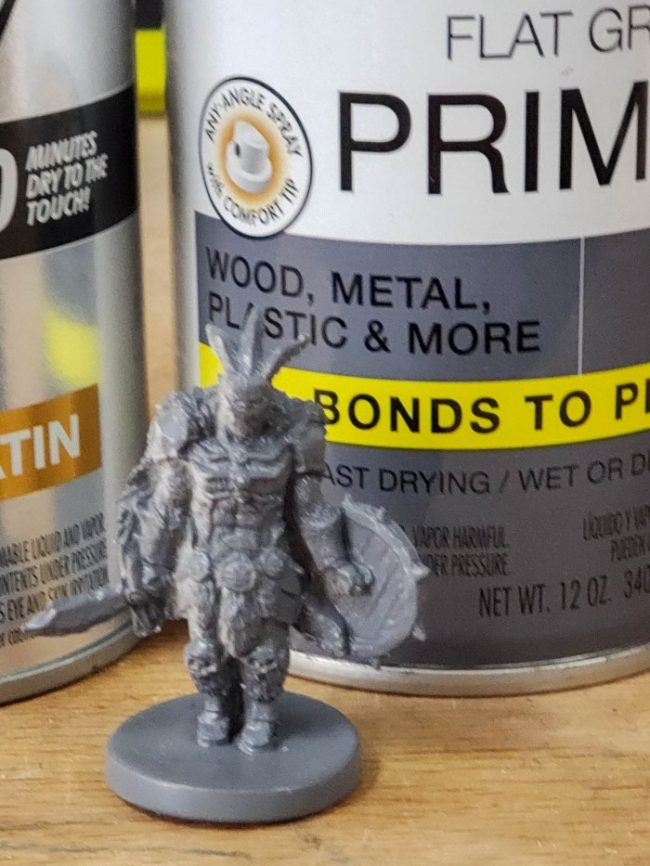
Allow time for these to dry completely before you get started painting. You’ll probably want to wait 30-60 minutes before moving on to painting.
2. Gather Your Supplies – Get Ready to Paint
You’ll want all your paints nearby and ready to paint. You’ll also want these additional supplies to help make painting easier:
- Paper Plates – Use as your paint palette for adding and mixing paints
- Paper Towels – Had one wet and one dry paper towel. The dry paper towel can help remove excess water from your paint brush and the wet one can help remove excess paint or dampen your brush if it starts to feel too dry or stiff.
- Cup of Water – I recommend a paper/plastic disposable cup as this will get very mucky and it’s nice to be able to toss it away when you’re done. You’ll use this to wet your brush between colors and to also thin down your paints.
- Paint Brushes – You’ll want a variety of sizes for different areas on the miniatures.
3. Tips for Painting Success
- Paint two miniatures at the same time.
Literally pick two board game miniatures and paint them at the same time! This doesn’t mean you need to plan for the same colors, but it just builds in the time you’ll need for layers to dry.
For example, I painted the lilac skin of the Spellweaver, then switched over to the Cragheart and painted all his clay toned skin. Then, I jumped back over to the Spellweaver and her skin was ready for the second coat. It helped build in “patience” for giving the layers time to dry but I kept busying painting the whole time.
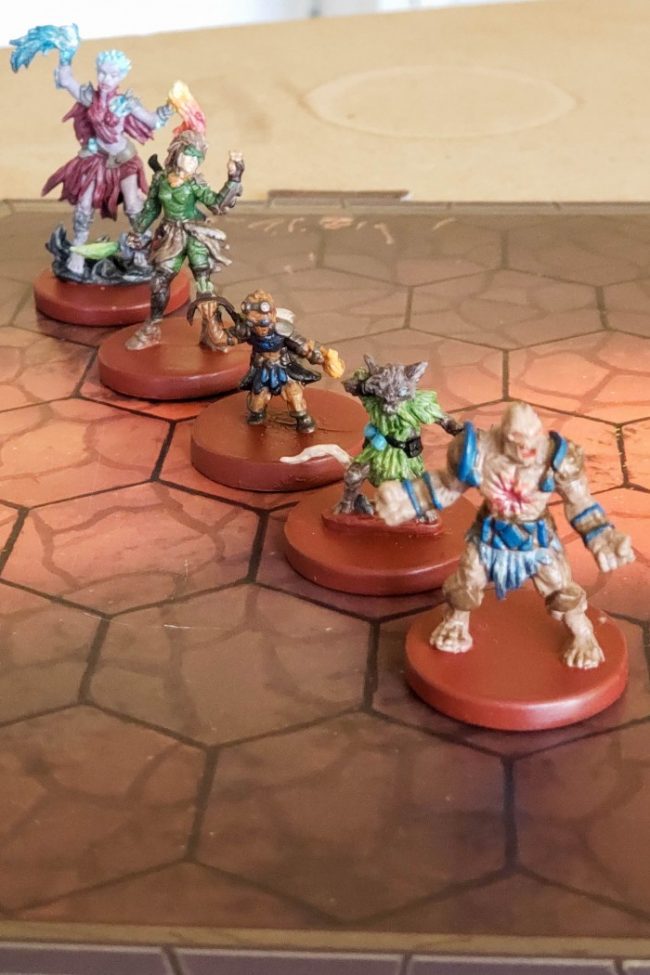
- Start with your “lowest” most hidden layers first.
You can always paint over your dry paint layers, so it’s easiest to paint the spots that are the most hidden first. Like those spots behind the cloak that tucks around the side of the miniature.
For example, for the Cragheart I painted the clay colored skin first and for Spellweaver her lilac skin tone came first. The rest could easily layer over wherever the paint may have gone off the line. It’s much easier to paint the top “pop” areas of the character later even if they have layers of other colors already on them.
- Water is your friend.
Use a little drop of water to dilute your paint down just a bit. You’ll also want a wet (though not dripping) paint brush. This will help your paint easily sink right into all the cracks and crevices. The water will literally do all the hard parts of painting for you!
Don’t worry if you don’t see a lot of color right off the bat, you can let the layer dry and go back with more paint and color as needed.
- “Dry paint” top layers and accents.
As opposed to your lowest layers with all the cracks, you’ll want to use a more dry paint brush when adding pops of color such as the wristbands on the Cragheart. You don’t want the paint to run off the area you are painting, here.
You can do this by using your dry paper towel to remove most of the water from your paint brush. Then, after adding paint, dry off a little of the paint from the brush as well so you don’t go in with too much paint at once. This also helps make a nice fine brush tip to use!
- Add Shadows and highlights.
Finally, to really add depth and a professional finish to your characters, add an extra watery black or other dark color to your minifigure. Just brush it on and let the water take the watered down black into all those cracks and crevices. If you get it too wet, you can use a paper towel to help remove some of the water.
This literally makes the different elements and details stand out so much. Instead of a single block of color, it gives this dimension that makes everything stand out.
Likewise, you can use the dry brush (directions above) to add lighter shades like a tint of white or a brush of silver or gold to add some light, shimmer, or shine to your characters. Just drag your brush along the highest points, like the peaks of the Scoundrel’s skirt and shoulder cuffs.
4. Finish with a Clear Gloss Finish
Use a spray paint gloss, semi-gloss, or matte finish to help coat and protect your paint from chipping. I went with a semi-gloss and love the finish. It gives a bit of shine with the light and really helps the characters feel finished.
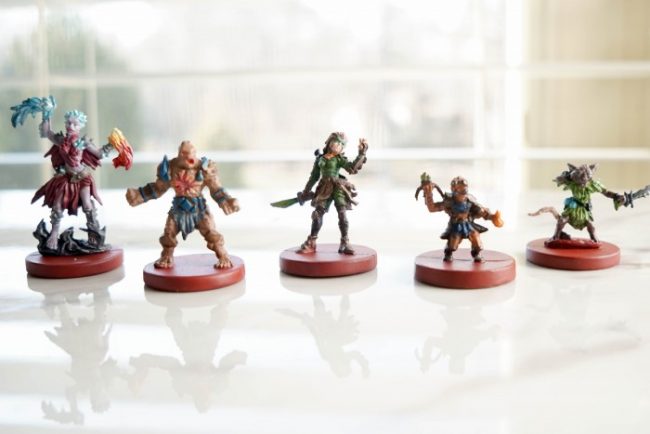
Gloomhaven Starter Classes Characters Painted
My copy of Gloomhaven had the wrong character included within the starter box for the Brute character. I was able to get a replacement, but since we’d already retired the Brute by the time the character arrived, my brute has yet to be painted.
I’ll add the Brute to this post when I finally get a chance to paint him. I have a few others from the unlocked classes to paint ahead of the Brute since we are going to be playing with them soon.
I liked the idea of a consistent clay brick colored base, so I stuck with a single color for each of those. You could also choose to make them unique per character.
1. Gloomhaven Painted Cragheart
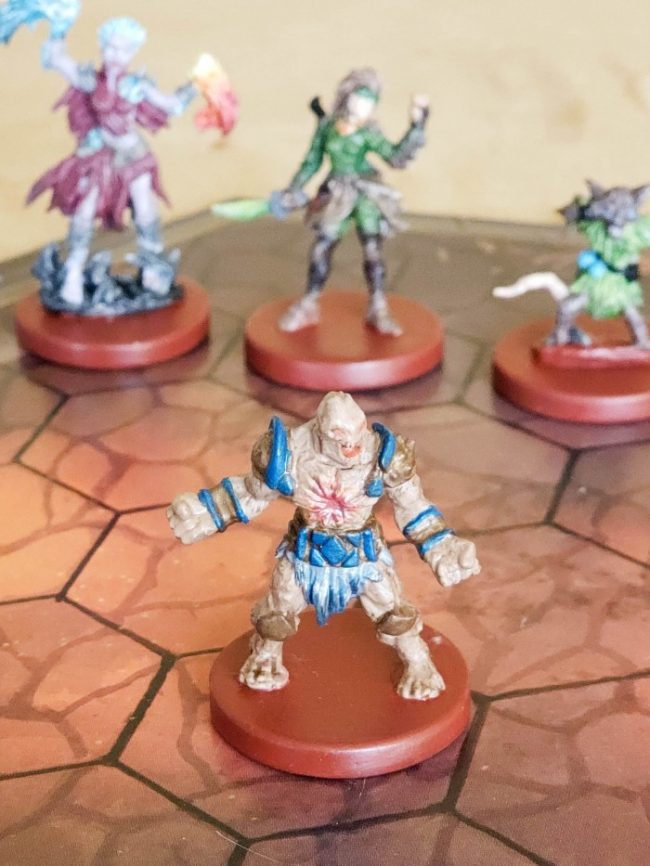
For Cragheart, I started with a clay base skin tone. I painted nearly the entire miniature with the clay color. Allow time to dry and repeat with a second and possibly third coat, as needed.
Next, I filled in his chest cavity and eyes with a red and an orange with a shimmer white mixed in with the paints. This took a couple layers to add dimension and varied colors to the look.
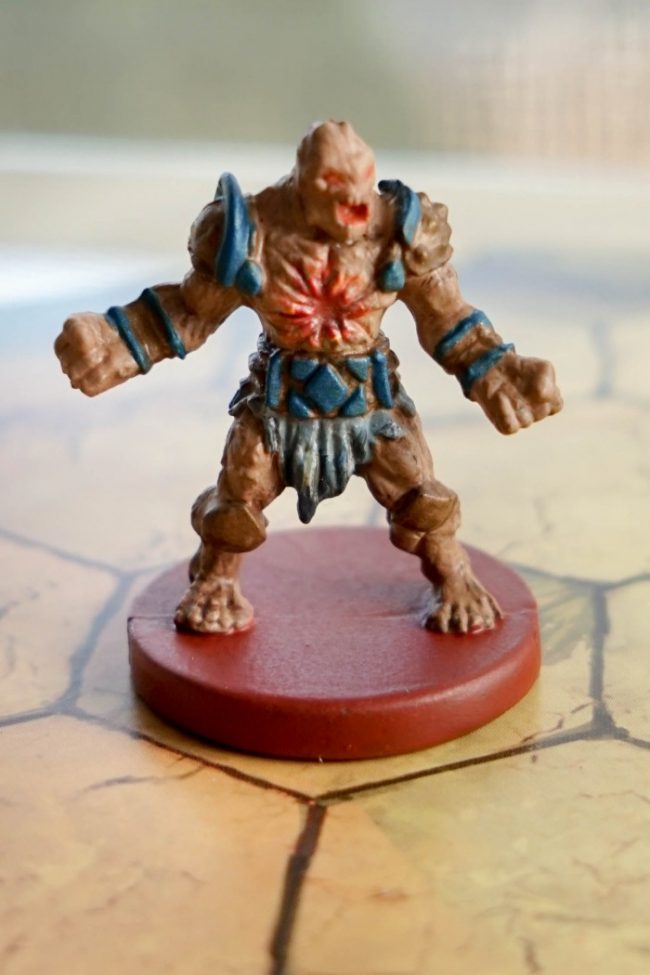
I then took a bronze color and painted in the belt, knee caps, wrist bands, and shoulder pads. Finally, I added a light blue and brighter blue to his cuffs, shoulder pads, belt, and groin cloth.
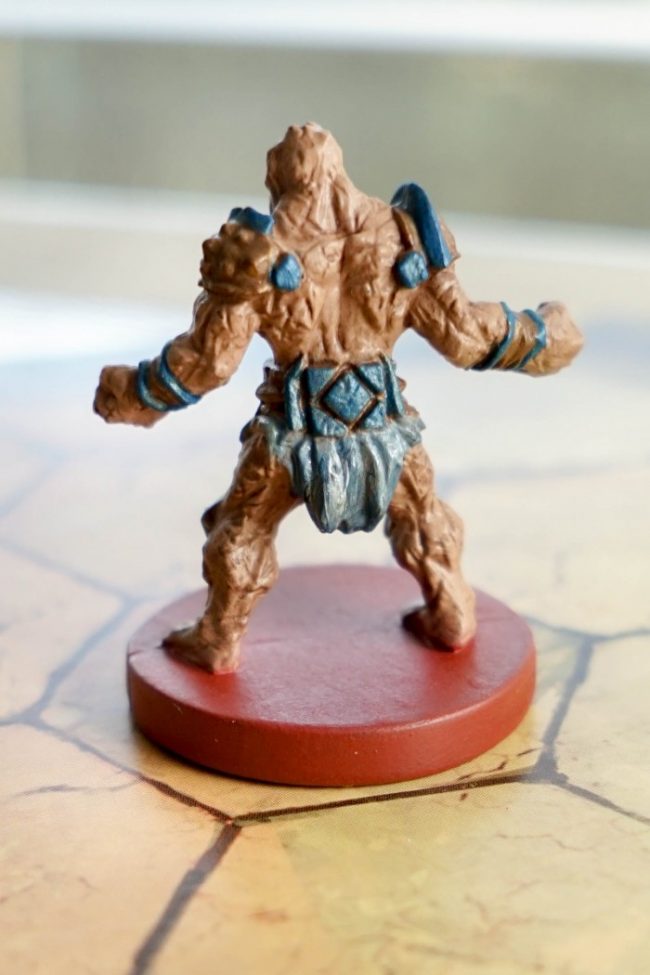
Then, I added a darker muddy brown shadow to the cracks and used a dry brush technique to add some copper bronze color highlights.
2. Painted Gloomhaven Scoundrel

I started the Scoundrel with a rich green color for her clothes. I wanted her to look like a forest hunter. After layers of green on both her clothes, mask, and sword, I moved on to adding a dark muddy brown to her boots.
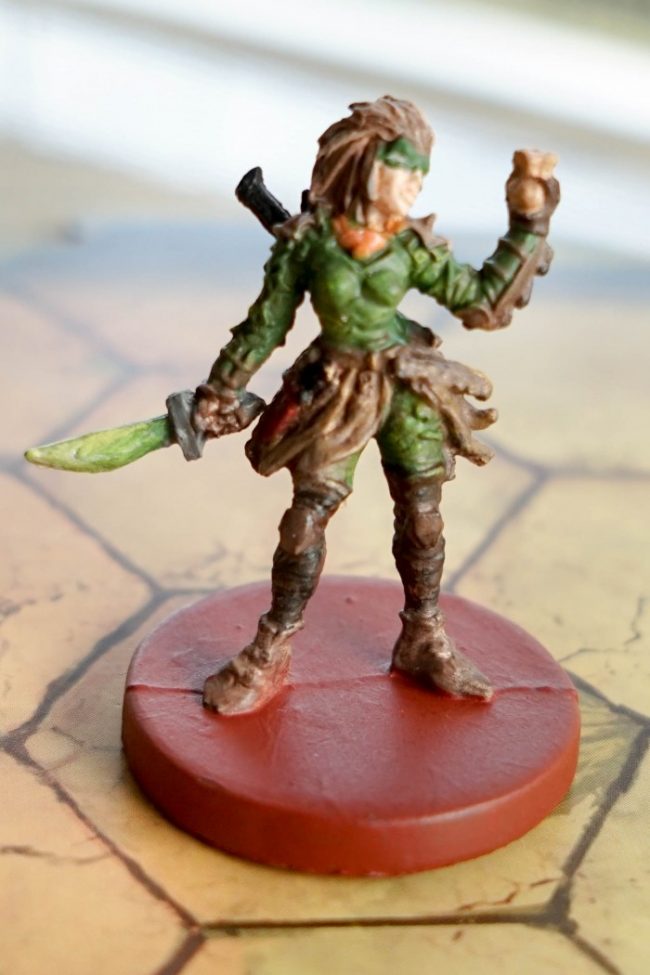
Next, I went in with a lighter brown to brighten up parts of the boots, the skirt, arm and shoulder cuffs, and gloves. I also used the same brown as the base color of her hair.
From there, I went in with the lightest peach skin tone. I added an orange pop on her necklace and made the sword look more like a posion sword with lighter swirls of green.
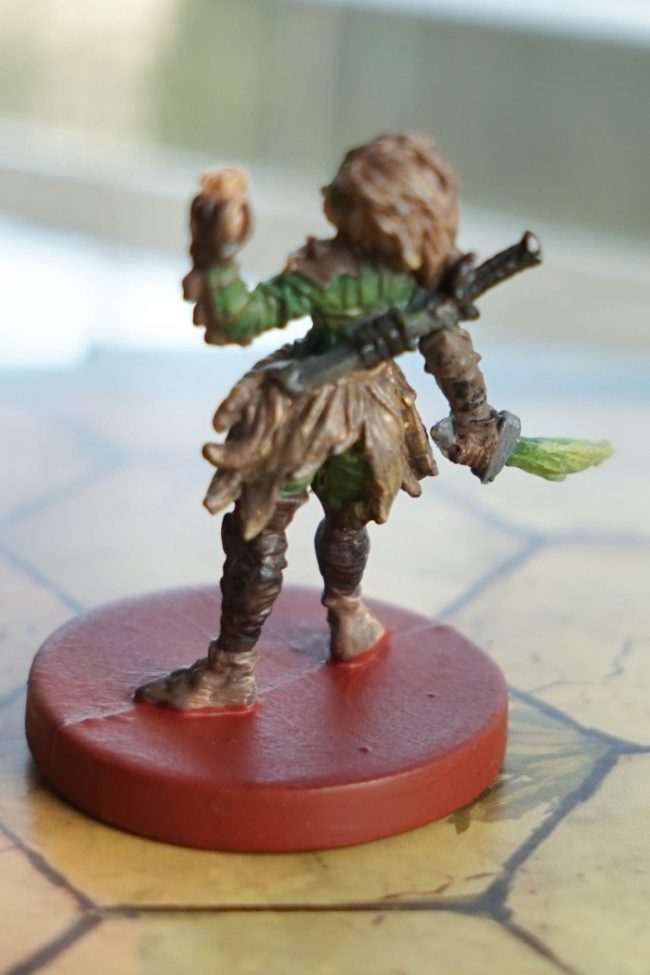
I used grey and black to finish off the knife hilt and sheath. Then, I finished off the details with a dark black shadow throughout and highlights with bronze and a light brown.
3. Spellweaver Painted Minifigures
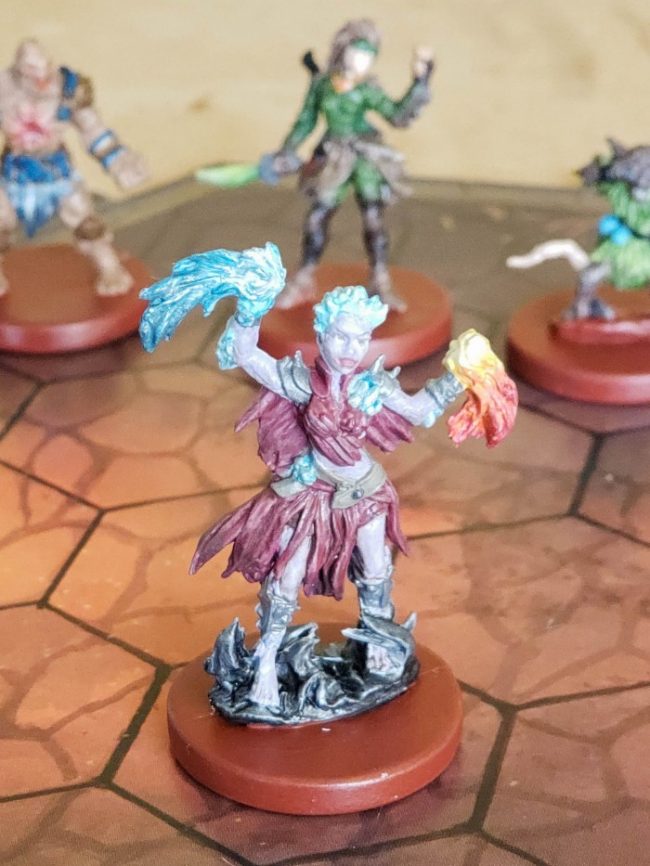
I choose to start the game with the Spellweaver, so she was the first character I painted. I really loved how she turned out and it got me very exited to continue painting other characters!
I started with her base lilac skin tone. From there, I moved onto the magenta skirt, top, and robe. Then, I added a leather-like belt with a dull brown-grey color.
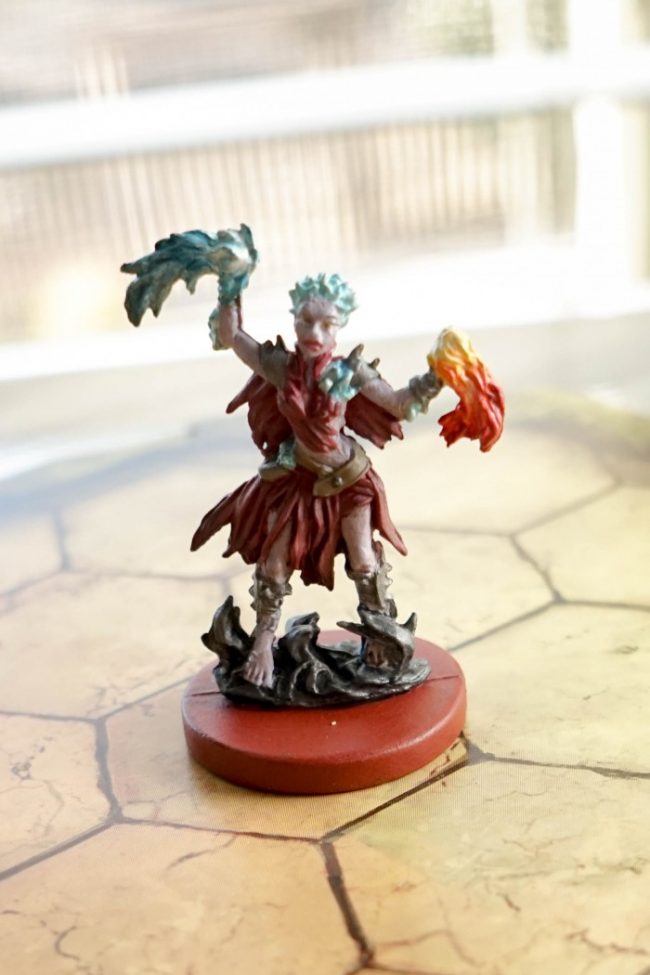
I added a silver-toned grey for her armor on her knees, shoulders, and wrists.
Next was the fun part — imagining the elements she was preparing! I started with the lightest shades and built them up and up as it went down to the tip from white to light yellow to orange and red and then a deep muddy red tips.
Then, likewise, from white to ice blue to a medium blue to a deep blue-grey color. I used a similar color scheme for her hair.
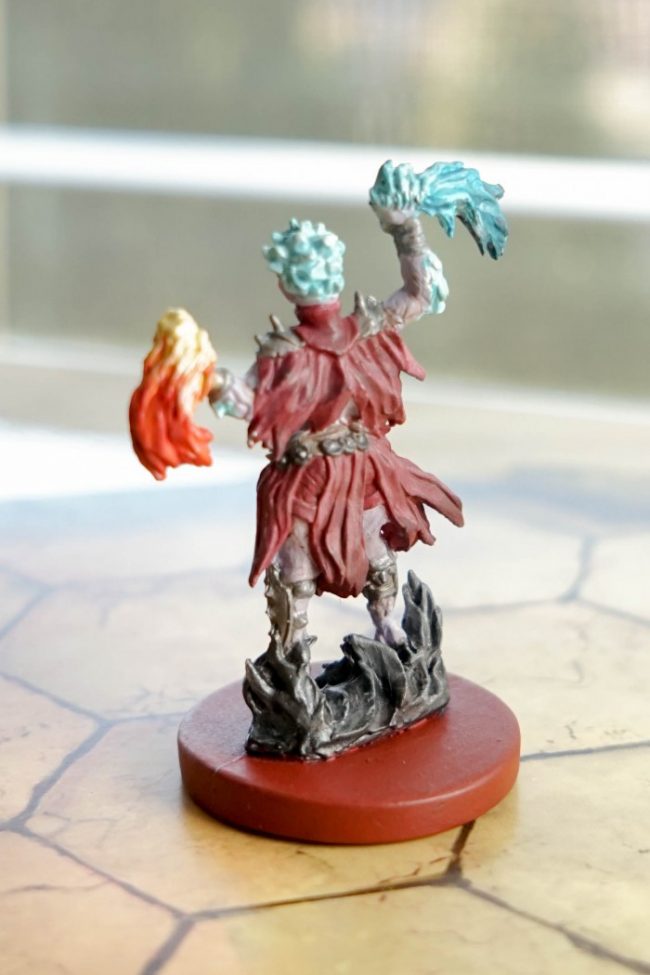
I added a deep black with sliver highlights around her feet to represent the darkness element. I finished off the Spellweaver with her facial details and adding shadows and highlights throughout.
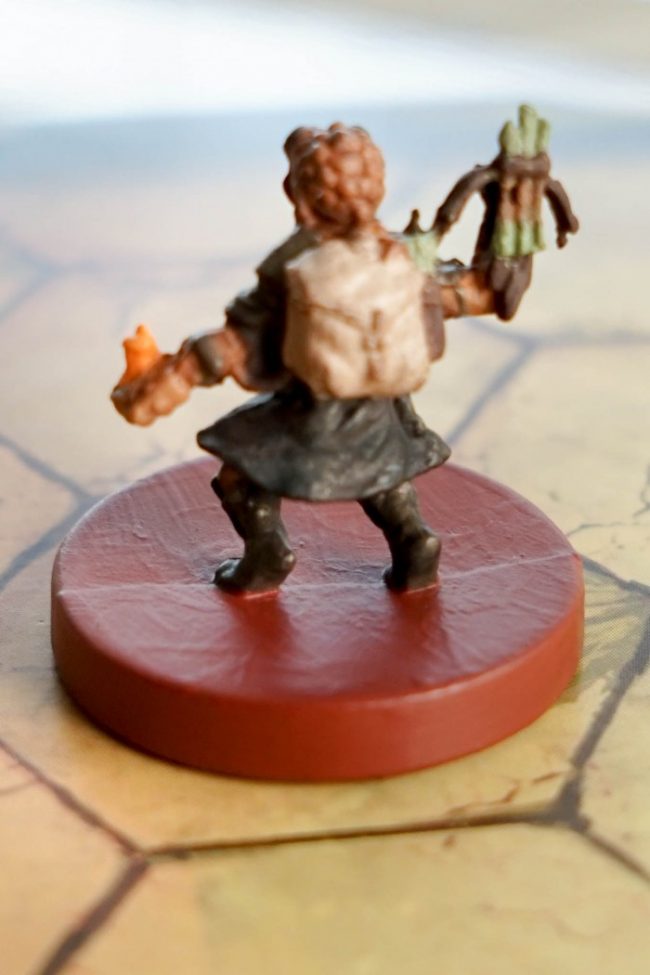
4. Gloomhaven Tinker Painted
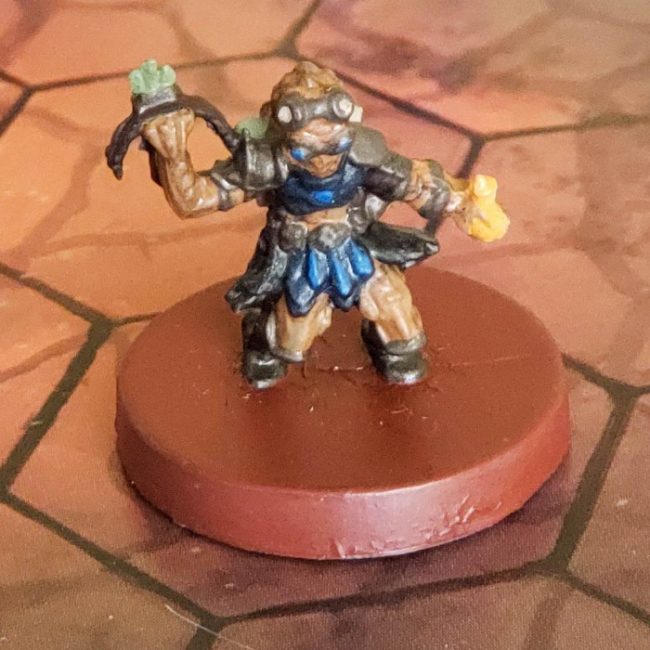
The tinker got a coppery-orange skin as I wanted him to look a little mechanical but also earthy to combine what the tinker is really all about. He then got added lots of deep colored arm and skirts with hues of deep grey and dark browns and bronze.
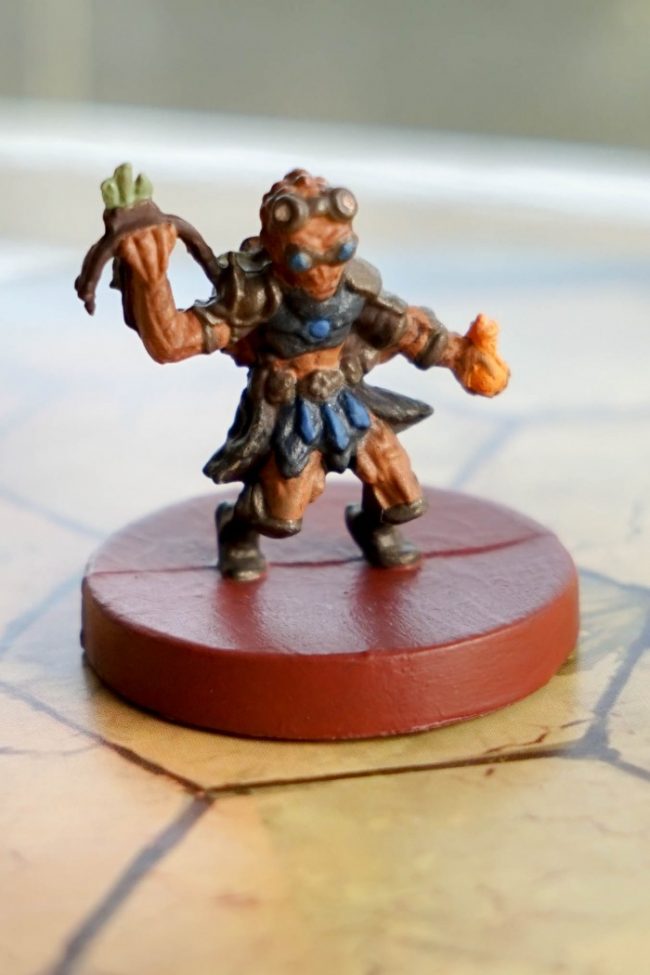
Then, to add some pops of color i added a royal blue pops on his clothing and eyes and bright green arrows. He also got a bright neon-hued orange loot bag.
I finished off the tinkerer by adding the deep shadows and white highlight tips.
5. Mindthief Miniature Painted
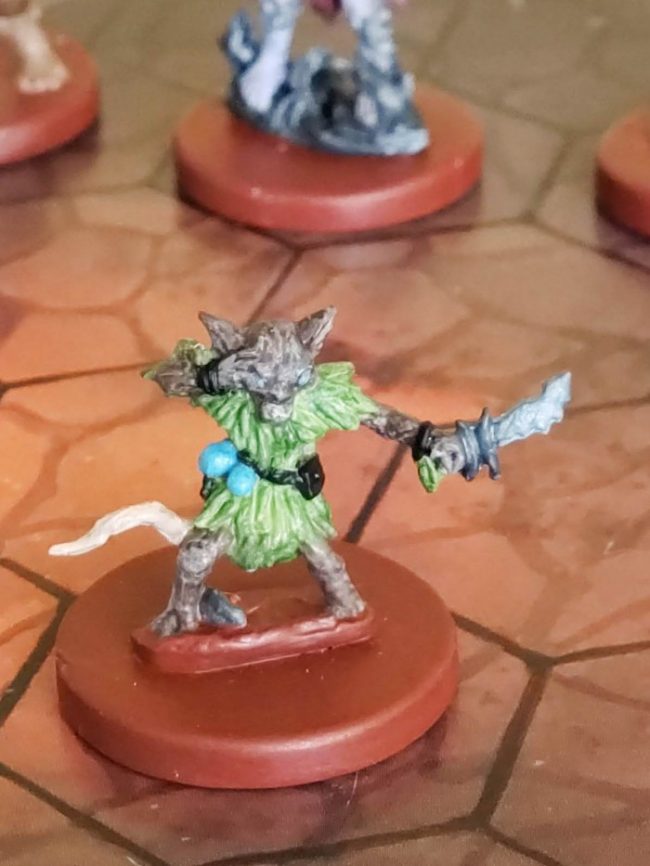
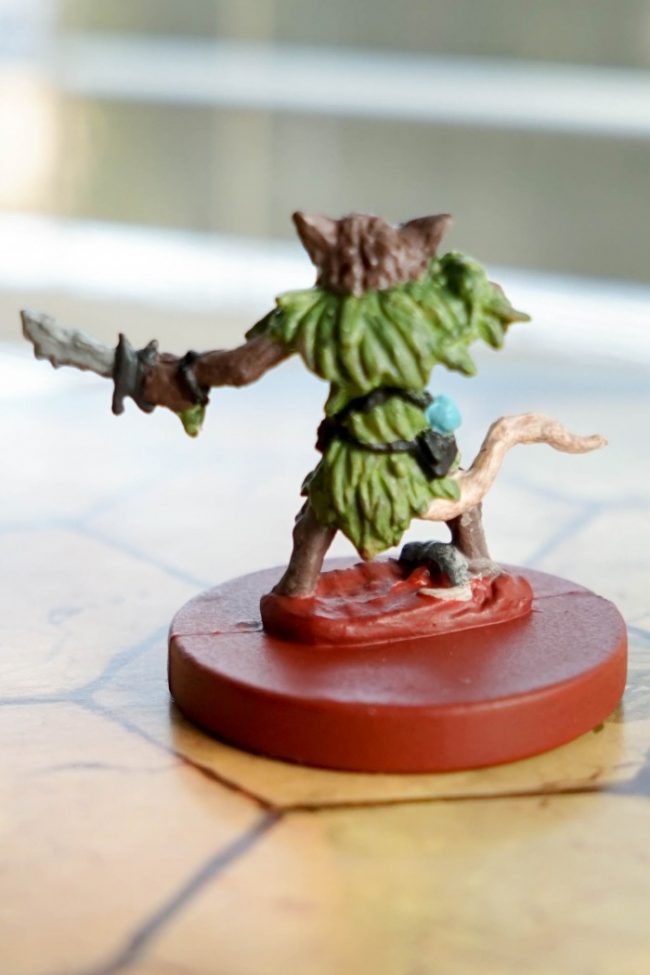
I started the Mindthief with this dark muddy brown fur coat. Then, a clothing that would resemble leaves with hues of medium to light green. I achieved all this variation in his clothing by adding a couple different layers and shadows and highlights.
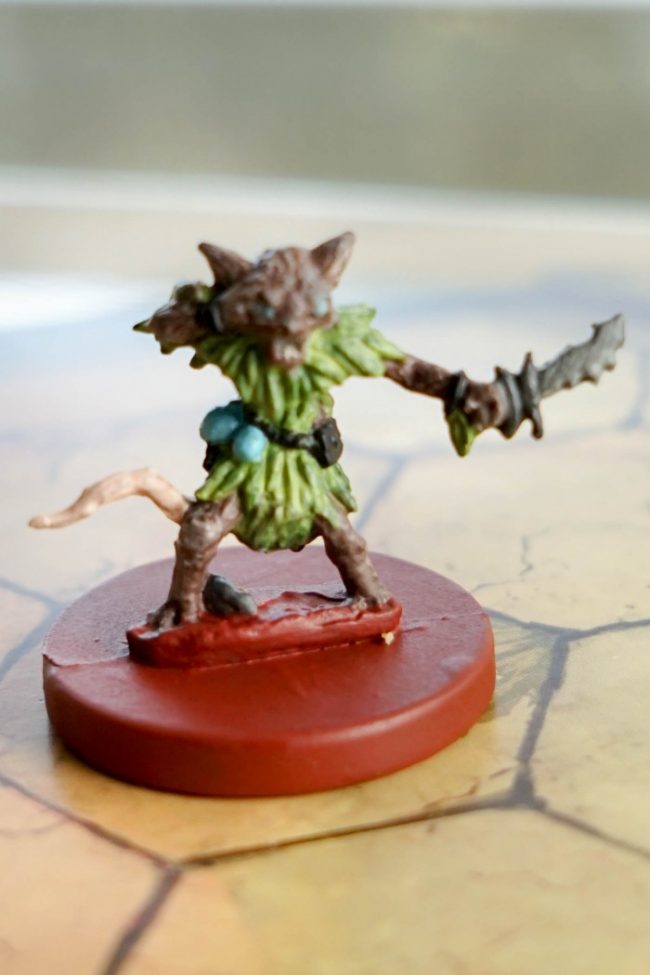
Next I added his hand cuffs, belt, little mouse companion, and finished off the sword. I finished with the pops of blue on his belt and his pale pink tail. Of course, adding those highlights and shadows throughout to give him a finished look.
Was this post helpful to get you started painting your own board game minis? Save this post or share it on Pinterest to help others!
Have you painted your Gloomhaven miniatures? What worked best for you?

Crystal Dorothy
Tuesday 28th of January 2020
This looks like so much fun!