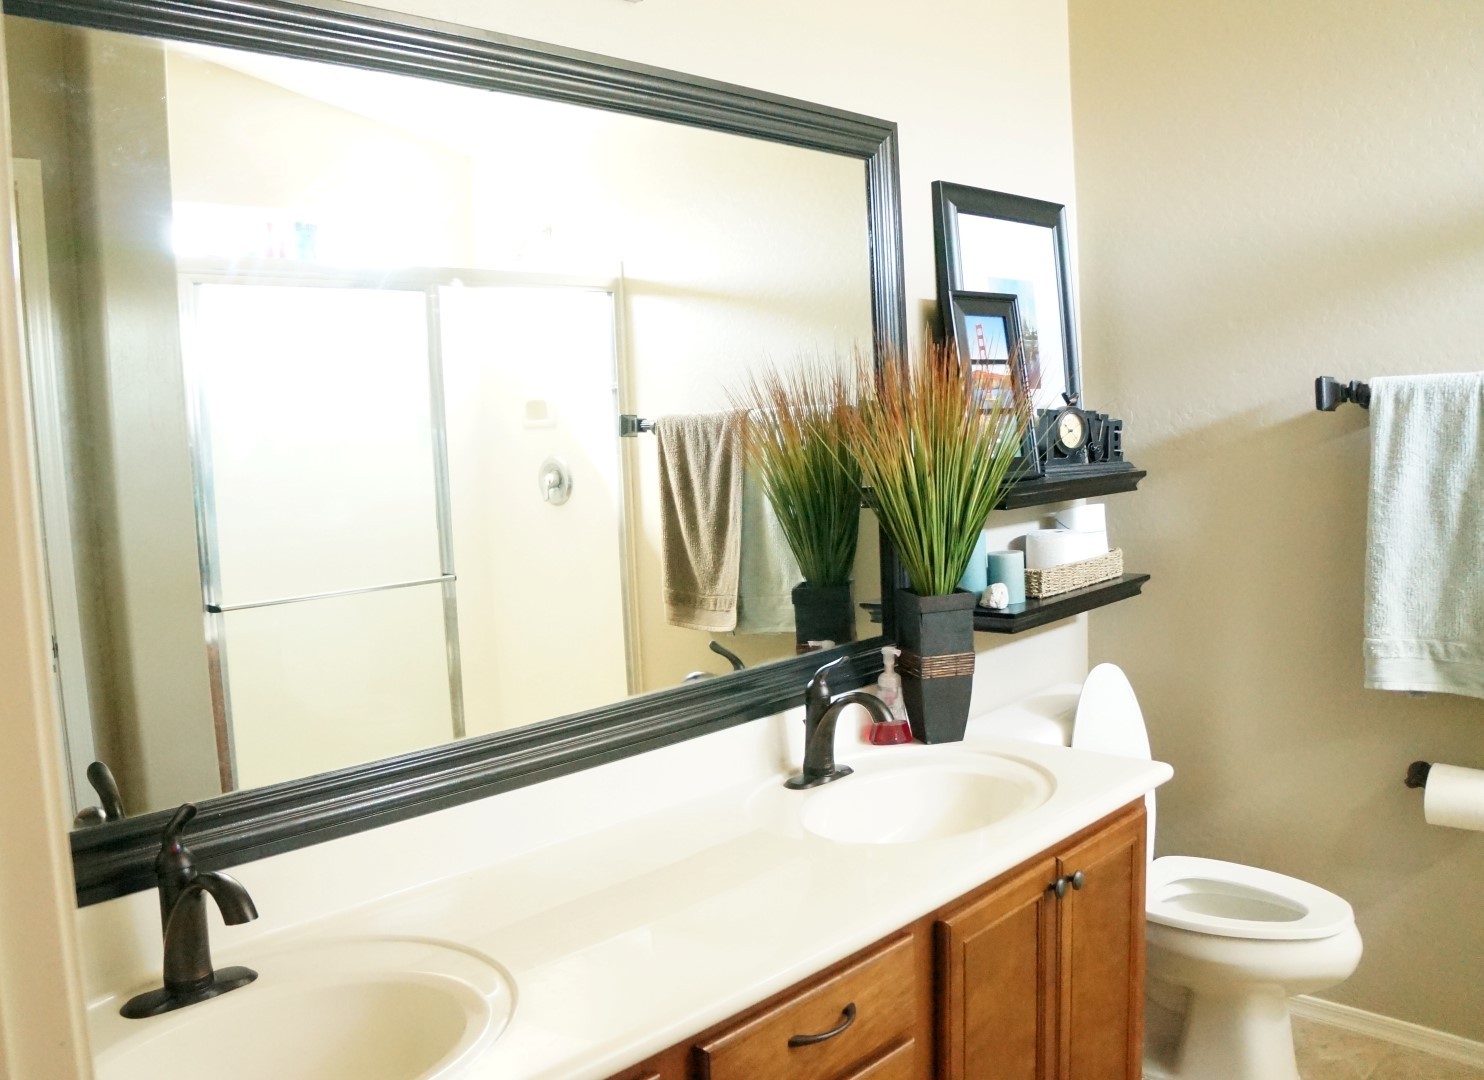
A few months back, we transformed our master bathroom with our small bathroom design ideas! The before and after change was amazing and we absolutely love the way our bathroom looks, now. By far, the biggest change in the bathroom was framing our builder installed mirror. It is actually a pretty easy project and not all that expensive that is it something I wish I would have done years and years ago! When I look back at my before picture, I am completely blown away. I think it’s something everyone with a plain builder’s mirror should do so I’m going to show you how to frame a mirror because it’s not nearly as intimidating as it sounds.

Tutorial – How to Frame a Mirror
1. Measure Your Mirror!
You need to start by measuring your bathroom mirror. If you’re going to go larger than the mirror, than keep that in mind and note down the measurements so you know exactly how big to cut your trim. We framed our mirror by using trim right on top of the face of the mirror but overhung our trim about an inch on the 3 sides that we could because I wanted it to sit flush with the wall, and go the the corner of my countertop past where my current mirror ended.
Here’s a look at our mirror “before” our big makeover!
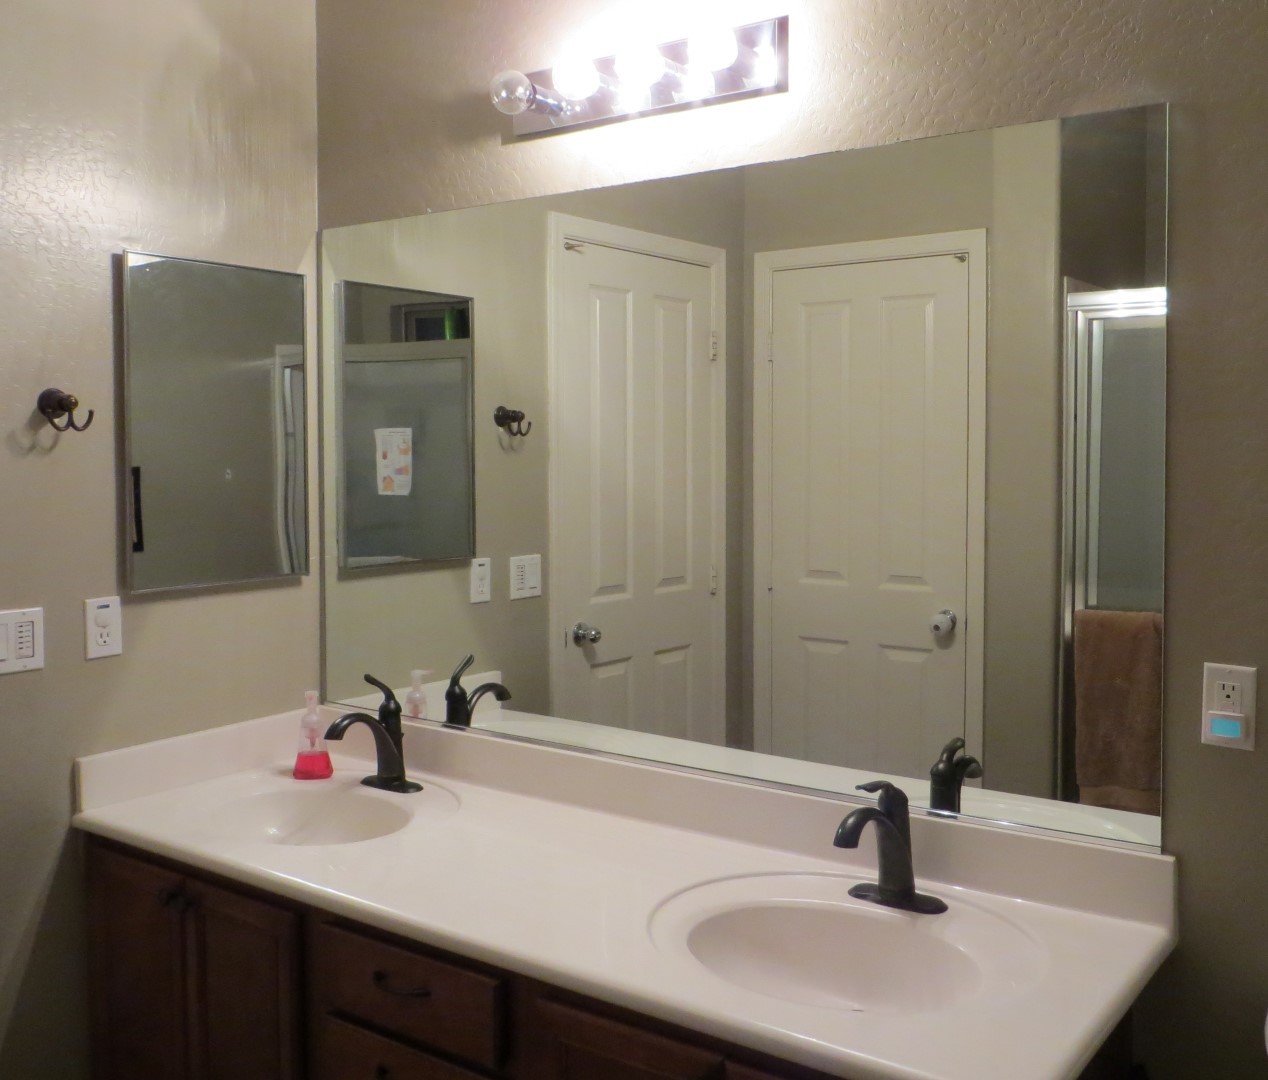
** Note, if you have those small little clips that screw the mirror to the wall, chances are your mirror is probably glued to the wall already and you can remove those clips. If it’s not, remove the clips carefully while supporting the mirror, lean it forward right where it’s at, use silicone or liquid nails to attach your mirror to the wall. Then, screw those clips back into place and let your adhesive dry over night before continuing. When your mirror is glued to the wall, you an just toss those little clips in the trash.
2. Pick up Trim & Supplies
Visit your local Home Depot or other hardware store. Browse their molding selections and pick out the molding that you like. We just chose a simple bumps and groves molding that looks fantastic. There are tons of different styles to pick from. Just pick the style you like and that fits with your home’s feel.
- 4 pieces of Molding Trim
- Spray Paint
- Silicone
- Painter’s Tape
- Caulk (optional)
3. Cut Your Trim
Home Depot has a miter box and cutting station with saws available for use right in the store. We cut our molding right than and there before even heading to the checkout. You purchase molding by the foot so this might save you a little bit of money. You can choose to cut at a 45° angle or cut a flat end and use one of the block corners for your design. We cut ours at the 45. You’ll need to make a total of 8 cuts at the 45 degree angle. Depending on your design, if it’s identical both directions, you may be able to save yourself a few of those cuts. Our design got shorter as it neared the inner edge, so all 4 sides needed their own two cuts.

4. Spray Paint your molding.
We bought two of the .99c bottles of spray paint in a matte black finish and then one of the fancier bottles that has a textured hammered finish to it because we wanted a texture to our frame. You don’t need anything fancy, though. Spray paint a full even coat all the way across all of your boards paying attention to get the sides as well. Reapply a second coat if needed before the paint fully dries.
When your molding is dry you can flip the boards over and paint the back side from the inner edge that faces the mirror 1″ inward toward the middle of your molding to avoid reflections. We skipped this step as we were caulking our mirror.
5. Silicone your molding and apply it to the mirror.
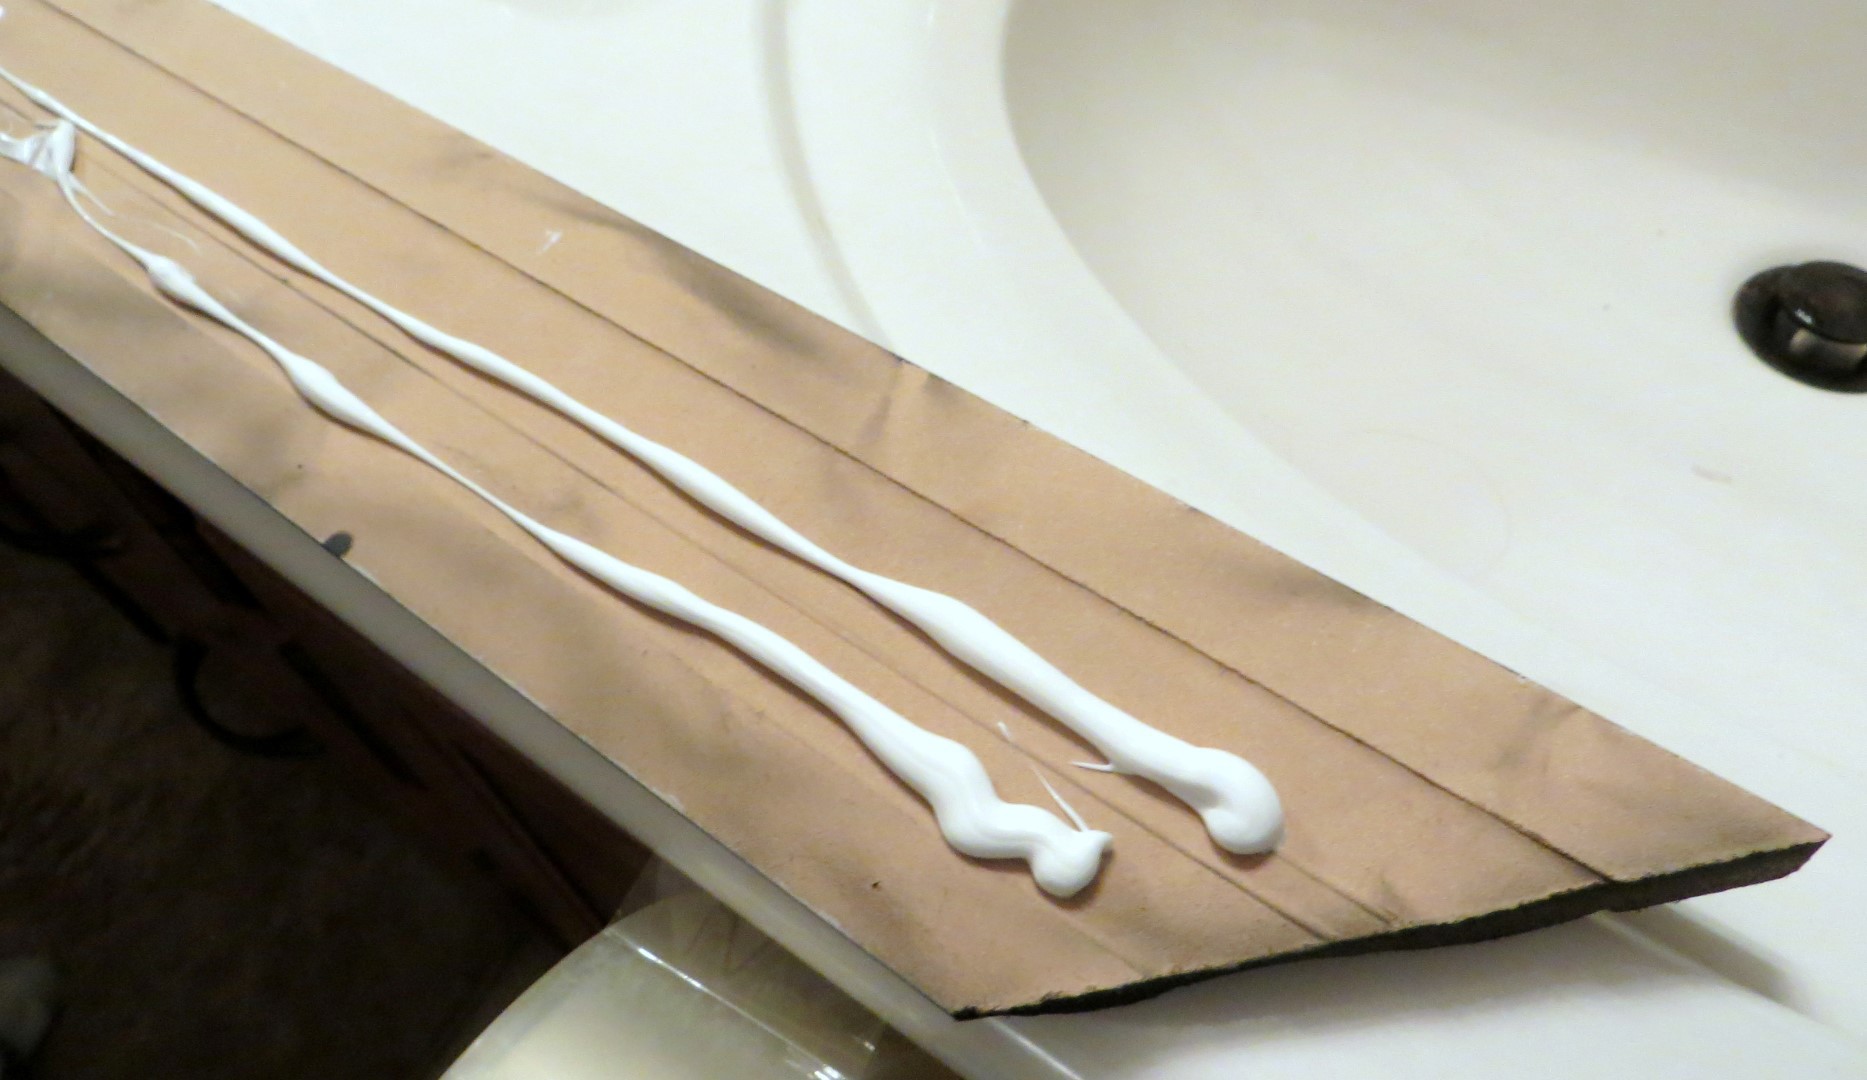
Apply silicone to the back of your molding doing just one piece each time. When your first piece is ready, stick your molding in place directly on top of the mirror or wall. It is best to start with a straight wall or edge that you will be lining up to. If you don’t have a straight edge, you can trace a guide line before you get started. You can use tape to hold your boards in place against your mirror overnight to be sure your molding dries in place.
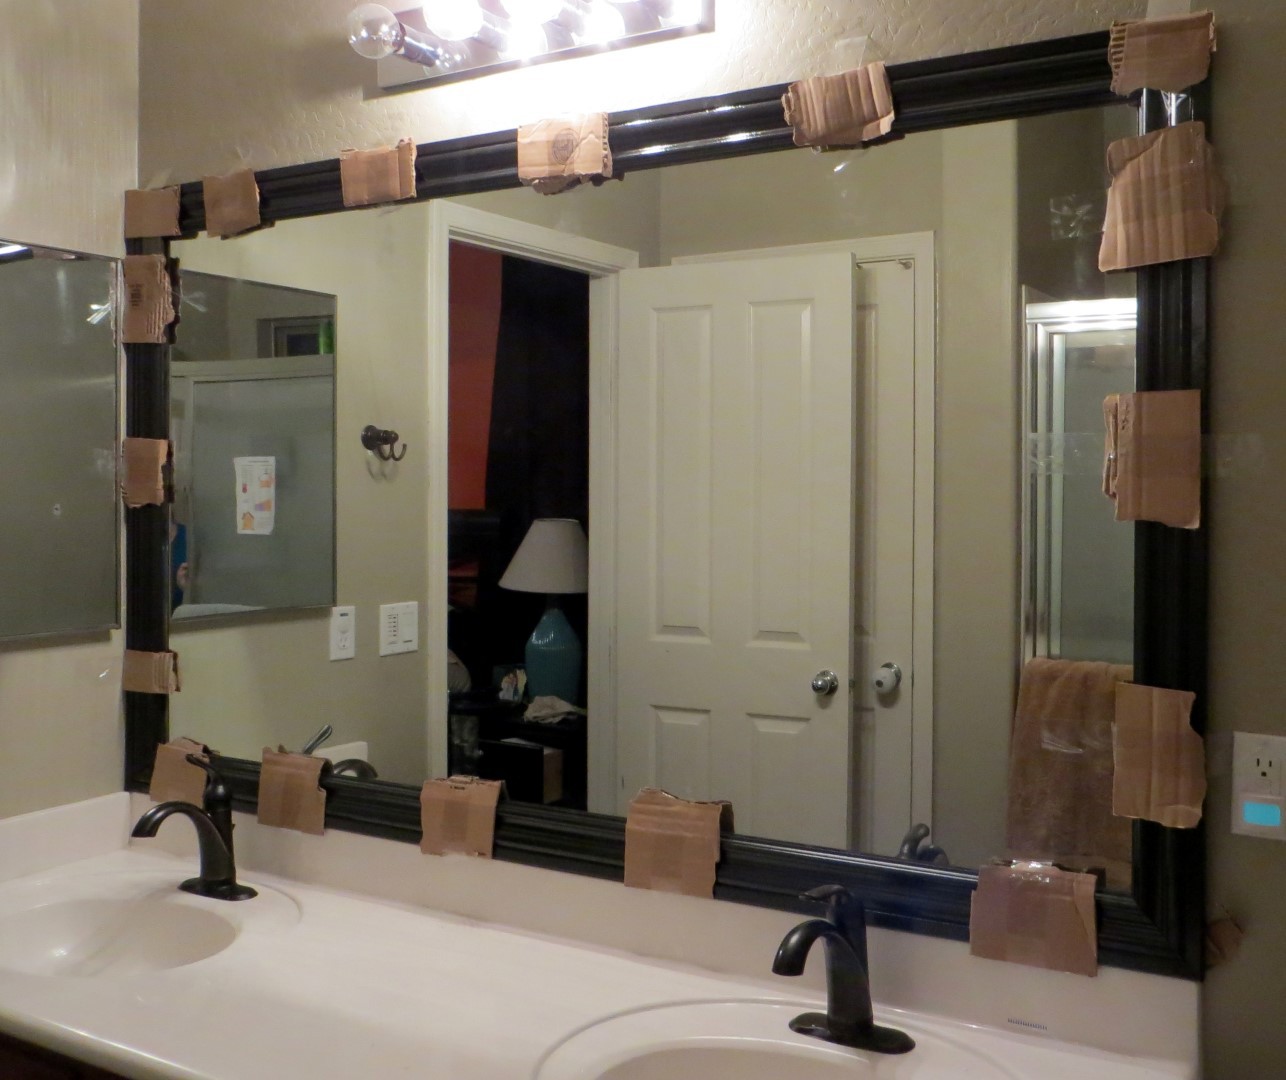
*Note, I do NOT recommend using packing tape. We just didn’t have painting tape on hand and we were too excited to wait. Packing tape will stick to the mirror and you’ll have to scrub off the goo it leaves behind.


Kim
Monday 28th of July 2014
Thanks! My next project :)
Easy DIY Towel Rack Tutorial - A Mom's Take
Friday 3rd of January 2014
[…] see more of our bathroom, check out our How to Frame a Mirror Tutorial which is an absolute MUST-DO if you have a plain builder installed mirror. Then, see our whole […]
Top 10 Posts of 2013 - Must read posts! - A Mom's Take
Wednesday 1st of January 2014
[…] 2. How to Frame a Mirror DIY Tutorial […]
Making Monday Features | A Bright and Beautiful LifeA Bright and Beautiful Life
Sunday 24th of November 2013
[…] How to Frame a Bathroom Mirror :: A Mom’s […]
Small Bathroom Design Ideas & Remodel - A Mom's Take
Tuesday 12th of November 2013
[…] completely surprised when I look back now at our before picture because I’m so used to our bathroom mirror being framed now and I can’t even imagine ever going back to a very boring builder installed […]