I received Expressions Vinyl in exchange for this post. All opinions are my own.
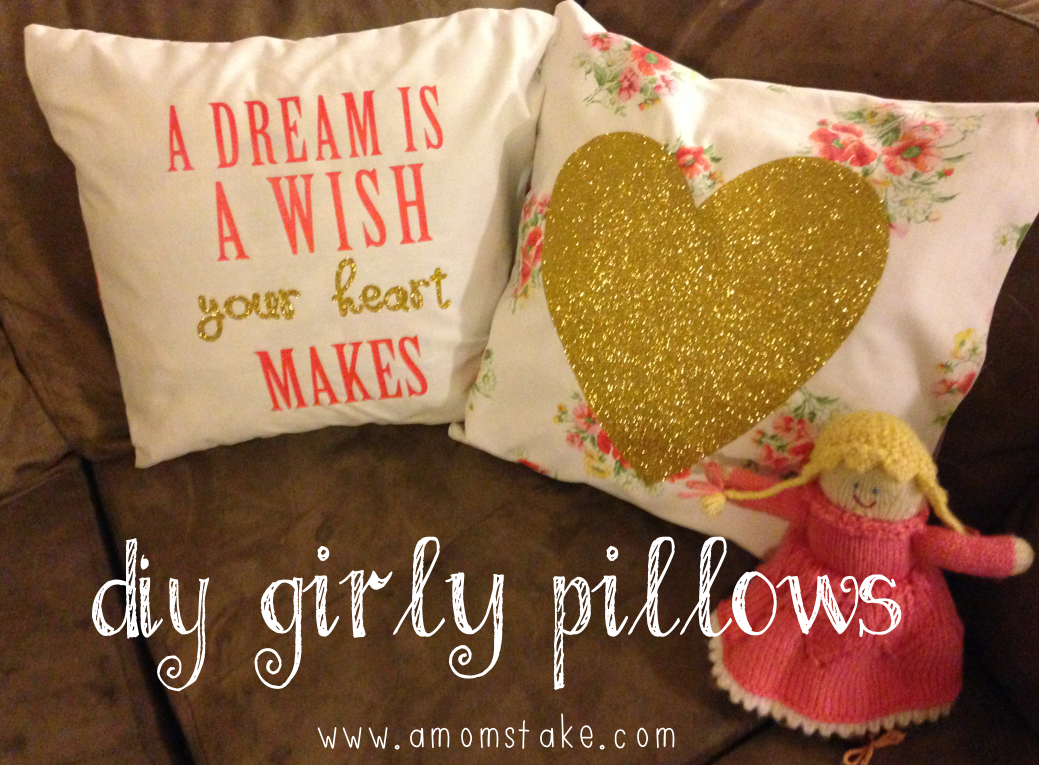

I wanted to spruce up my one-year-old’s room with some new throw pillows. I was looking for something inexpensive, but that really packed a ton of visual punch! These are perfect for girls or even for Valentine’s Day that is coming right up! Let me show you what I can up with!
For this project you will need:
- 2 Pillow Forms or old throw pillows
- enough fabric to cover both pillows (this will vary greatly depending on what size your pillow forms are) I personally used two flat bed sheets, I didn’t need that much fabric but I wanted two different prints and I had them laying around.
- Sewing Supplies- Machine, pins, needle and thread, etc.
- 2 sheets of Heat Transfer Vinyl is coordinating colors. I used Gold Glitter found here and Hibiscus found here.
- A Vinyl cutting machine and software
- Iron and ironing board

Step 1: Go ahead and measure your pillows and add an inch to the height and width, that is how big you are going to cut your fabric. Cut four. These pillows covers will be sewn shut, if you want them to be removable you will have to find a pattern!

Step 2: Pin your squares right sides together and sew around three sides with a half inch seam allowance. You will have to hand stitch the fourth side closed later. You might have the urge to iron your lettering on first. You totally can if you are super confident in your pillow cover, I wanted to make sure that mine fit exactly how I wanted it first. That way it was easier to make adjustments with out having to worry about my image.
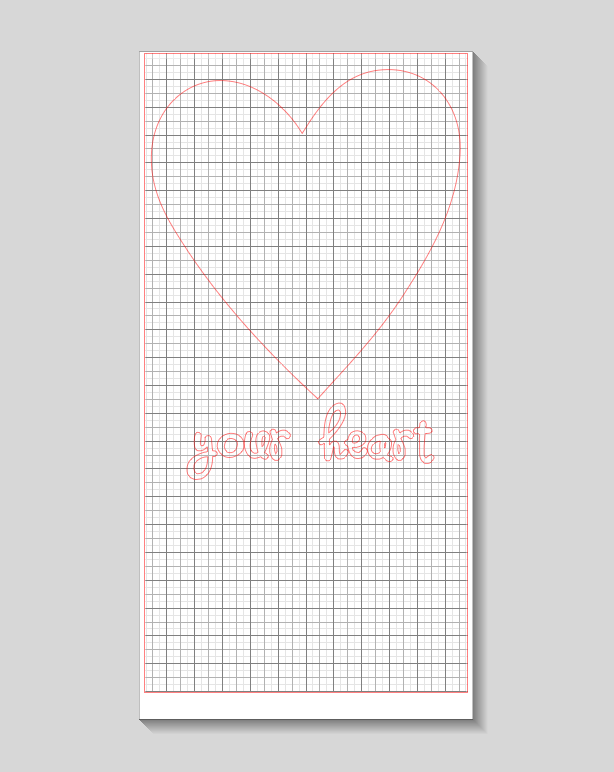
Step 3: Working with your vinyl cutting software go ahead and create your image. I used a Silhouette Cameo. On the right hand side of your screen you can change the size of your project. I changed mine to the size of my vinyl so that I could see exactly what the placement would be like. I created the text using four separate text boxes, that way I could adjust sizing and spacing easier. It also made it really simple to copy the words “your heart” and paste them onto my second document that will be cut in gold.

I used a heart from the shape store for my main image. I added the text to this sheet by copying and pasting it from the other document, that way I knew what size and spacing I wanted. After you have everything set up just right, right click on your images and select flip horizontally. This will mirror your images so that your words will face the right direction after you transfer them.

Step 4: It is time to cut your vinyl. I ALWAYS get so nervous for this step because I am afraid I will ruin my vinyl and have to buy more! Here is where Expressions Vinyl really saves the day. While you are shopping for vinyl from them your screen will look like this:
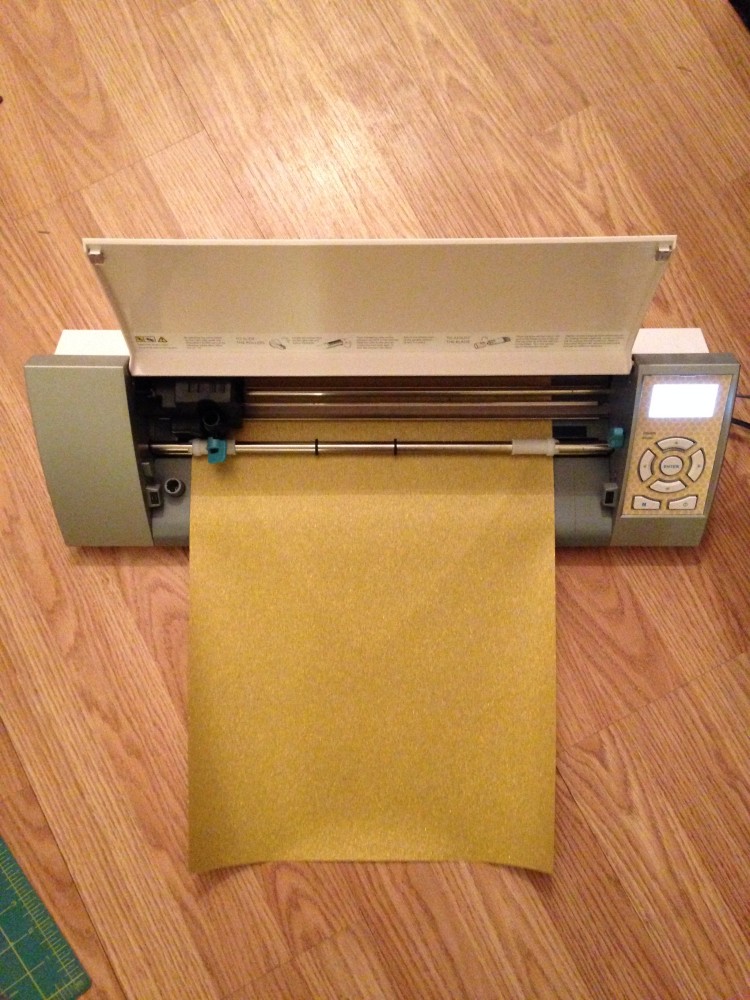
 If you notice to the left there is a tab for machine settings, this tab takes you to a chart that tells you exactly how to set your machine to cut the specific vinyl you purchased! It takes all the guessing out of it! I set my machine how it suggested with both sheets of vinyl I cut, and it worked perfectly! I ran a test cut on both just to be sure, but the numbers were spot on. Make sure you pay attention and run the vinyl top side down, you should be looking at the matte backside.
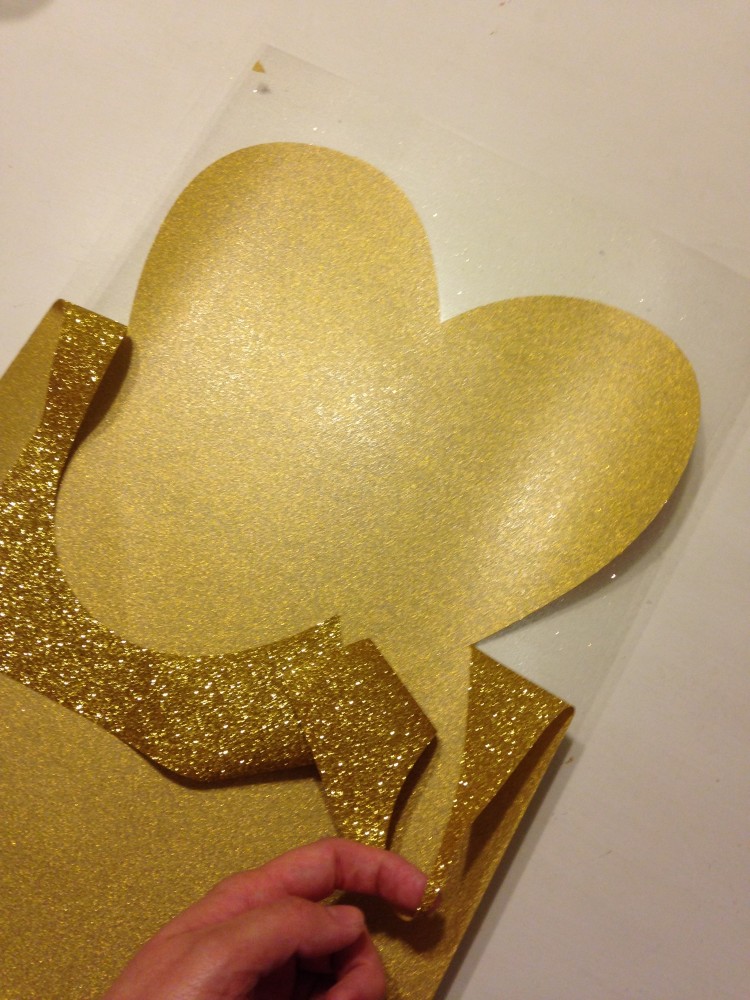
Step 5: After you have cut your vinyl go ahead and weed it, meaning remove the parts you are not using. These heat transfer vinyls are called “easyweed” vinyl and they earned their name big time. I didn’t even have to use any weeding tools, everything just peeled away smoothly. While you are peeling admire just how absoluetly gorgeous the glitter vinyl is! All the sparkle and punch I wanted with NO loose glitter multiplying and replenishing my house!
Step 6: Line everything up how you want it on your pillow covers, and using the application instructions on the Expressions Vinyl website, iron your vinyl onto your covers. Make sure to place a scrap square of fabric between the clear covering and your iron. Be patient, you have to heat everything for 20-30 second to really get it to stick. Slowly peel off the covering, making sure your have everything really stuck on there.
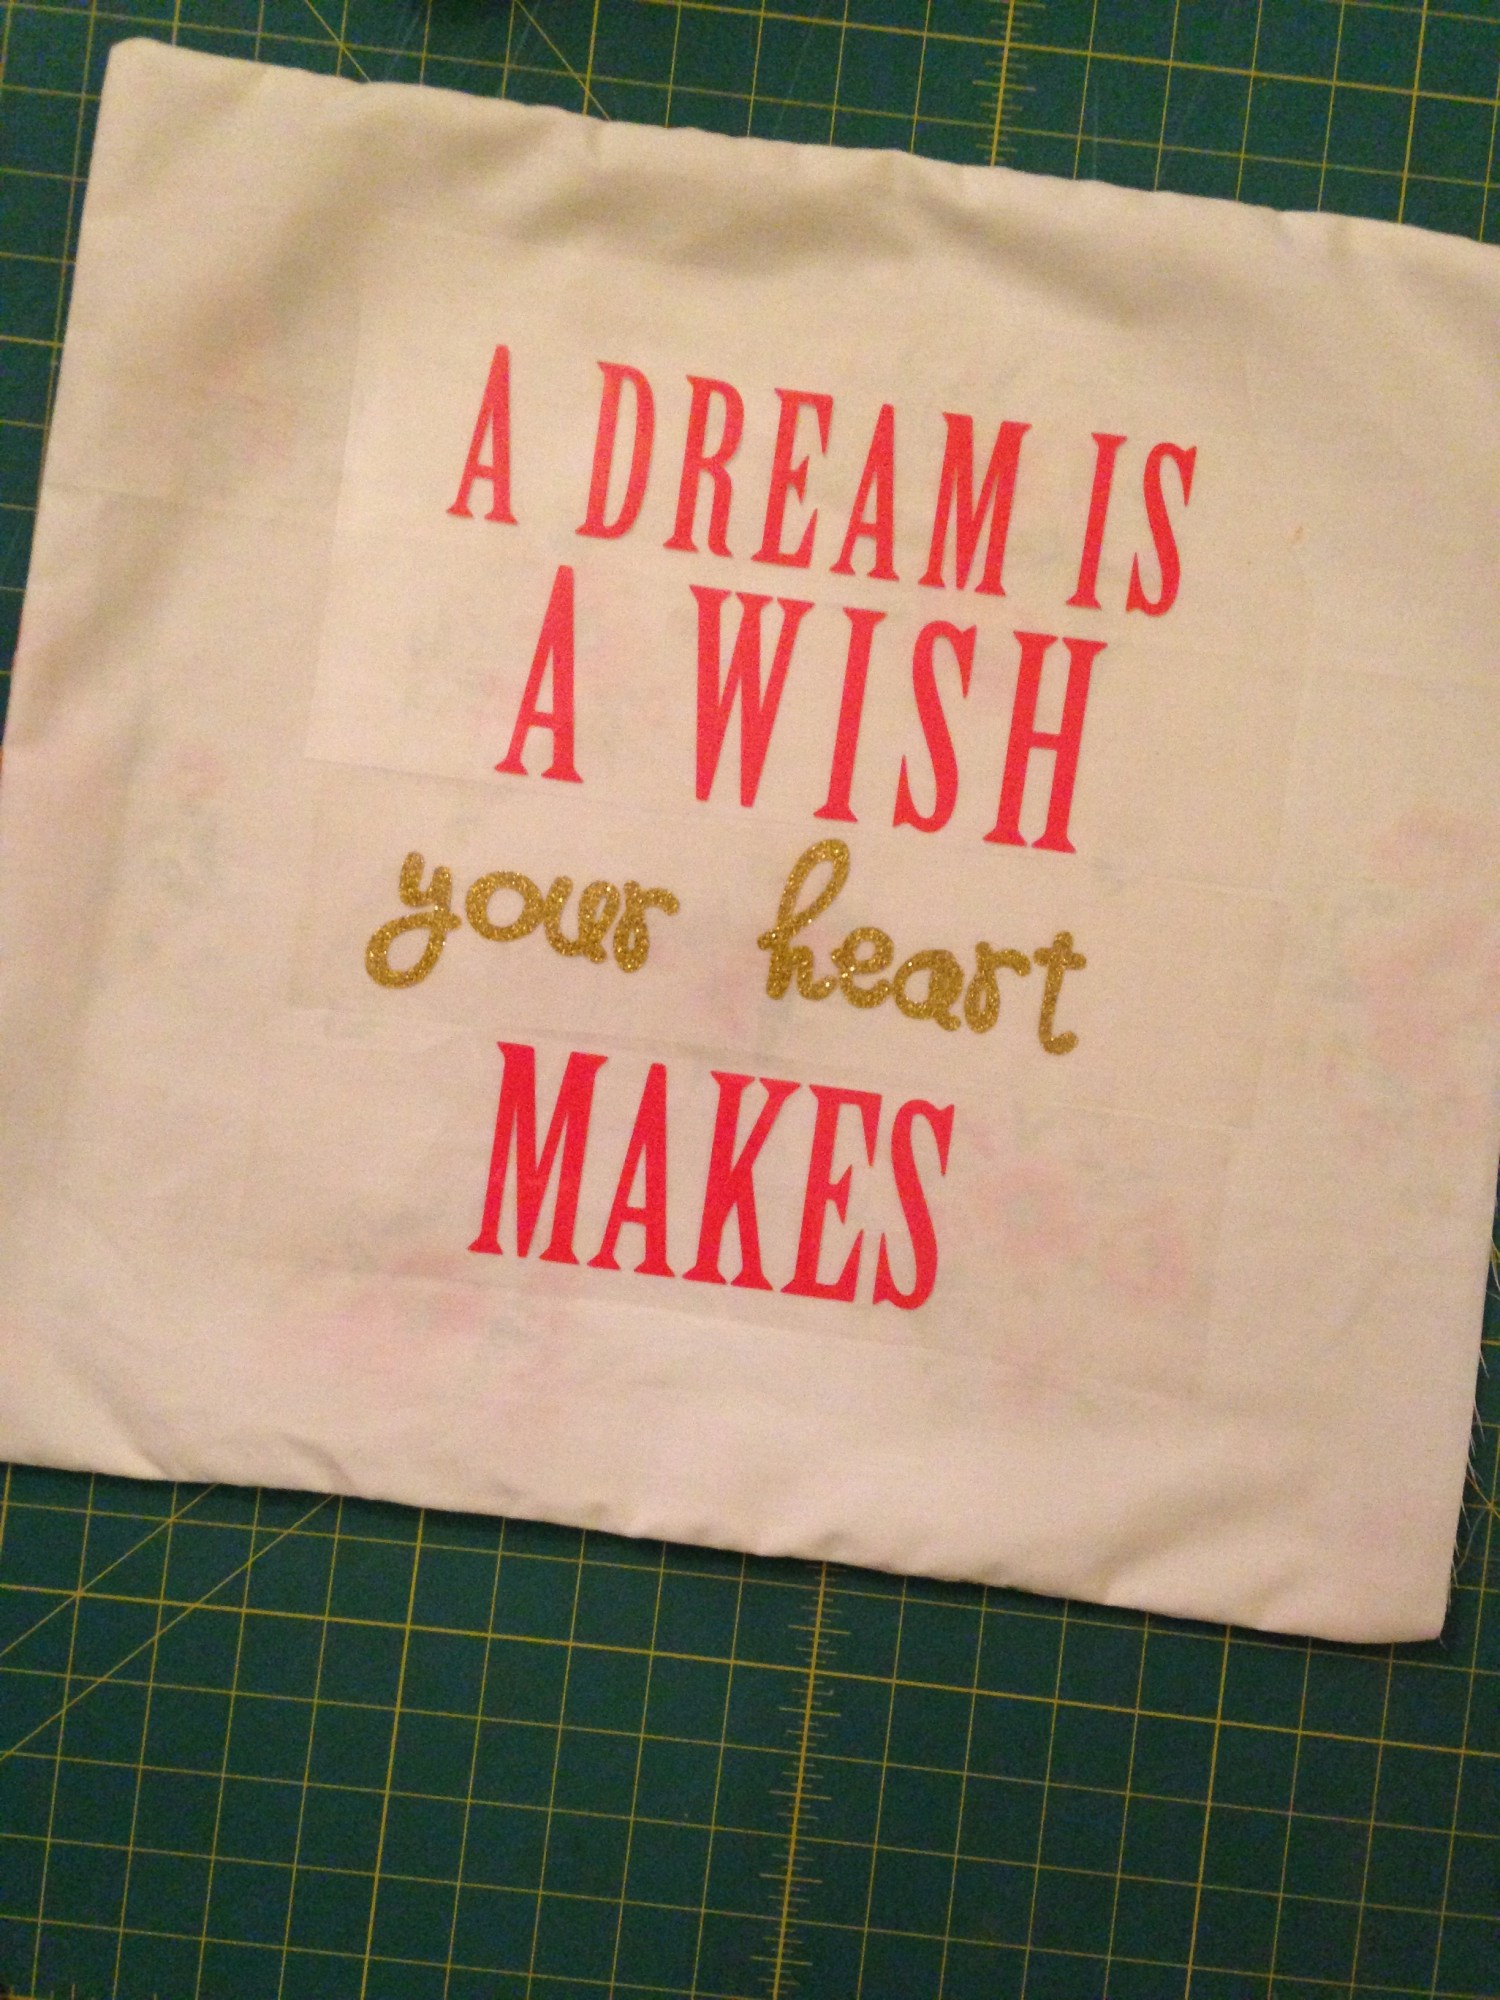
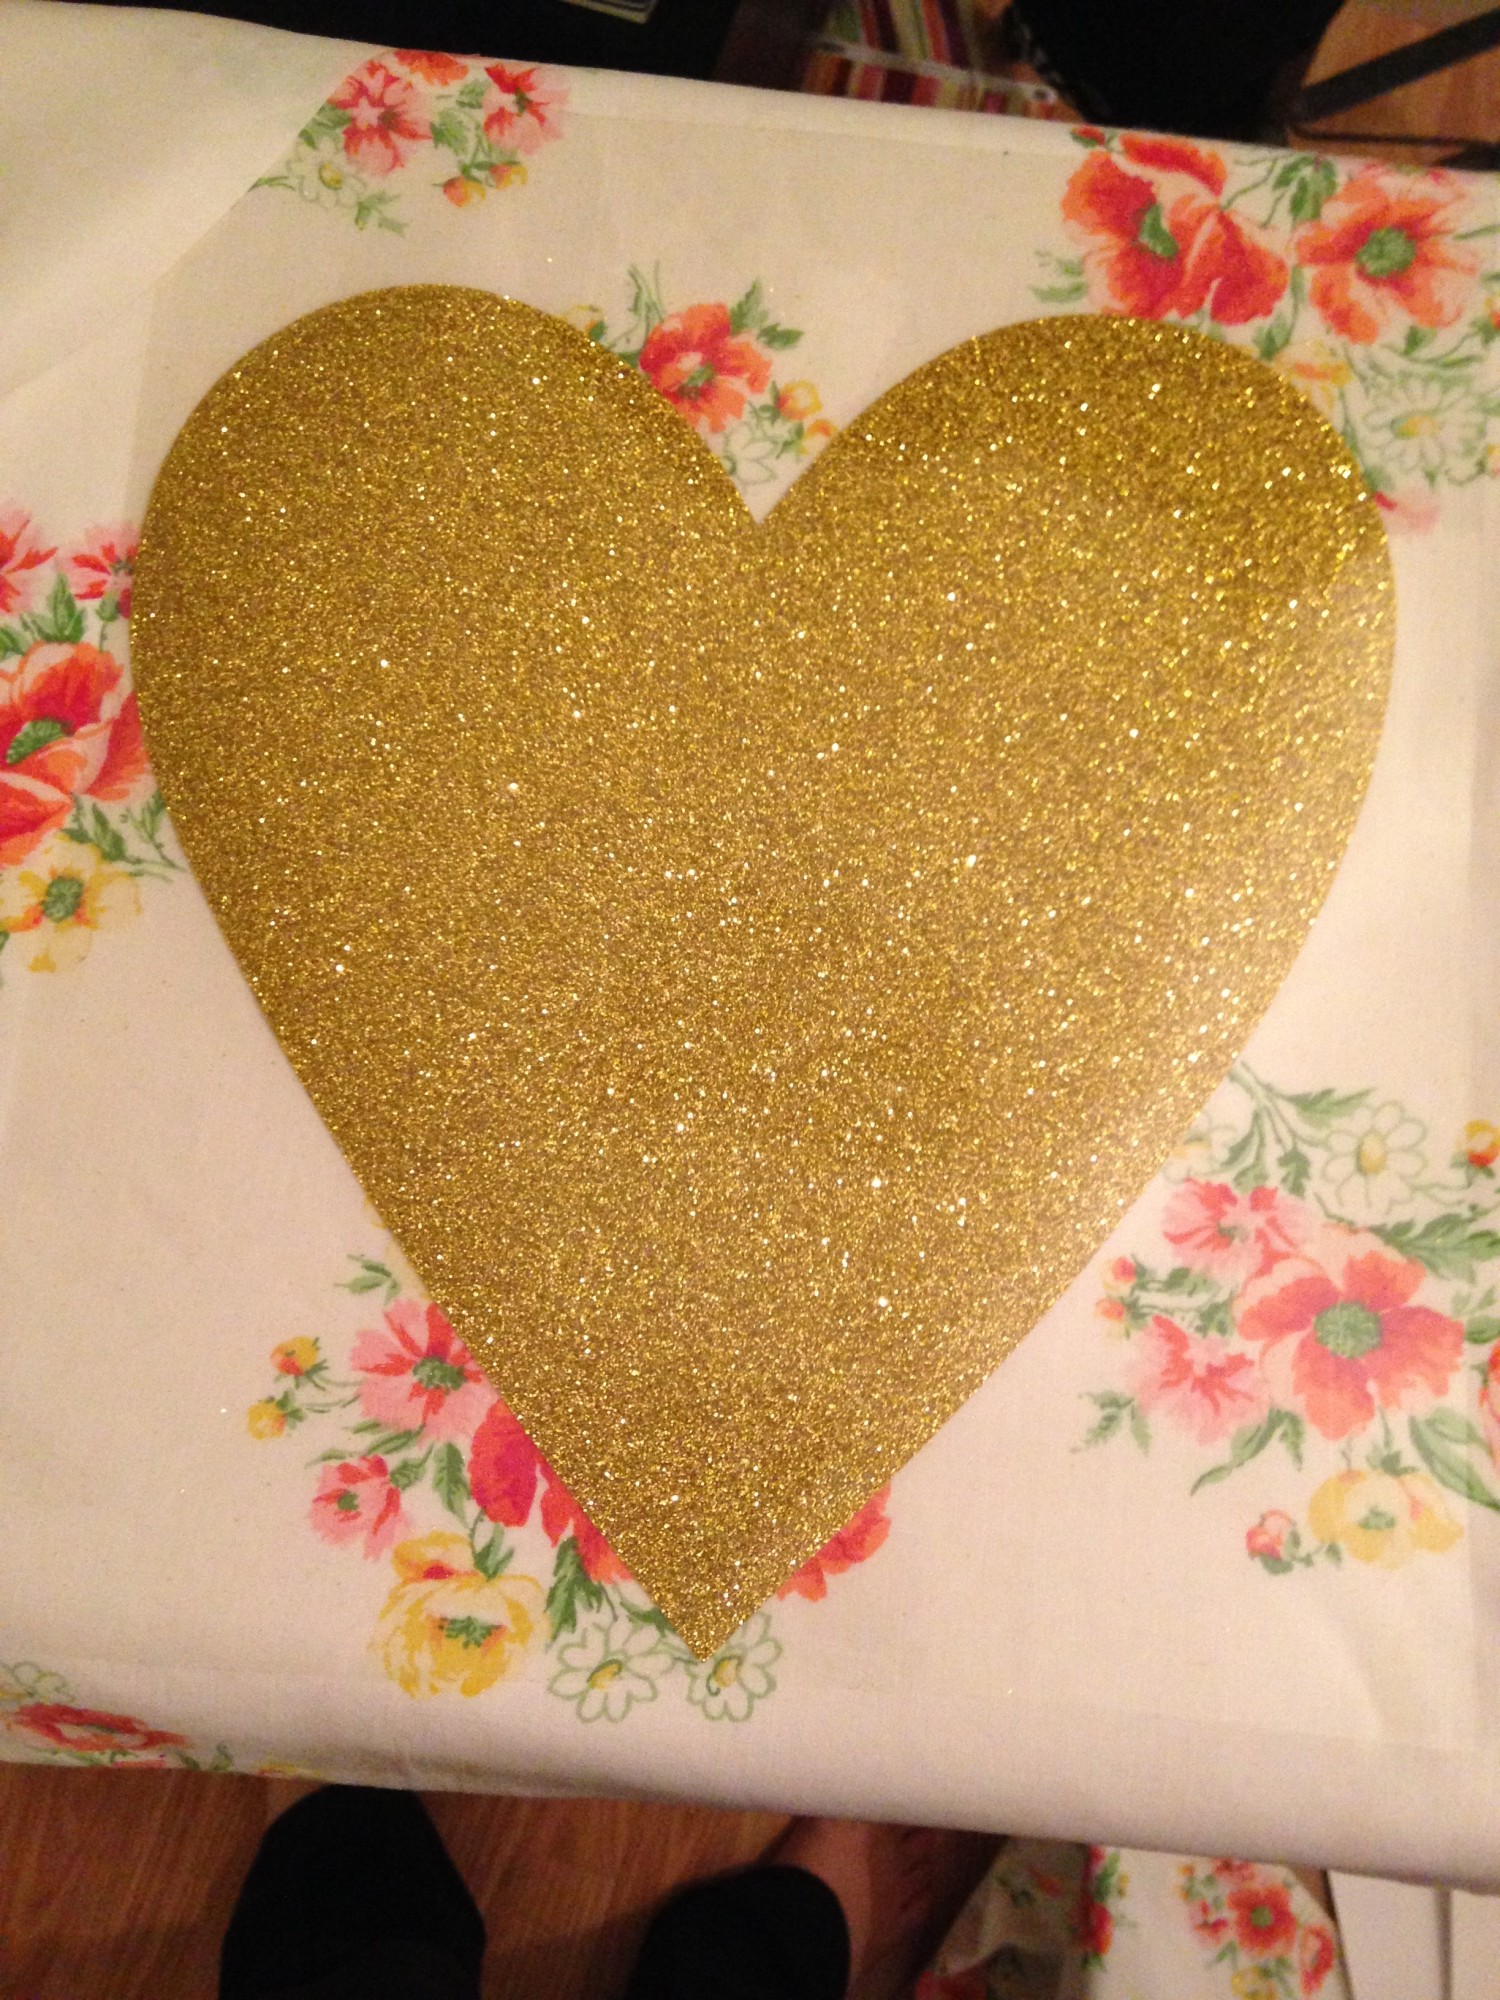
Step 7: Slide your pillow forms into your finished covers and hand stitch the fourth side closed. Sit back and admire your hard work!!
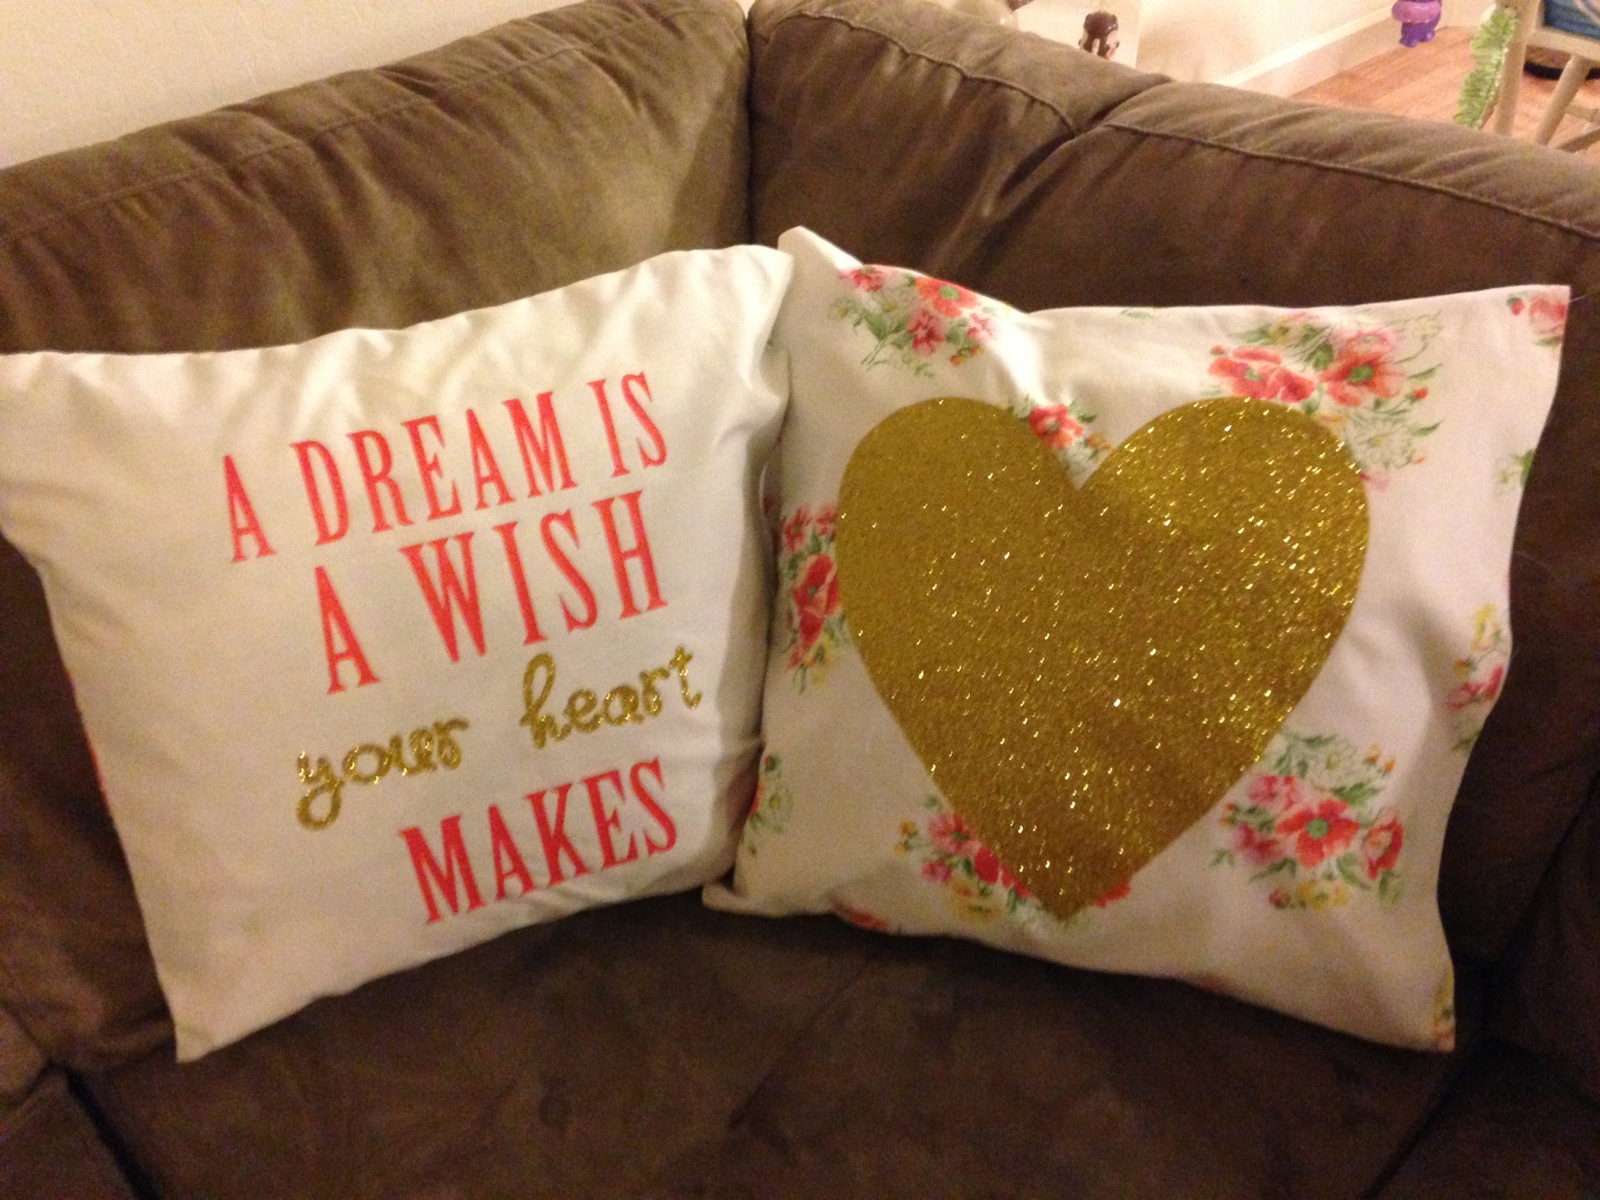

This was my first time using Expressions Vinyl and I am a lifelong customer. In the past I have been so frustrated with my Silhouette and myself that I get nervous to use it, turns out I was just using poor quality vinyl. I was so impressed by their products and prices! Find everything you need for your next vinyl craft here! Enter to win a gift certificate to get your shopping started! Happy Crafting!

Personalized Cups DIY + Giveaway - A Mom's Take
Monday 24th of February 2014
[…] I have done! I am still gaga over their gold glitter heat transfer vinyl I used to make these cute pillows. Enter to win $25 dollars to spend on their site […]