I have a problem. I am totally addicted to girls hair accessories. I love to scour shops for new bows, every once and a while I find something so unique that I have to buy it. But, most of the time I can figure out a way to make them myself. I just can’t afford some of the prices people charge these days!
A Mom’s Take may receive a small commission, for purchases made through an affiliate link, at no cost to you. Thank you for supporting our site!
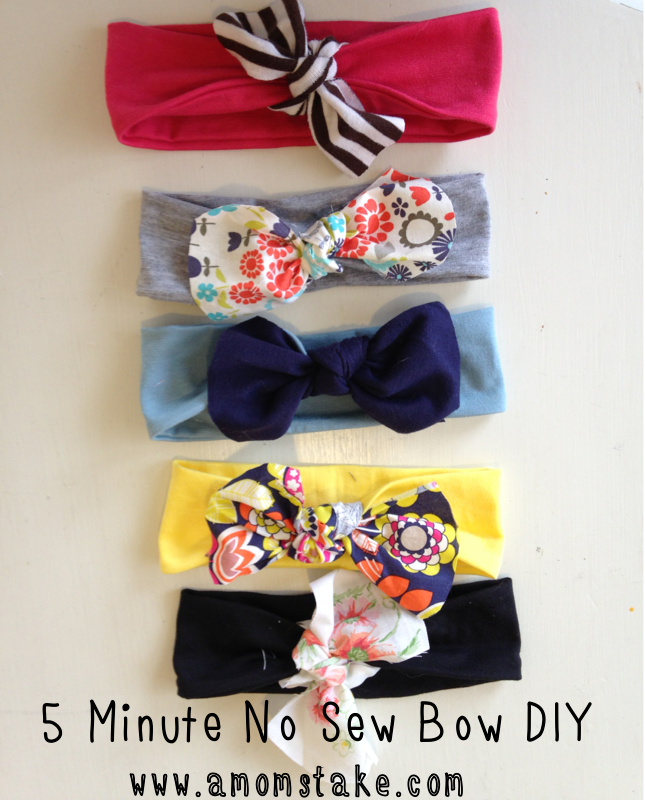

No Sew DIY Headband in Minutes
I am loving all these cute knotted headbands that I am seeing all over the place. You can find them online and they run anywhere from $8-20. I know that many of you cannot afford to spend $20 on a headband, and I can’t either! So I made my own DIY headband on the cheap!
I made five today for less than six dollars! And honestly 5 minutes is pretty generous. I can make one of these babies in 2 minutes. All you need is some elastic headbands and a little imagination. We’ll be using some fabric scraps and some basic sewing supplies you may already have around your home already.
Since this is a completely NO SEW tutorial, you won’t have to worry about seam allowance, digging out your sewing machine, making the perfect straight stitch, or even messing with different patterns. This will be SO easy!
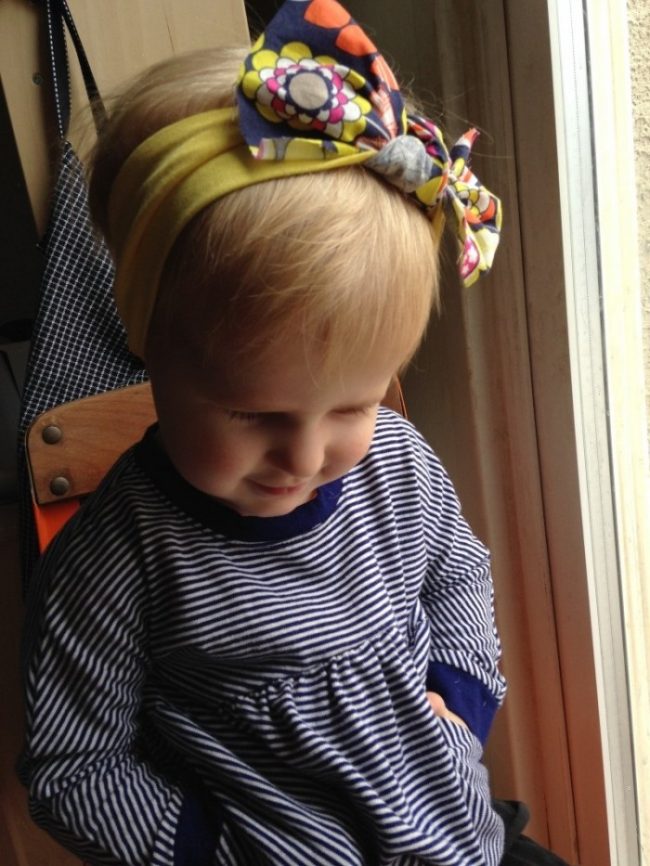
How to Make a DIY Headband
No Sew DIY Headband Supplies Needed:
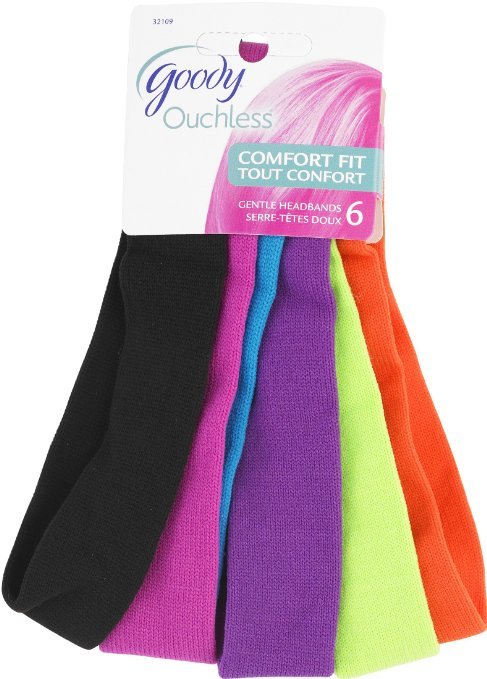
- A pack of comfort fit headbands
I used these Goody Comfort Fit Headbands on Amazon as a pack of 6!
- Scraps of fabric or old knit t-shirts.
- Scissors
- Fray Check (if you are using a non-knit fabric)
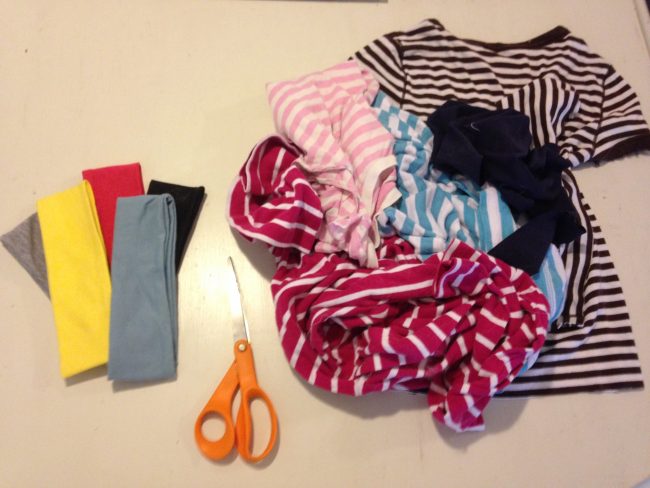
You’ll want to pick out a wide headband as it is more comfortable for this tie headband tutorial, especially for baby headbands! I’ve seen them at Target, Walmart, Dollar Stores, and of course amazon.
The first thing we’ll do is take a look at our scrap fabric. If you don’t have any on hand, an old t-shirt is a perfect choice! You can even use your little girl tops that your baby has outgrown! You just need a small piece of scrap fabric! My favorite is my floral headband, which is so in right now! You can probably find lots of fabrics to match or ask a friend for scrap fabrics.
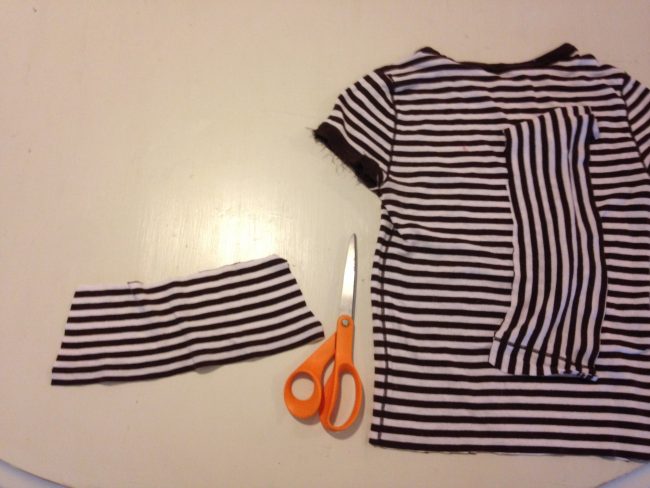
Go ahead and cut a rectangle of fabric about two inches longer than your headbands. If you are not sure if it is big enough, always lean on the bigger sign, you can cut off extra later.
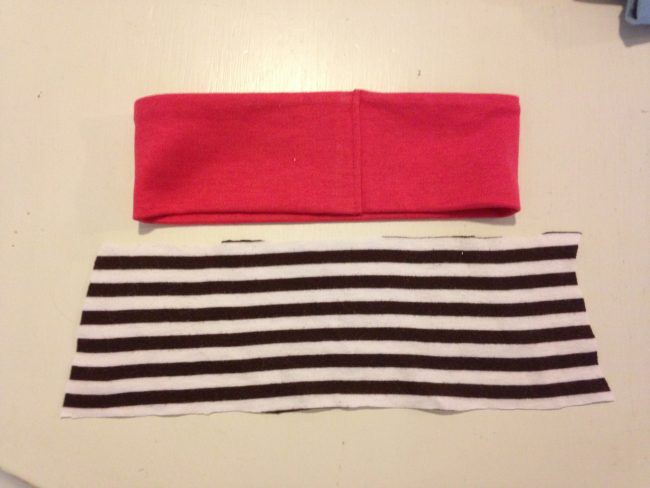
Place the long edges of the strip of fabric under your headband, I like to put mine right under the seam — it’s a great way to hide the seams later on. You want the right sides facing down (away from you) as you will pull in the wrong sides of the fabric and hide them.
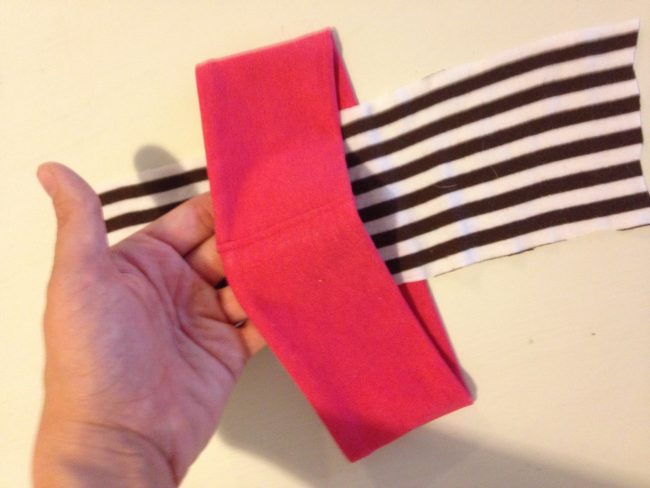
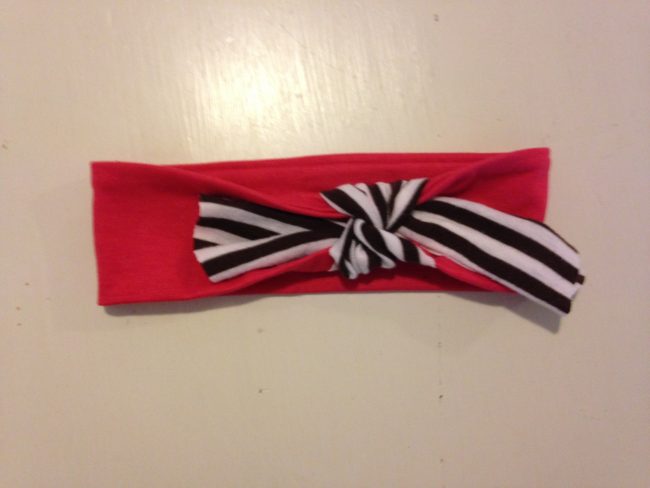
Tie it in a knot. For really stretchy fabric knits (like the one above) or thinner fabric, I tie mine twice. For a heavier fabric, like a quilting cotton, I only tie it once. Once you have tied it, pull and arrange the knot until it looks right.
Now, here you can grab a hot glue gun if you want to ensure your knot is secured in place. I don’t usually use a glue gun, but if you have a child that likes to tug and pull at their bows, you might want to reinforce your work with a dot of hot glue on the basic headband right below the larger piece of fabric you tied on. Then press and hold the pieces together for a minute until the glue cools.
If you have excess fabric go ahead and cut it off now. I also like to round the ties on mine off just a little bit, you can leave them square too. Whatever you like best.
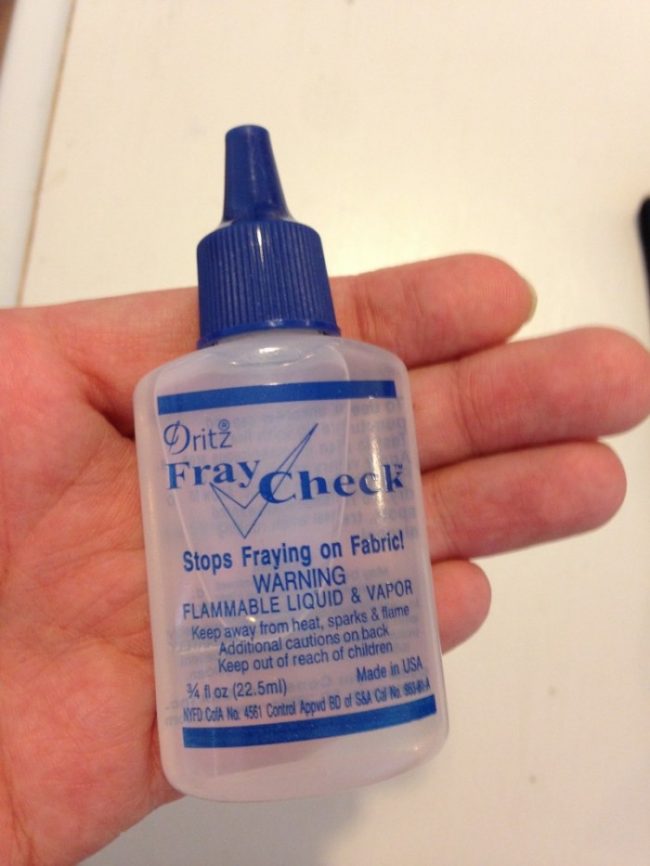
If you did use a cotton fabric, run some Fray Check around the raw edges to keep it from fraying. You can do this before or after you tie it, just make sure you let it dry!
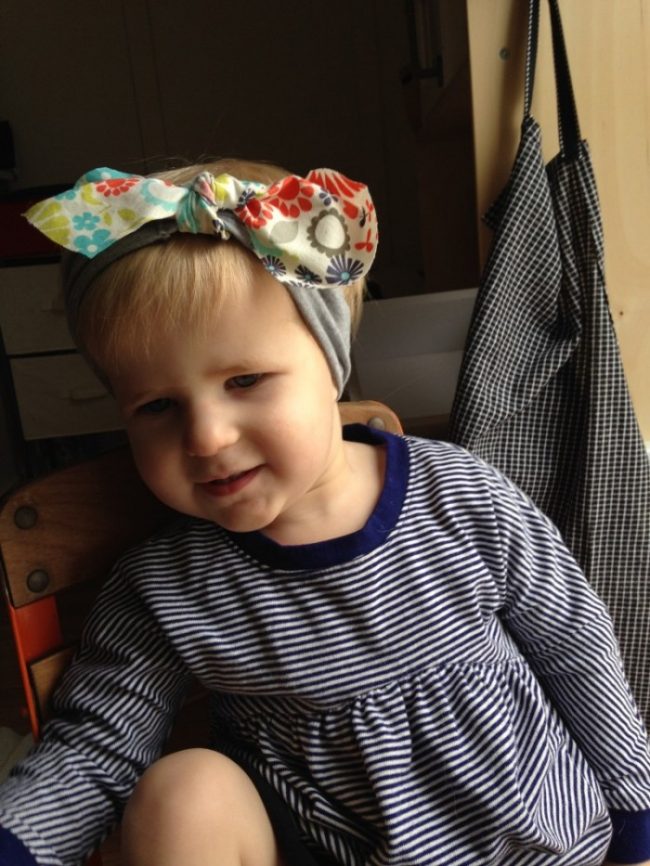
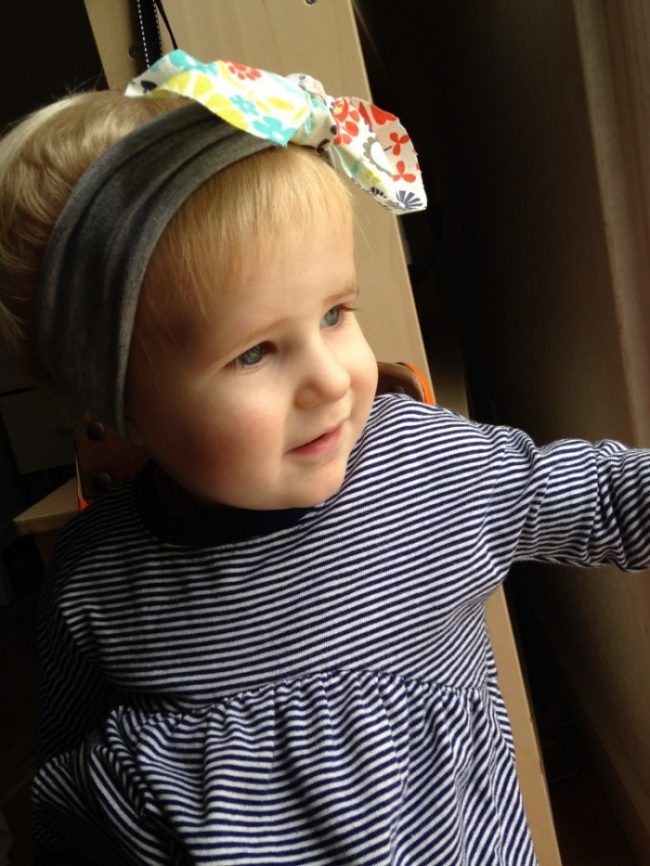
And with that, you’re made a simple headband so easily. You are all done! I made all five of these homemade headbands in under a half hour. The possibilities for making an adorable diy headband are endless and you can save a ton of money! You could even make reversible headbands with some two-toned headbands and rotate the knot!
These fabric headbands make a great gift for a baby girl and since they don’t take a long time to make you’ll be able to whip out a bunch at once and gift them to all your new mom friends! Or, share this easy tutorial with your girlfriends so they can make their own headbands with different colors and kind of fabric so everyone had different styles!
No Sew Headband Pattern
5 Minutes Knotted No Sew DIY Headband
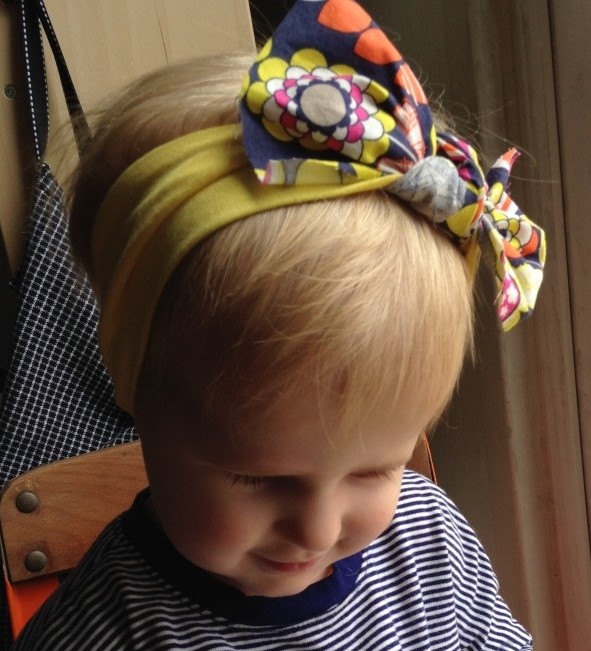
Easy and fuss-free, this No Sew DIY Headband Tutorial will show you step-by-step how to make your own Knotted Baby Headbands in just minutes. You will just need some scrap fabric or old t-shirts and a few basic sewing supplies (no sewing machine needed!)
Materials
- A pack of comfort fit headbands
- Scraps of fabric or old knit t-shirts.
Tools
- Scissors
- Fray Check (if you are using a non-knit fabric)
- Glue Gun (optional)
Instructions
- Gather scrap fabric or old t-shirts. Cut a rectangle about 2" longer than the length of your headbands. If you're not sure it is big enough, always lean on the bigger size. You can cut off excess fabric later.
- Place the fabric under your headband, preferably right under the seam to hide it!

- Tie your fabric in a knot, wrapping the fabric up and over the headband. I like to tie mine twice, except for heavier fabrics. Arrange and pull out the knot until it looks just right.

- Next, you can use a hot glue gun to secure the knot with a dot of glue between the headband and knot. It's usually not necessary, but if you have a child that pulls at their bows a lot, you may want to do this extra step.
- Finally, if you have excess fabric, you can cut it off now. I like to also round the ties on mine, but you can leave them squared or pointed or whatever look you like best! Add fray check along all the raw edges of your fabric and allow to dry and you're done!

