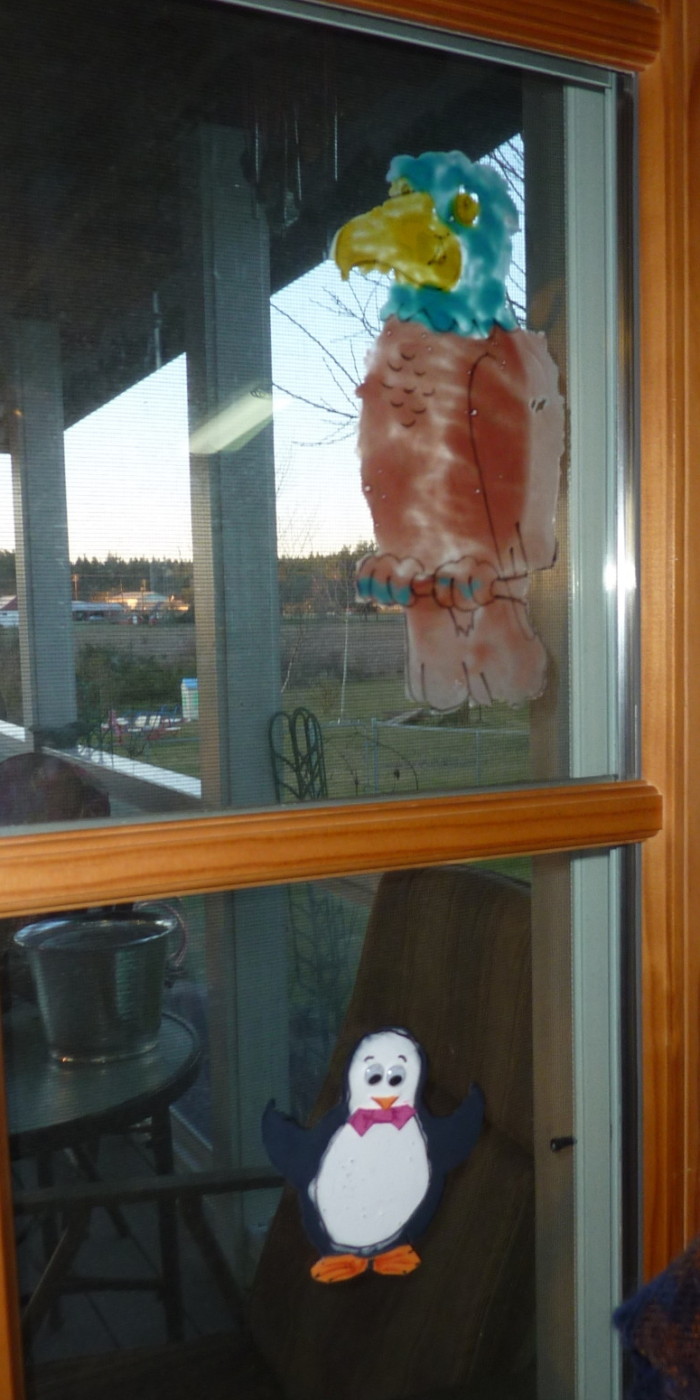
Have you ever thought to make your own homemade window clings? This is a really fun project kids of all ages will enjoy. Do keep in mind, these Homemade Window Clings are a 2 day project as you need to let your “paint” dry.
Supplies needed:
- white glue
- food coloring
- dish soap
- plastic baggie
- picture to fill
- paint brush
This was enough to make 3 hearts, In a small dish mix a nickle size spot of dish soap,2 tablespoons of white glue, food coloring to desired shade. I used about 6 drops to get my red in the picture.

Stir well with paint brush. This is now ready to use. (The dishes clean up well with warm water.)

I drew a heart on the back of a card and slipped it inside a heavy zip lock baggie. I have found these work really well at releasing the cling once they are dry.

Have the child paint inside the lines as best they can, the glue mixture. It needs to be completely covered and filled in thickly.
I helped my 4 year old with the first one, and then turned him loose with the second one. I was surprised at how well he did on his own.
I like the fact that I can take the card out and reuse it in another baggie for another child.

You then place this aside on a flat area to dry. This is best let to set over night. The one I did, was not flat, it pooled and is still not dry.

After it is dry, I take a sharpie and trace the outlines, or write in it if you like.

Then you peel it off the baggie.

And stick it on a window. If it does not want to stick, just wet the back a bit, by licking it or with water.

My older children used a picture from a coloring book and used several colors. Children of all ages love this project. I had younger children that did not stay in the lines and went crazy. After theirs dried, we looked at what was there and decided what it looked like then drew in the outline to make it so. One was a fish, and the other was a sucker. They loved them.

I hope you’ll give these homemade window clings a try! They are fun to make for any season.
