Valentine’s Day is a wonderful time to celebrate your love and admiration for others. One way that I enjoy telling others how much I care about them is through cards.
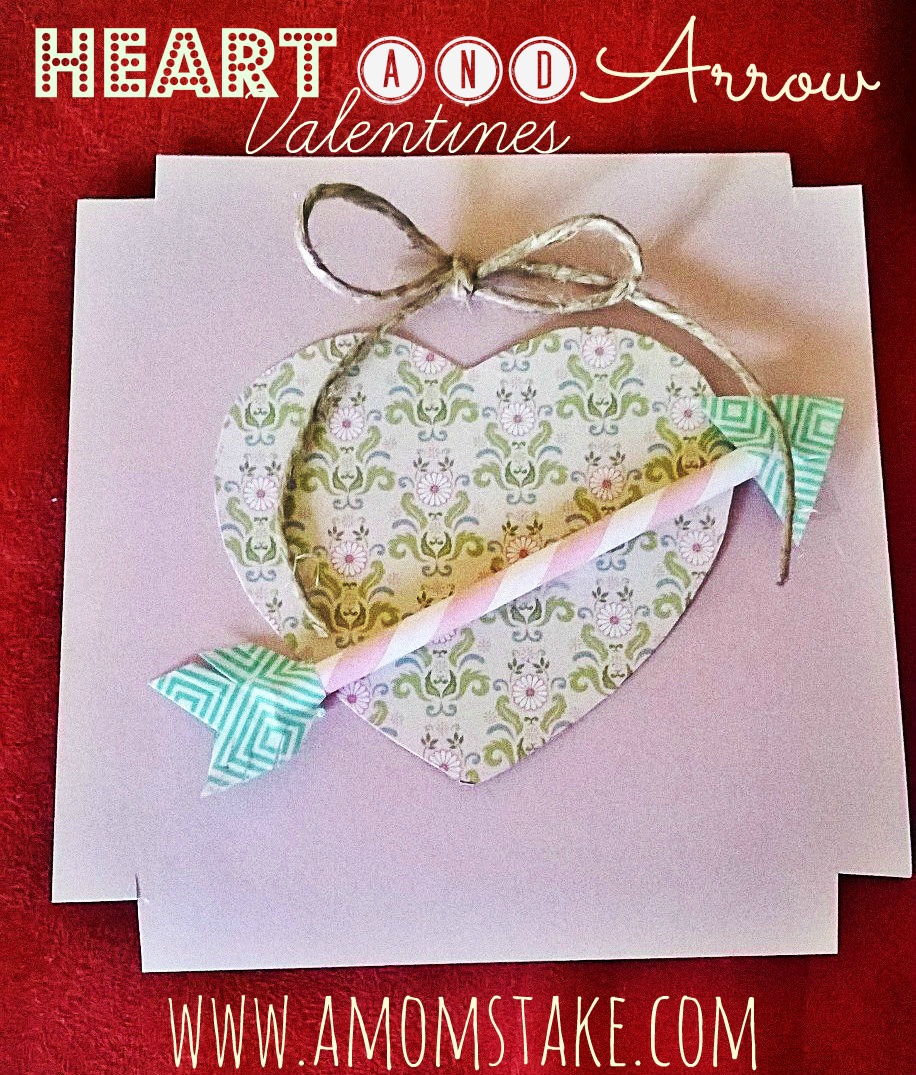
As I brainstormed some fun Valentines ideas, I came across various “arrow” Valentines on Pinterest. I decided to run with the idea and make them my own. I love how they turned out; plus, there are so many creative ways you can personalize these cards.
Arrow Valentines

Materials Needed:
- scissors
- glue or double sided tape
- patterned paper
- twine (optional)
- patterned masking tape
- heart shaped cookie cutter

Instructions:
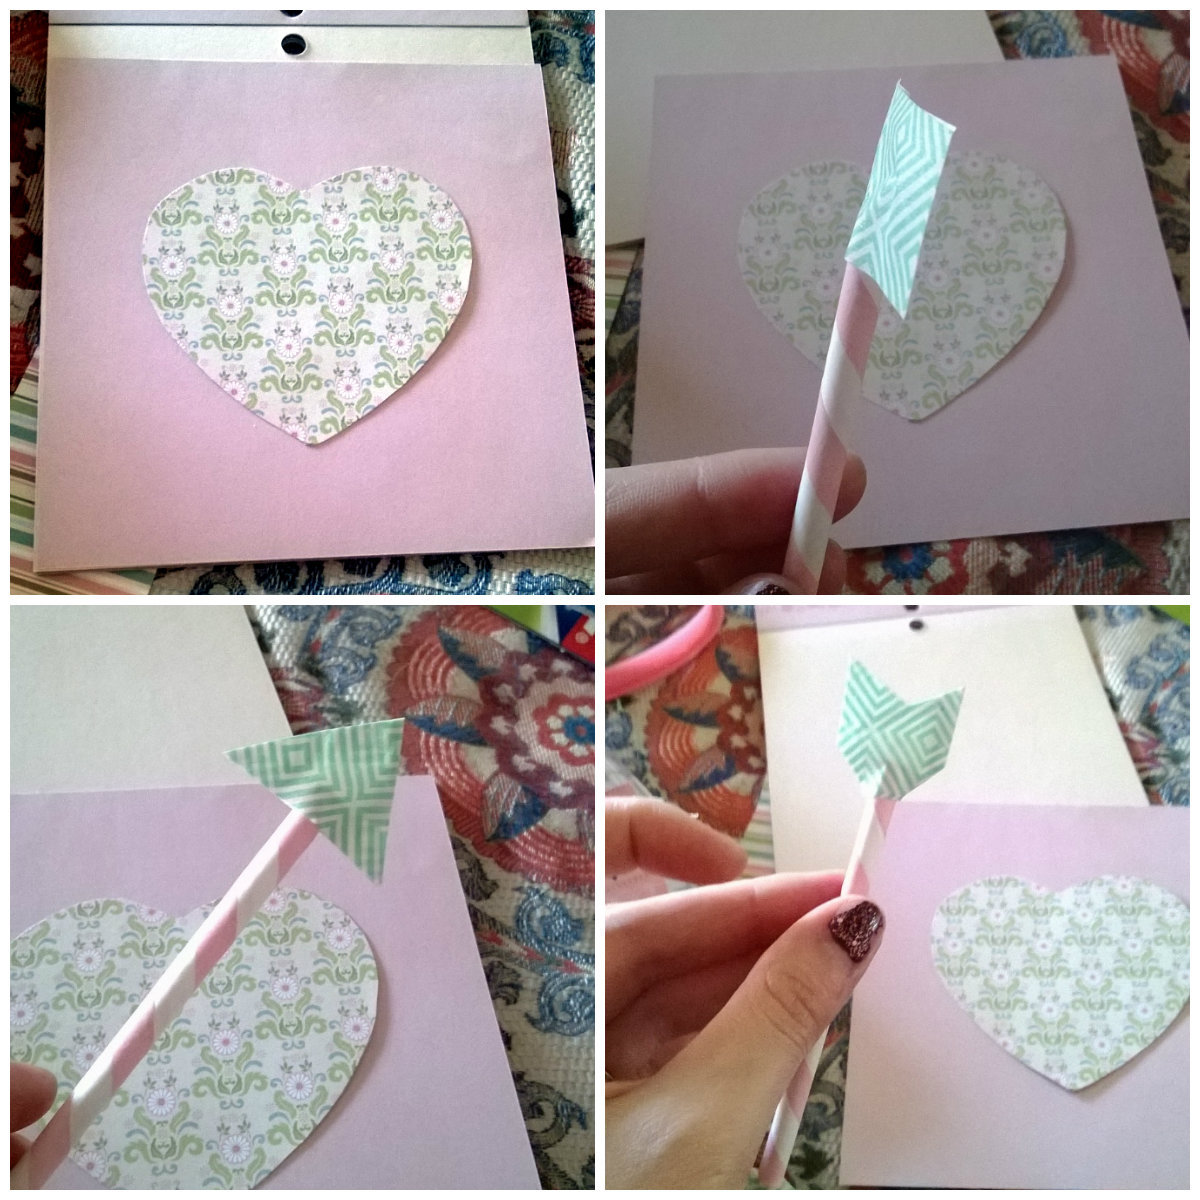
- Using a heart shaped cookie cutter, trace and cut out the shape of a heart. You don’t have to use a cookie cutter, you can eye ball it if you’d like. (I can’t draw perfect hearts to save the life of me, that’s why I used a cookie cutter to trace mine)
- Attach heart to front of card. I found that using double sided tape looked better than using glue.
- To make your arrow, start by cutting your decorative straw in half. (If you don’t have straws, you can also just roll up a patterned piece of paper)
- Using your patterned scotch tape, attach it to both ends (see photo). Also, if you don’t have scotch tape, you can also use paper for the top and bottom of the arrow. I just had scotch tape on hand and thought it would be easier than gluing paper together.
- Using your scissors, form the top and bottom shapes of an arrow (see photo).
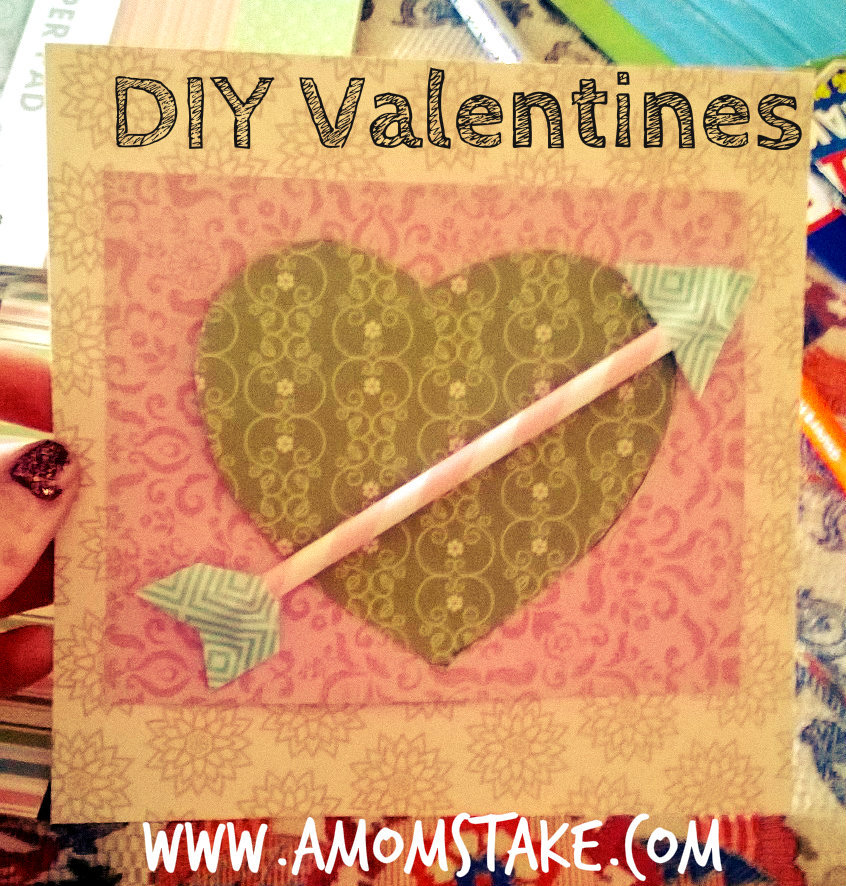
- Attach the arrow to the heart using tape or glue. For me, the double sided tape seemed to work better.
- Personalize the Valentine! On one of my Valentine, I used a piece of twine to make a bow. Another fun idea would be to use burlap for your heart; there are so many possibilities!

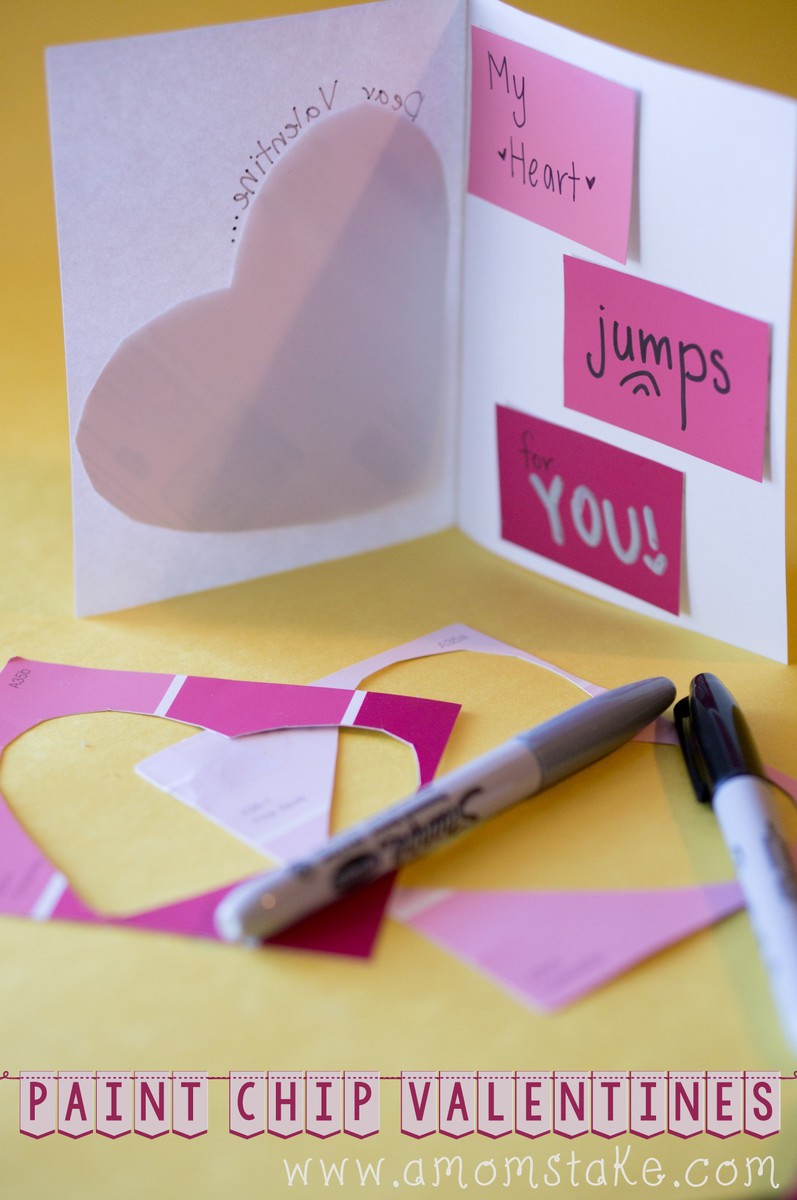
Here’s another fun homemade valentine idea using paint chips:

