I received four complimentary canvas prints from AllPosters.com. All opinions are my own.
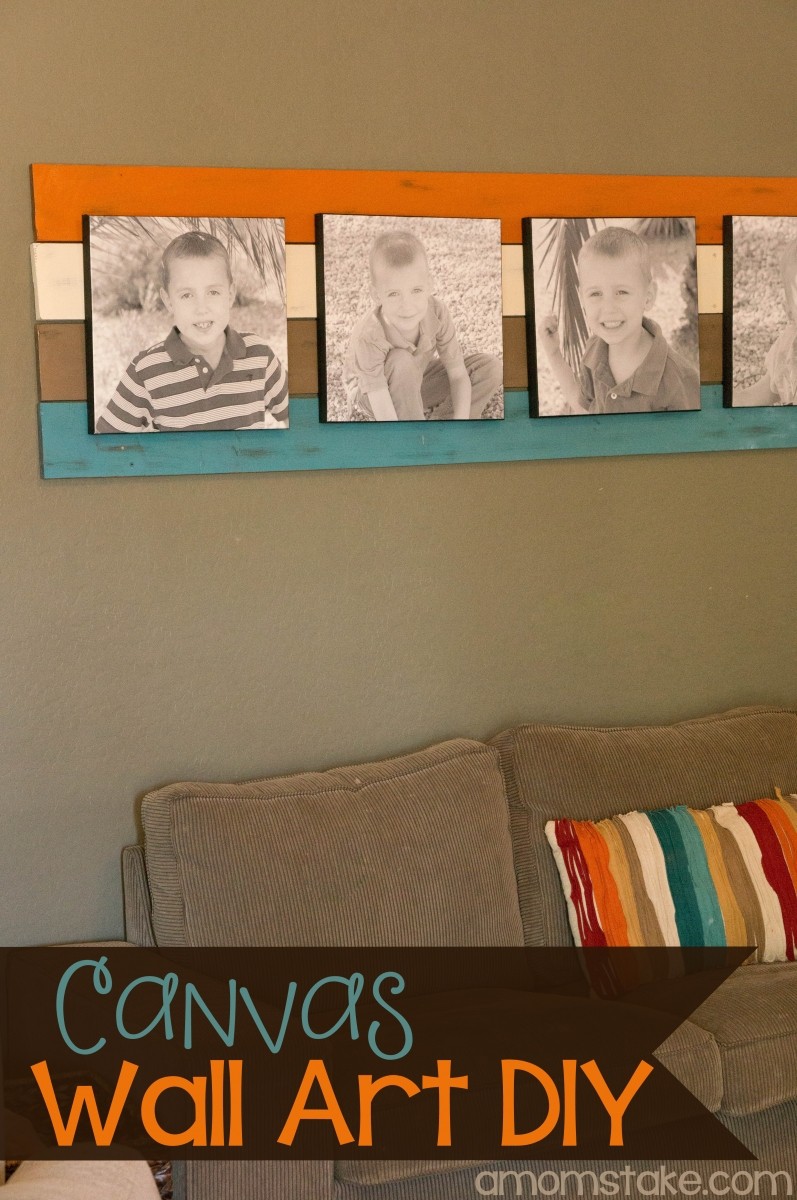
I have always loved seeing big, beautiful black and white canvas prints hanging in people’s homes of their kids. They always look stunning. So I dragged my own kids outside and snapped a billion pictures to get a few shots I liked of each of them. I cropped and framed them into a square 16″ canvas print with My Photos by AllPosters.com.
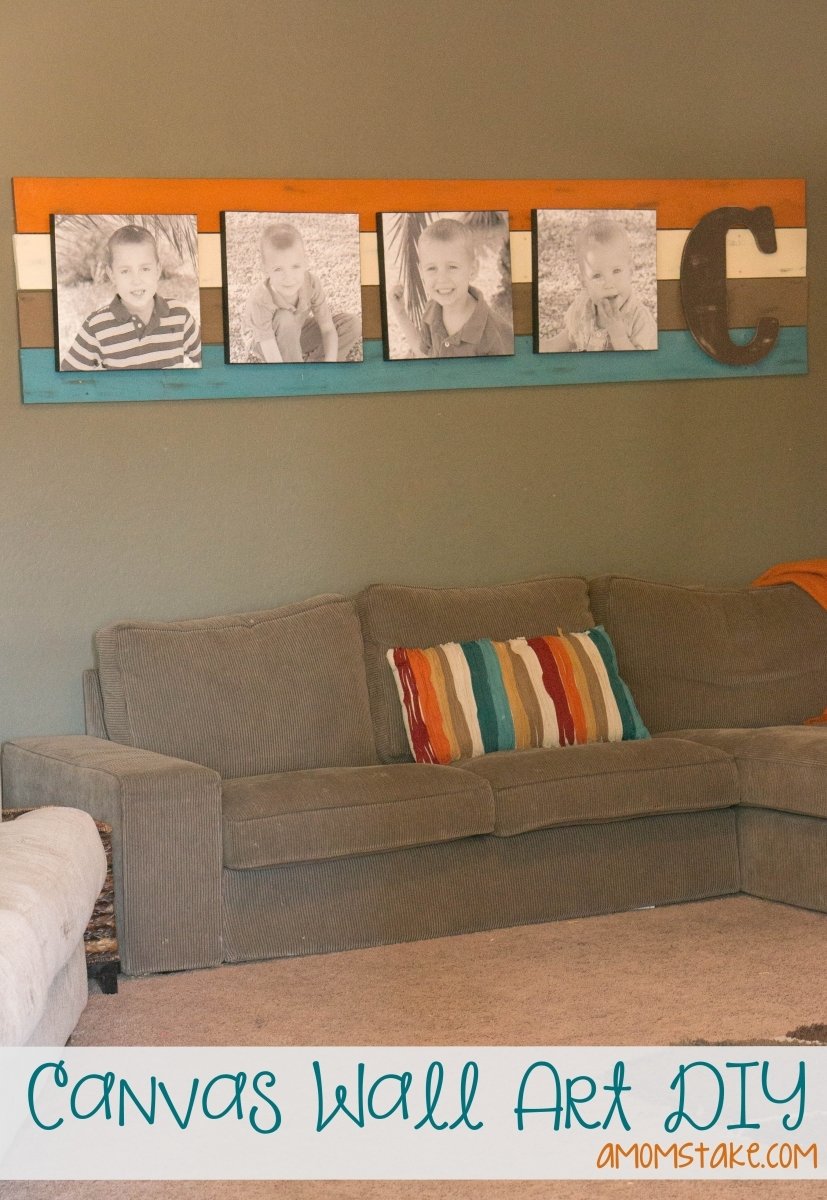
When my canvas prints arrived, I couldn’t be more pleased. They were stunning and beautiful and would be perfect to hang over our couch. The only problem was, my muted dark green color wall against the canvases made them look pretty lifeless. I needed some color and something to make these stunning canvas prints really stand out.
I had this idea in mind, what if I painted four boards and hung the boards and then mounted the canvases to the boards. I started chatting with my friends an trying to explain my vision. Everyone I talked to hesitated, “um… I’m not so sure that will look good…” But I wasn’t deterred. I could picture it and thought it would look great and give me just the color, texture, and interest our wall needed to make the canvases stand out and be a focal point for the room.
Here’s how I made our DIY Canvas Wall Art, which turned out even better than I could have ever expected.
DIY Canvas Wall Art Project

- (4) 1″x6″x8′ inexpensive boards
- Screws, about 40
- Paint in your choice of colors
- Sand paper
- Canvas prints
- A wood monogram letter (optional)
I headed off to the hardware store and found boards that were cut to exactly 8-foot long already, which was the perfect length for our space, so it was super easy to just pick out four that looked decently flat and straight. I just picked out the cheapest boards in that size, they were about $8 each. Since our canvas prints were 16″ squares, using four at 6″ wide would be perfect.
I had a pillow that was my color inspiration and took it along with me to the store to help pick paint colors. I ended up just grabbing spray paint cans because I wanted the painting part to be quick and easy. I grabbed the four colors you see on the boards as well as two cans of the dark brown on our “C”.
I started by painting all of the boards the dark brown. I planned to sand and distress my boards, and I wanted a dark color to show through. A white or cream would look great showing through, also. We waited about an hour for our boards to be dry, and then started coating them each with their individual colors. They just needed one coat except the cream color as it was really thin over the dark brown. Do only one coat when you can, as it’s much easier to distress just one coat.
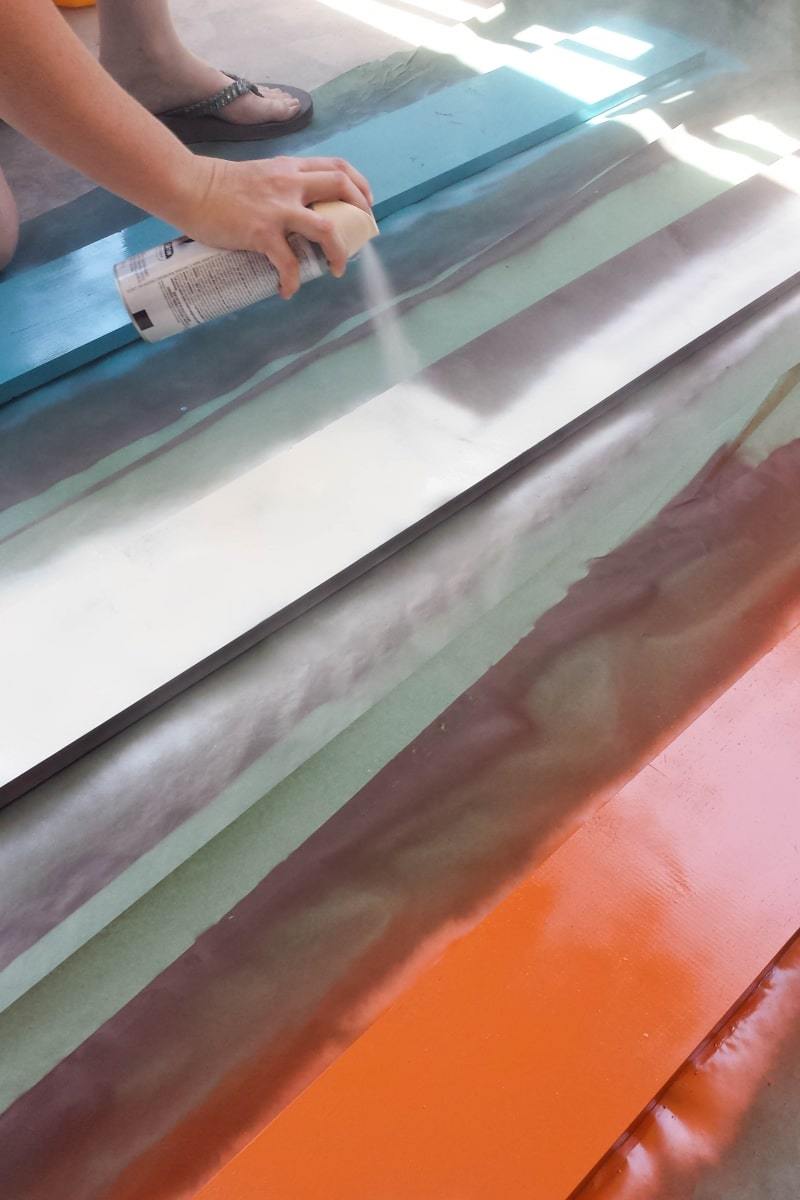
After the boards were dry again, we brought them inside to dry overnight away from the heat outside. The next day, I took a piece of medium grain sand paper and lightly roughed up the entire board including the edges and then distressed through the top coat of paint at spots to give it a worn and weathered look.
Now, it was time to hang our boards! They weren’t very heavy, so I held the board up with a level on top of it and we screwed the board right to the wall into the studs when we could. We did five sets of screws, leaving screws off the bottom half of the board so the screws wouldn’t show when covered by the canvas prints.
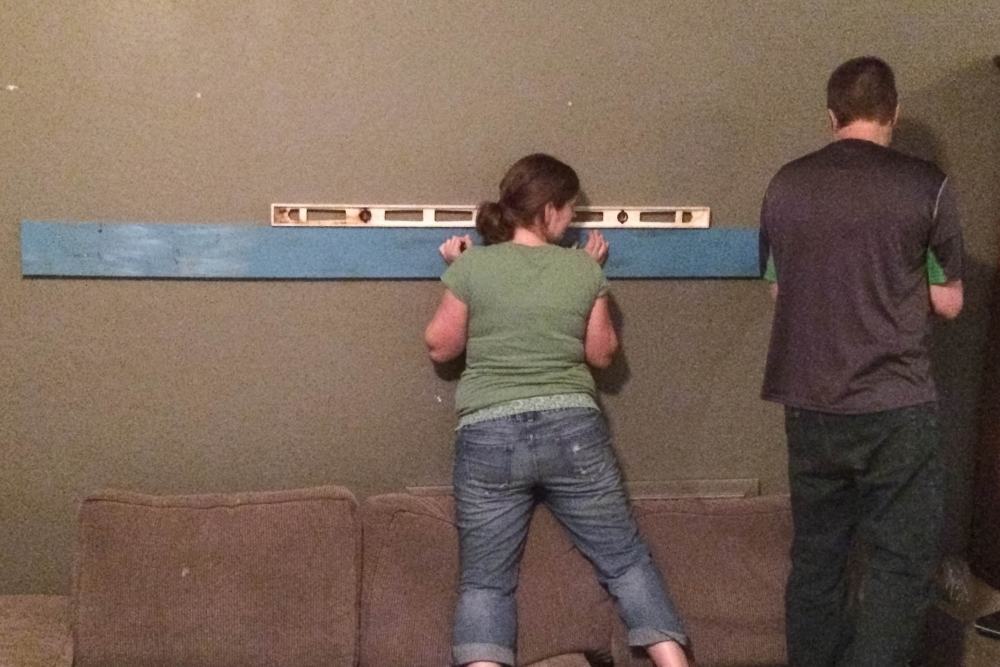
To space the next board, I grabbed four quarters and stacked two quarters at each edge. I then just rested the board right on top of the quarters. It gave us a really great amount of space and it was super easy to not have to measure again and space it just right as boards are nearly always warped to some degree.
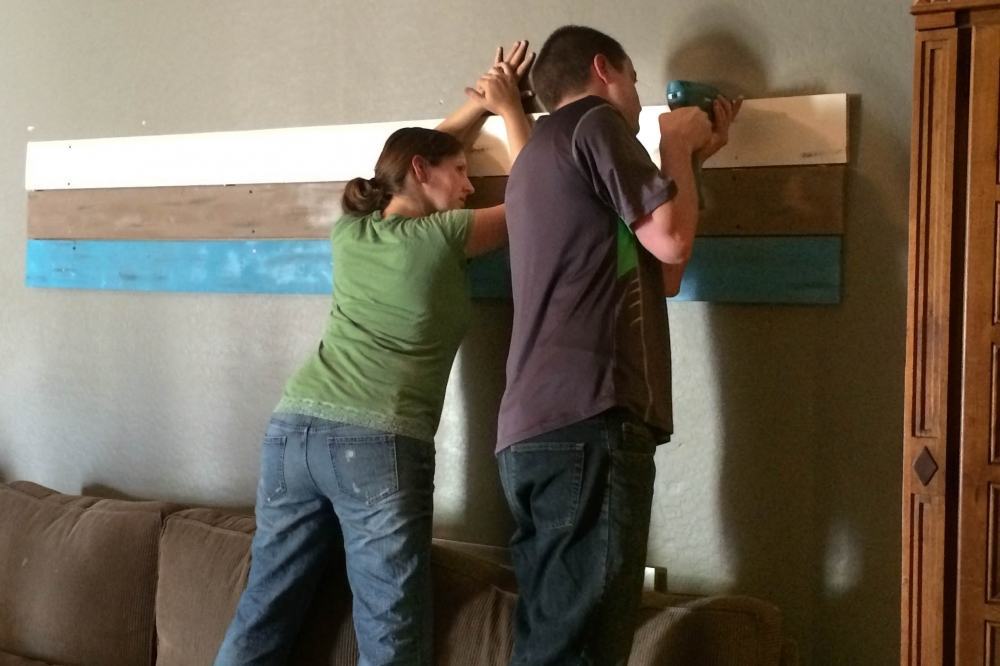
When all four boards were hung, I quickly spray painted all the screws with just a quick, short spray. I then lightly roughed up the paint around the screw hole, avoiding hitting the screws so their metal color wouldn’t show through. The paint worked great over the screws and made them blend in pretty good.
Now, it was time to hang the canvas prints! They came with a wire tied to the back for mounting and a mounting clip that was really easy to nail onto the boards and then hang the canvas from.
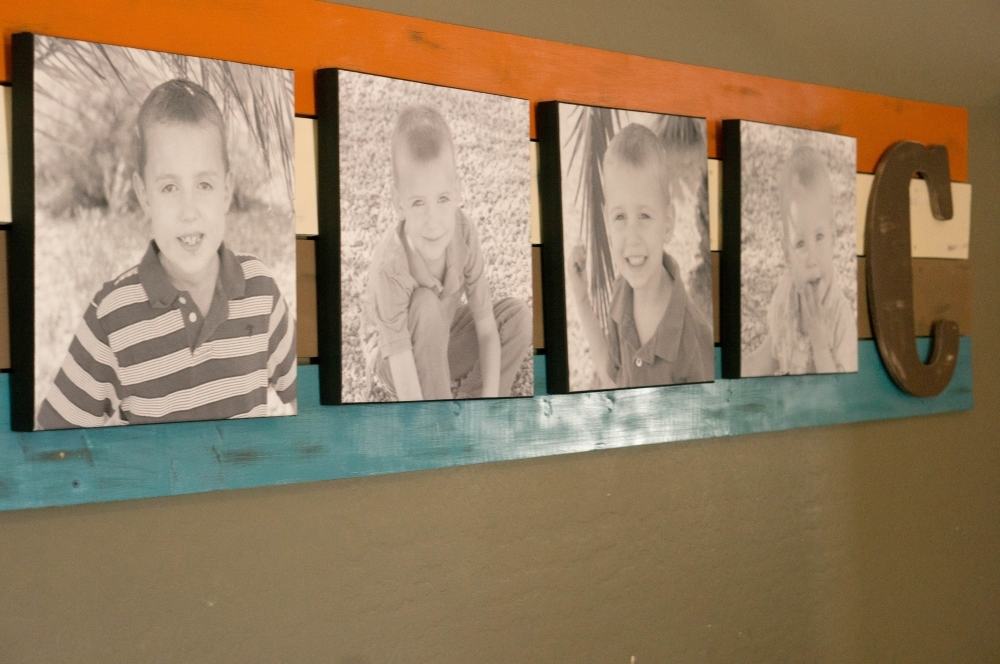
Because we are expecting baby #5, we spaced out the canvas prints to have room for #5 to join the collage eventually. In the meantime, we added a monogram letter “C”. I painted the wood letter with the cream paint first and then the dark brown, distressing it just like I had the boards.
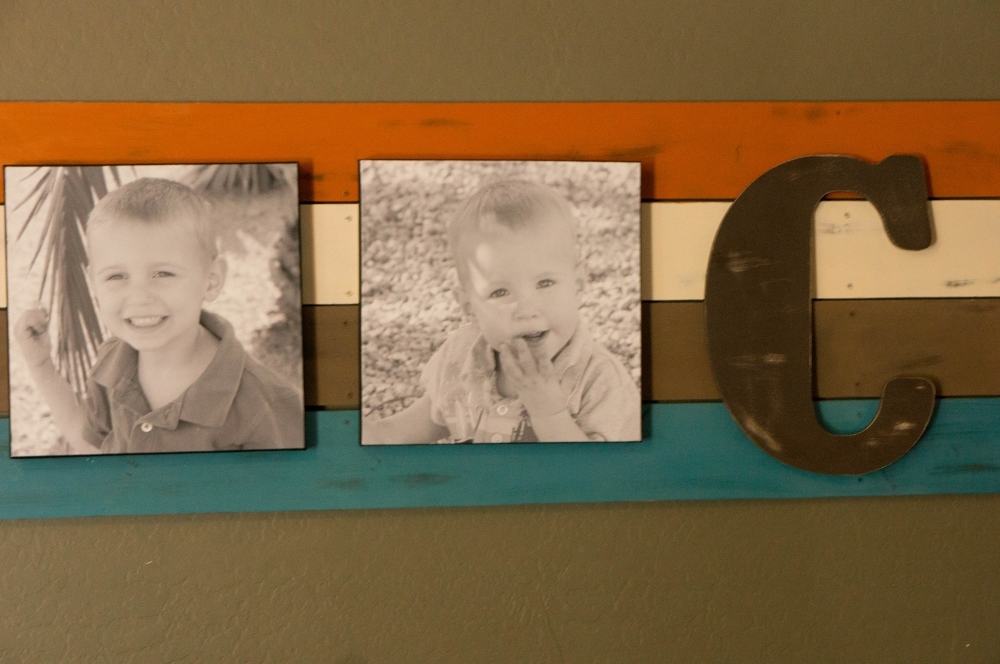
In the end, our canvas wall project turned out really, really nice! I find myself glancing at it a few times a day an really loving how much of a pop of color and style it adds to our whole room.


AllPosters.com My Photos lets you print canvas prints in a range of popular sizes including the 16″x16″ squares I selected. The canvases ship quickly and arrived in perfect condition. If you want to create your own canvas wall focal point, I highly recommend them!

Weekend re-Treat Link Party #82
Wednesday 1st of October 2014
[…] DIY Canvas Wall Art by A Mom’s Take | Thoughts on Organizing and Keeping Things Tidy by The House on Sanford […]
Create & Share 9/3/14 - A Dose of Paige
Tuesday 2nd of September 2014
[…] DIY Canvas Wall Art […]
The Weekend Retreat Link Party #82 - MOMMY ON DEMAND
Thursday 28th of August 2014
[…] DIY Canvas Wall Art by A Mom’s Take | Thoughts on Organizing and Keeping Things Tidy by The House on Sanford […]
The Weekend re-Treat Link Party | The Best Blog Recipes
Thursday 28th of August 2014
[…] DIY Canvas Wall Art by A Mom’s Take | Thoughts on Organizing and Keeping Things Tidy by The House on Sanford […]
Showcase Your Talent Thursday #127 | My Recipe Network
Wednesday 27th of August 2014
[…] DIY Canvas Wall Art by A Mom’s Take. […]