I received a Lowel Ego 2 Light set in exchange for this review. All opinions are my own.
I got a dSLR camera for my birthday this year and I’ve been trying really hard to improve my photography. However, one thing I quickly realized is that despite living in Arizona, my home is a dungeon inside, there’s hardly any light indoors and my pictures weren’t turning out the way I wanted them to. I had to up the ISO settings on my camera just to get any light at all and sacrifice the quality of my image overall. I thought I would share my favorite tips to improve your photography from what I have learned over the past few months.
How to Improve Your Photography
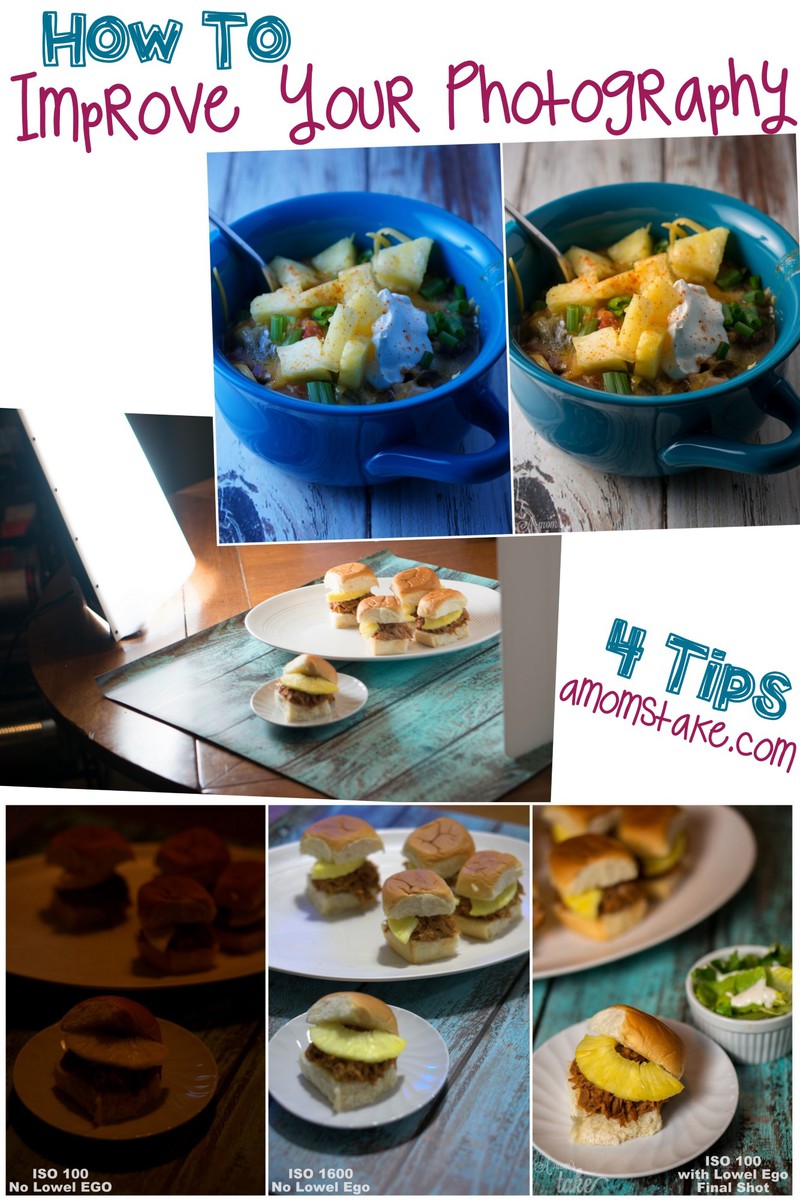
- Lighting is Key! You need a lot of light to get amazing pictures. You can find light by taking your subject outside and snapping pictures in indirect sunlight like shade. Or, shoot by an open doorway that lets light come indoors. If you do a lot of your photography at night, like I do as I often wait until kids go to bed or until dinner is done to snap a recipe photo, a high quality light will make a huge difference! This image set below demonstrates the difference adding in a quality light source made for my final image. The final image, I did add some post contrast and saturation, but they were shot in the exact same spot. With a Lowel Ego digital imaging light, I could keep my ISO all the way down at 100 to give me a high quality image without any extra grain or noise as well.
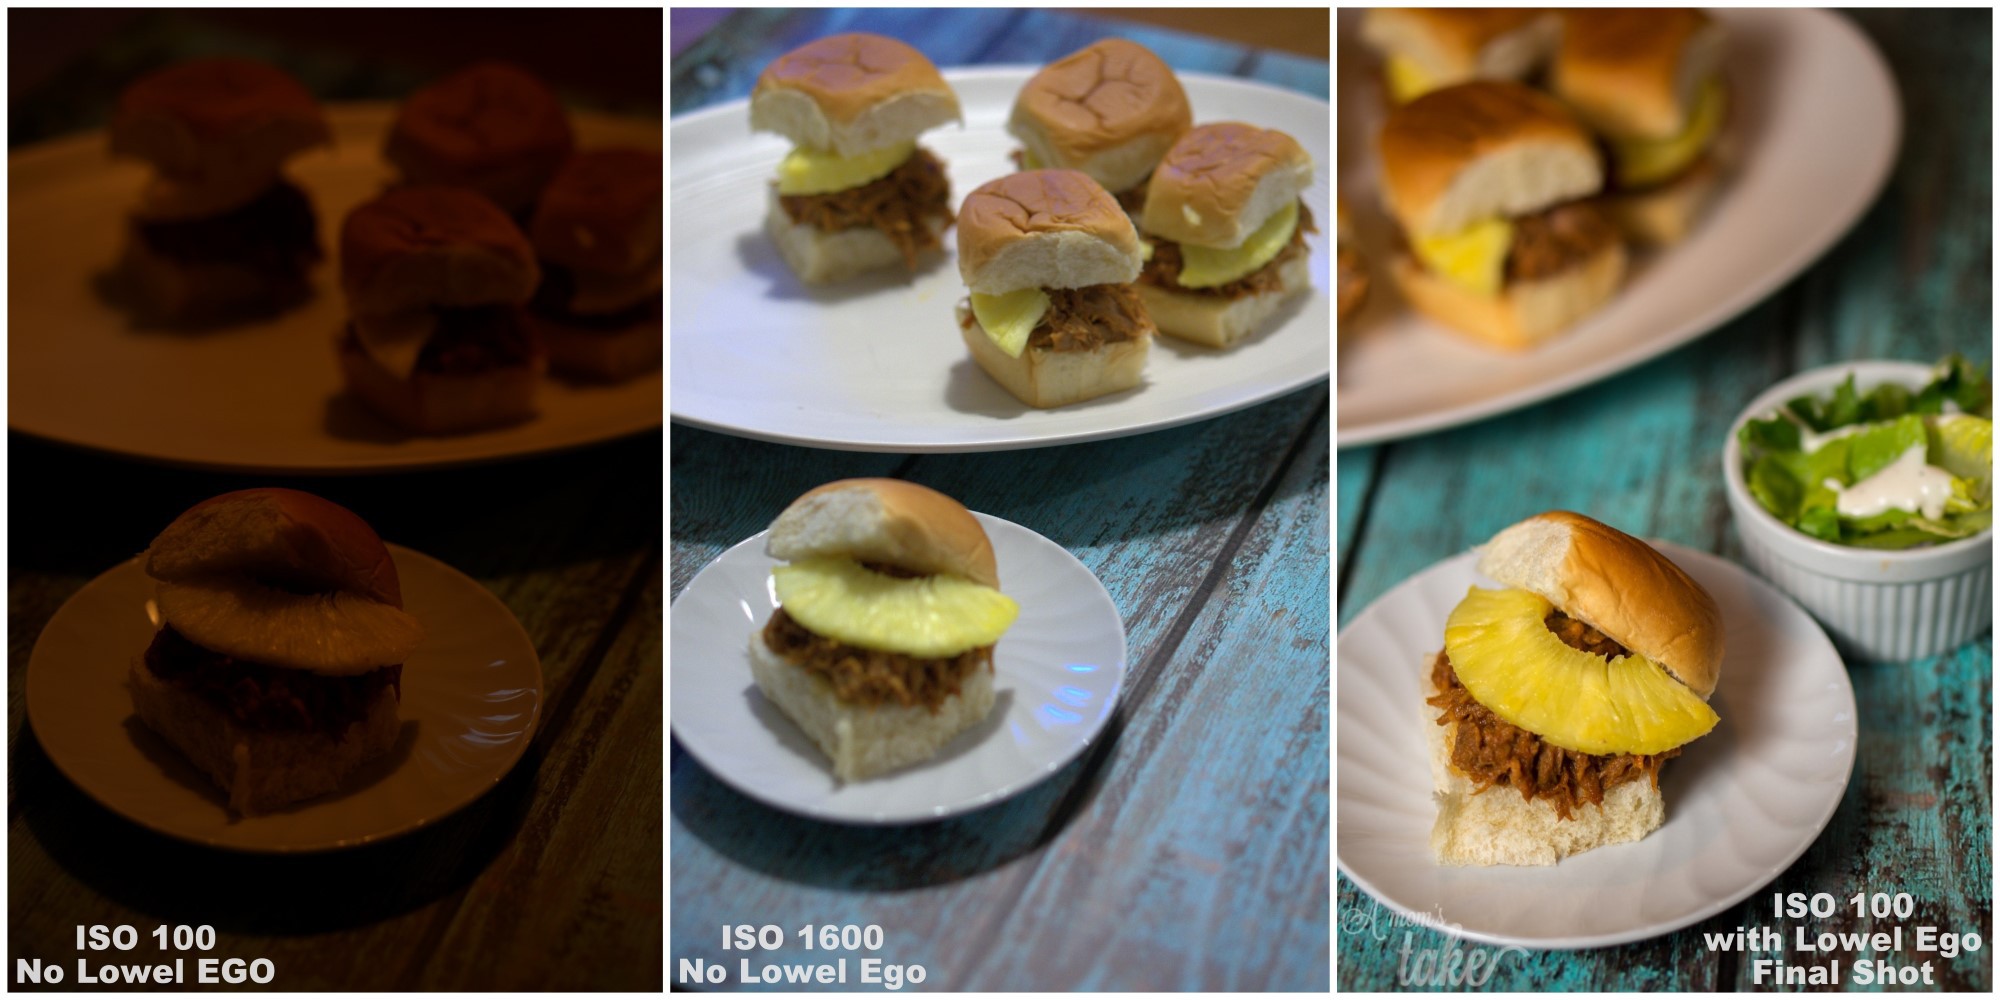
- Backdrops – I used to stick every single thing I took a picture of on my kitchen table. That’s not so horrible, except that my table has a lot of lines in varying directions, a bunch of nicks from years of use, and wear and tear. Adding in a vinyl backdrop or adding some plain construction paper can make a huge difference! It also gives you the freedom to work despite a crazy surroundings by not adding in clutter into your pictures. I used a Lowel Ego-sweep in the image below to give me a clean clear background above that lets the image focus on the St. Patrick’s day cards I was showcasing in this picture.
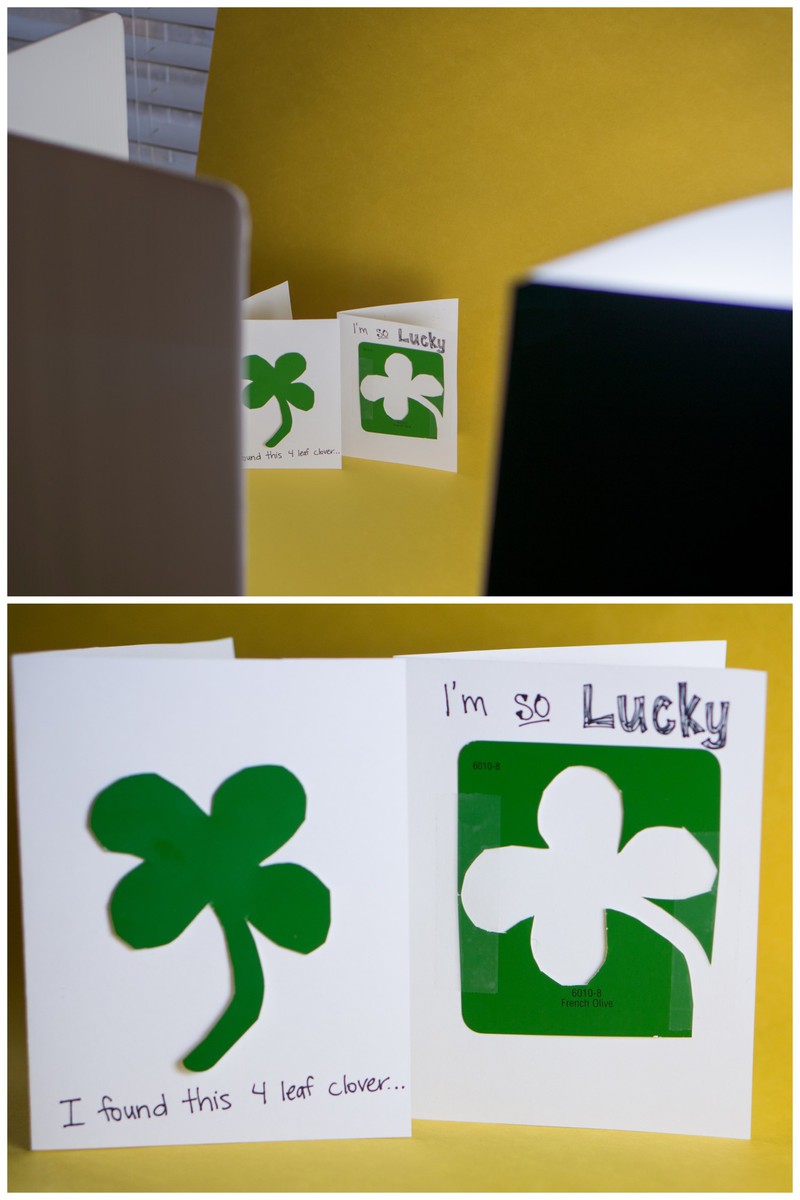
- Bouncing Light – A very simple bounce reflector makes an enormous huge difference for eliminating shadows and adding a “spotlight” so to speak of light hitting your subject right where you want it. Adding light makes a huge difference, and then bouncing that light makes another enormous leap forward on the quality of the picture. This was something I couldn’t really grasp until just a few minutes with a bounce reflector showed me how much of a difference bouncing light makes, it’s really a huge difference! Check out this example from Lowel’s website of the difference bouncing light makes.
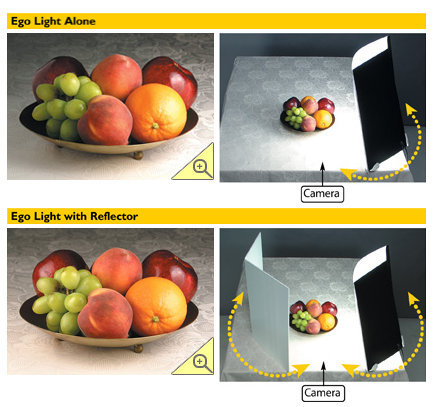
- Proper White Balance – Another area I was pretty clueless on when starting into photography was white balance. It’s one of your settings and there are several options already setup for different shooting scenarios, but getting the correct white balance is confusing. Take a look at this example below. The first was shot with the camera’s auto setting for my room indoors. The after look is after making a single click adjustment using Lightroom software to automatically adjust my white balance. The difference is night and day! I’m still working on improving my ability to capture a closer white balance when I take the shot, but just knowing how far off my white balance was has made a world of difference for my photos.

Working on these basic elements of your photography will completely transform your pictures! I was beyond thrilled to have the opportunity to work with Lowel to try out their Ego 2 light set which came with everything I needed to make amazing pictures indoors. The Ego light system has completely changed the quality and professionalism of my photography. It allows me to take images indoors when I don’t have the option of natural lighting. It has also saved me from having to use flash or raising my camera’s ISO settings to compensation for the lack of light.
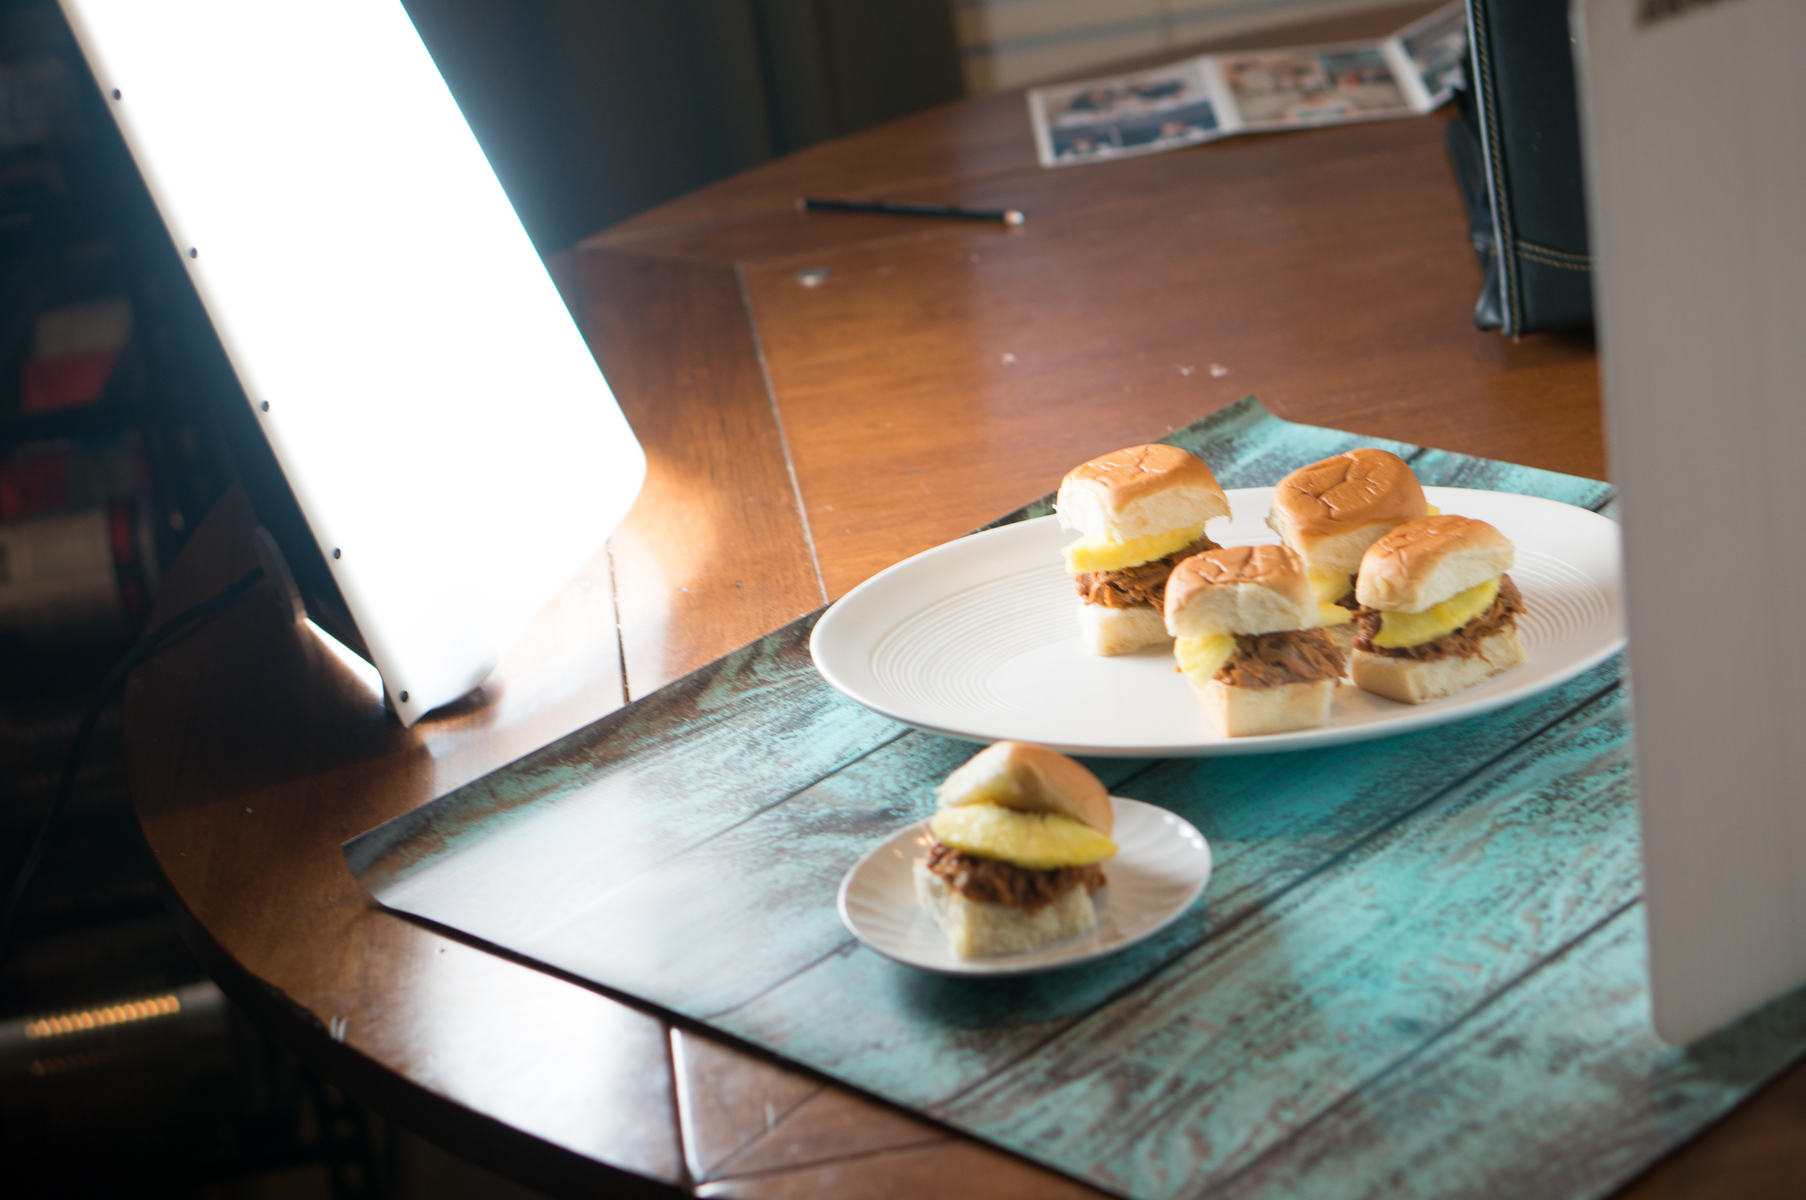
I couldn’t be happier with the Lowel Ego 2 light set. It was extremely easy to put together and included everything I needed to get started with a quality light that uses a full color spectrum daylight bulb, sweep for professional backdrops, and a bounce reflector that adds a focus of light and eliminates shadows where I need it to. If you don’t have the option to always shoot outdoors in natural lighting, a Lowel Ego will be absolutely worth the investment.
The Lowel Ego digital imaging light retails for $143 for a single light and reflector or for $305 for a 2 light set that includes a Sweep. To find out more about the Lowel Ego and see more examples of how much difference proper lighting can make, visit lowel.com/ego.

Blog Photography & Photo Editing Tips - A Dose of Paige
Monday 14th of July 2014
[…] 4 Tips to Improve Your Photography […]