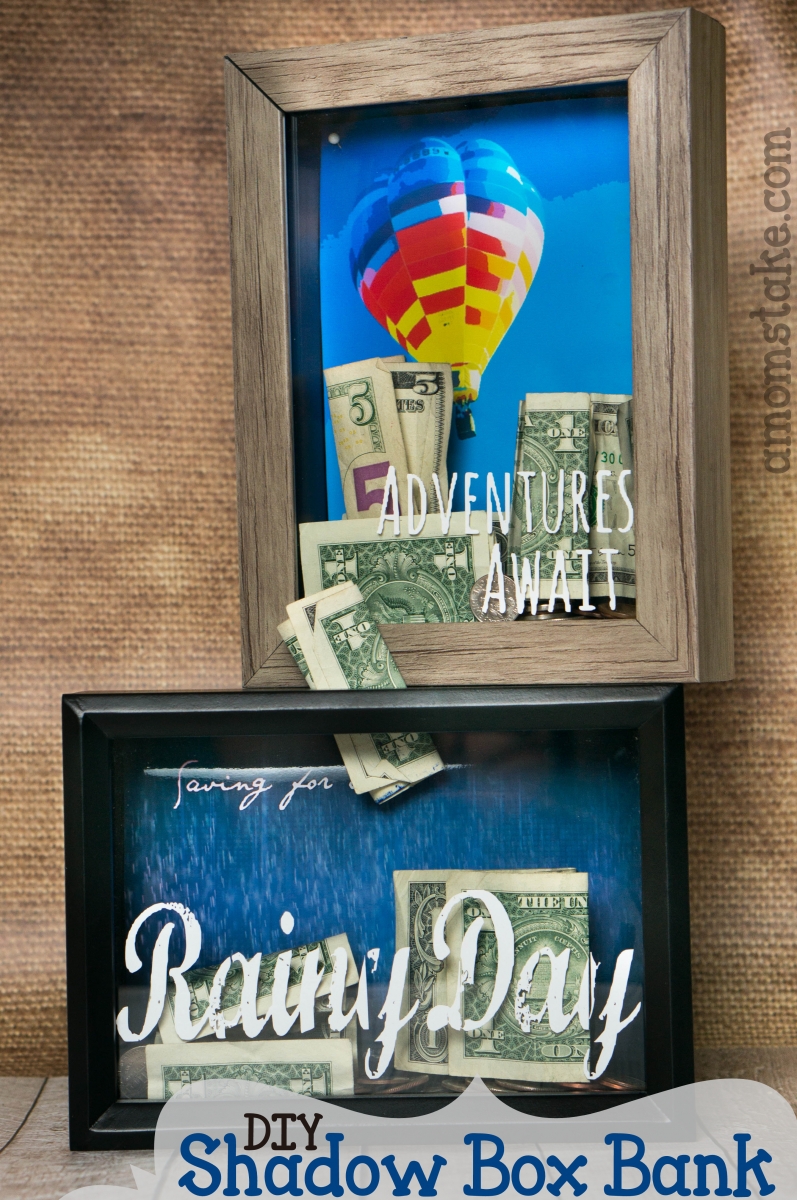
I really wanted to make a custom piggy bank for my kids, so when I came across a very adult piggy bank that was in a shadow box on Amazon, I knew it was a hidden gem that would be easy to make on my own and I could customize it to make their coin bank however I wanted to match my boys personalities.
This simple DIY project would make the perfect gift, maybe a birthday gift when they’re old enough to start learning about saving money aside! Since the shadow box is easy to open, if needed, it makes the perfect money saving bank for whatever you are saving for – maybe a rainy day fund, a travel fund, or even an adventure fund (like we used ours for!)
Let’s jump right in and I’ll show you how to create your own custom shadow box piggy bank!
DIY Shadow Box Piggy Bank


Shadow Box Piggy Bank Supplies Needed:
- Shadow Box Picture Frame
- Printable art for your backdrop – or a sheet of photo paper sized for your shadow box
- Dremel tool or similar for routing a hole
- Vinyl saying, if desired
- Lots of coins or dollars!
You can look for a shadow box at dollar tree or use a 40% off coupon from Michael’s or a similar store for the best deals!
How to Make a Piggy Bank Shadow Box
Step-by-Step Overview: (Full Details below)
- Shop for a Shadow Box
- Pick out a print sized for your frame size
- Create a money slot hole at the top of the frame using a dremel tool
- Assemble and enjoy!
I started by picking up two different shadow box picture frames. Pay attention when you shop to the thickness the frame, as that will be how far you will router a hole as a coin slot.
Once you have picked your frame, you can have fun designing a cute backdrop for your piggy bank. I created two different printable designs and coordinating vinyl layers you’re welcome to save and use, or let the kids get involved drawing their own back.
I created 2 prints for my own DIY Shadow box bank. You’re welcome to print and use either of these backdrops and/or the vinyl overlay layer. The print files are shared below.
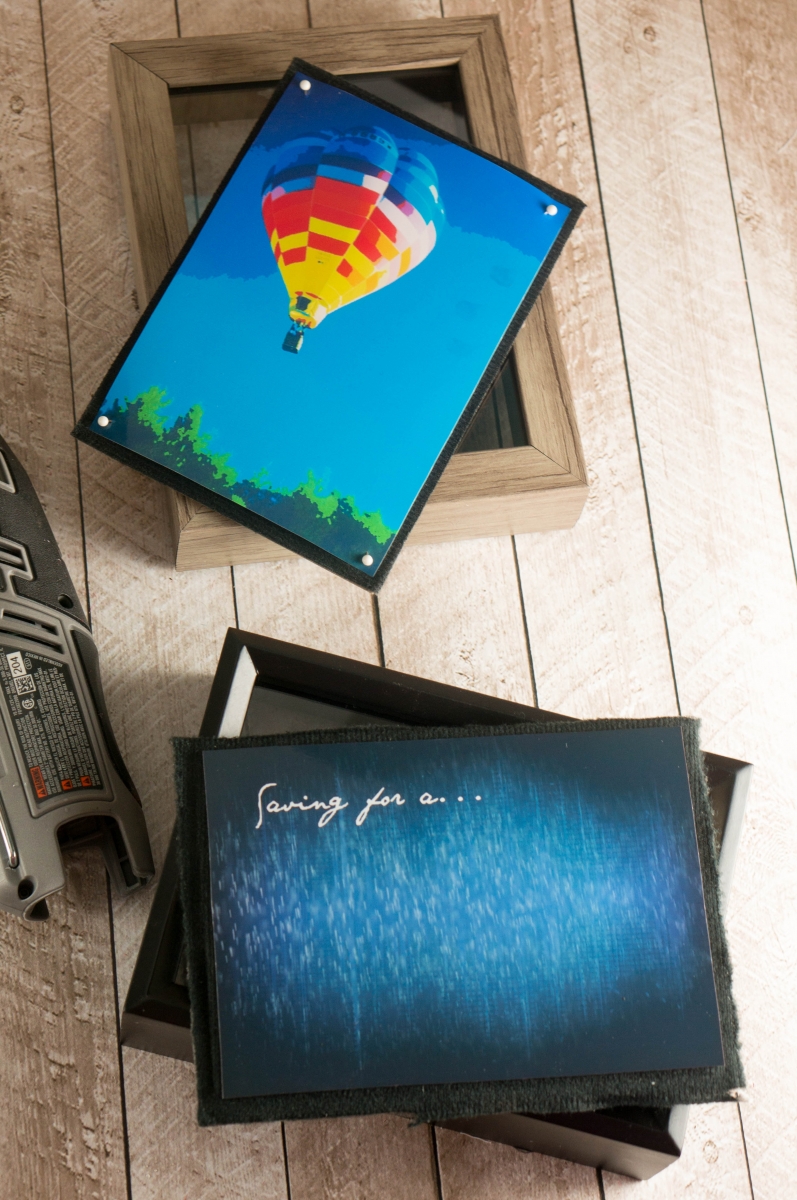
I printed out my two 5×7 printable art with a photo printer. They printed up beautifully and then I just pinned them in place onto the back of my shadow box. I’ve shared both of these images and vinyl overlays at the bottom of the post. Of course, you can come up with your own images for a one-of-a-kind wooden shadow box bank for your needs!

My frames came included with a soft backing and short sewing pins to attach memorabilia to the backdrop. If your frame has a flat backdrop, just tape, glue, or modge podge your picture to your frame backing.
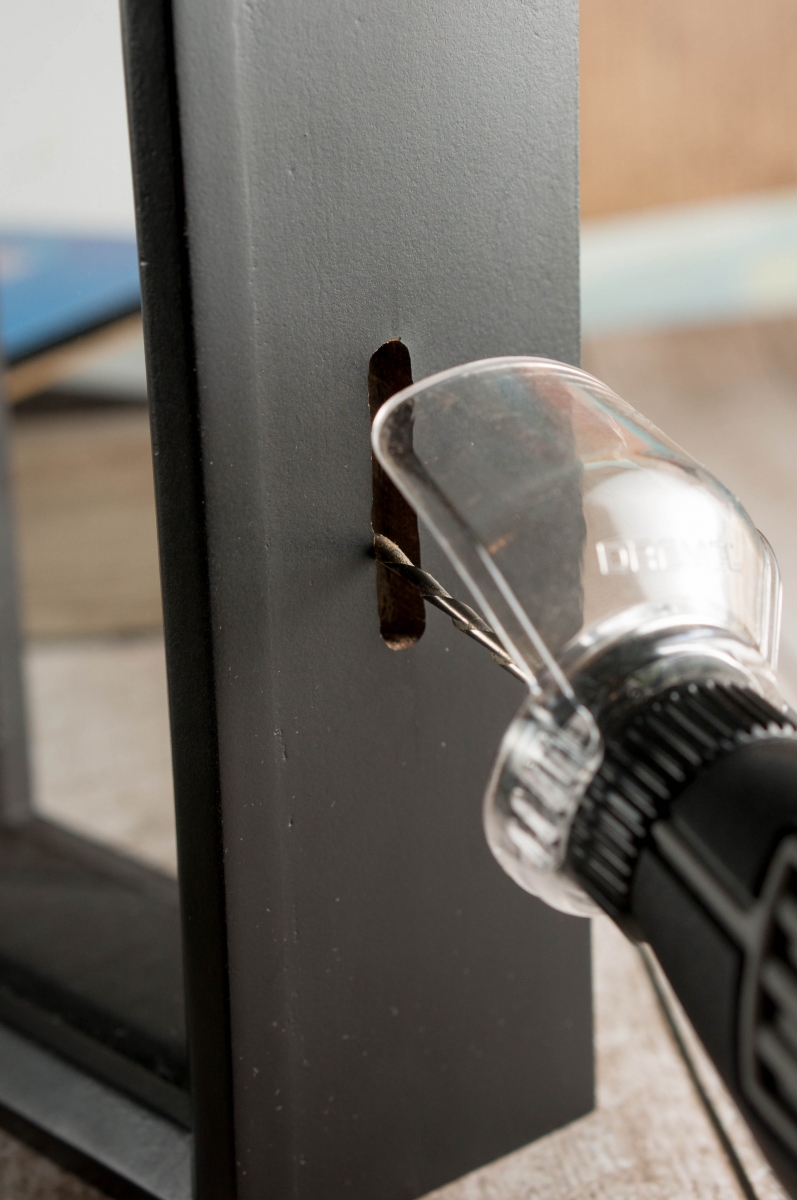
Next, I pulled out my Dremel router tool and edged out a money slot in both of the frames. It took me about 20 minutes for each frame – this was my first time ever using a dremel tool, so it was a bit of a learning process and someone who know what they were doing would be much quicker.

Start dremeling by carving out the basic width and length for your money slot, and then deepen the hole until you cut all the way down through the thickness of the frame. When your hole is all the way through, you can shape and fine tune your cuts to make them smooth and even and round out the corners if you’d like.

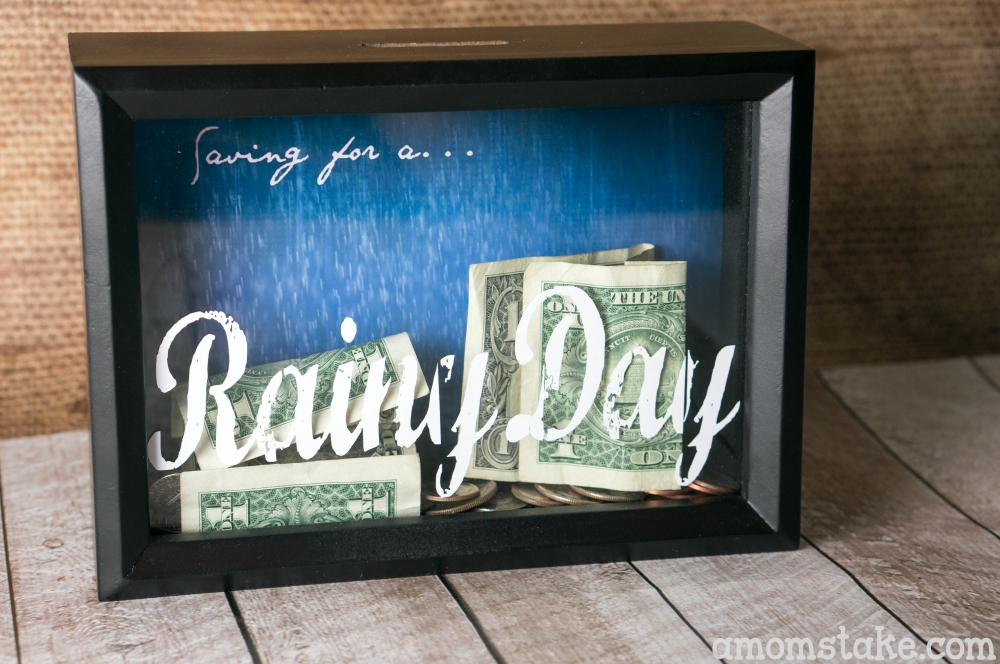
When you’ve finished creating your money slot, clean the glass and assemble the back of the box and the front glass together with the backdrop picture in place. You can add vinyl words to the front or back of your frame to add another layer to your whole DIY shadow box bank.

Just print out your phrase or design on vinyl if you have a vinyl printer, and then use a piece of contact paper to lift the remaining vinyl you want to apply and stick it to the glass. Press and smooth so it sticks well to the glass, and then remove the contact paper.
That’s all it takes, and you have a cute wooden saving box – in a better way! Where you can actually how much money you’ve saved to help motivate you to keep on saving towards your goal each week with the glass transparent window.


Now, I just sit my wooden vacation fund shadow box on my bedroom dresser so I see it all the time, but it would also be perfect on the kitchen countertop for everyone to drop in extra cash and spare change to work towards a family goal. Or use it as simple home decor on a bookshelf as a cute accent piece! The shadow box is really the perfect size!
Another great way to display your piggy bank is with easy hanging! Many shadow boxes already have the hanging clip attached, so place it inline with a collage wall or with your other home decor for a streamlined look!
Piggy Bank Shadow Box
2 Free Background Printables

Adventures Await Printable Overlay (for vinyl) — this vinyl is white with a clear background, so the page will look blank. Click to save the image in the top left corner

Rainy Day Printable Overlay (for vinyl) — this vinyl is white with a clear background, so the page will look blank. Click to save the image in the top left corner
Your shadow box piggy bank is now complete! Fill it up with coins or dollar bills and start saving for your next big adventure, rainy day, or whatever else you’re saving up for.

Tutorial – How to Make a Shadow Box Bank
Sunday 24th of August 2014
[…] Tutorial at A Mom’s Take Blog […]
Showcase Your Talent Thurdsay #124 | My Recipe Network
Thursday 7th of August 2014
[…] DIY Shadow Box Bank by A Mom’s Take. […]
Showcase Your Talent Thurdsay #124 - Whats Cooking Love?
Wednesday 6th of August 2014
[…] DIY Shadow Box Bank by A Mom’s Take. […]
7 Awesome DIY Projects « Create Link Inspire Features « Marvelous Mommy
Saturday 2nd of August 2014
[…] 4. DIY Shadow Box Bank […]
Joanne T Ferguson
Friday 1st of August 2014
G'day! Thanks for stopping by our #SayGdayParty! Please remember to stop by and comment on other people's submissions too and of course, hope you are following Natasha and me on Pinterest! Comments and shares show you care! Cheers! Joanne @ What's On The List