Having recently moved, there is so much to decorate in the new house. Lots of empty walls, and lots of old furniture from my old house that I wanted to make fit into my new house with a little more pizzazz.
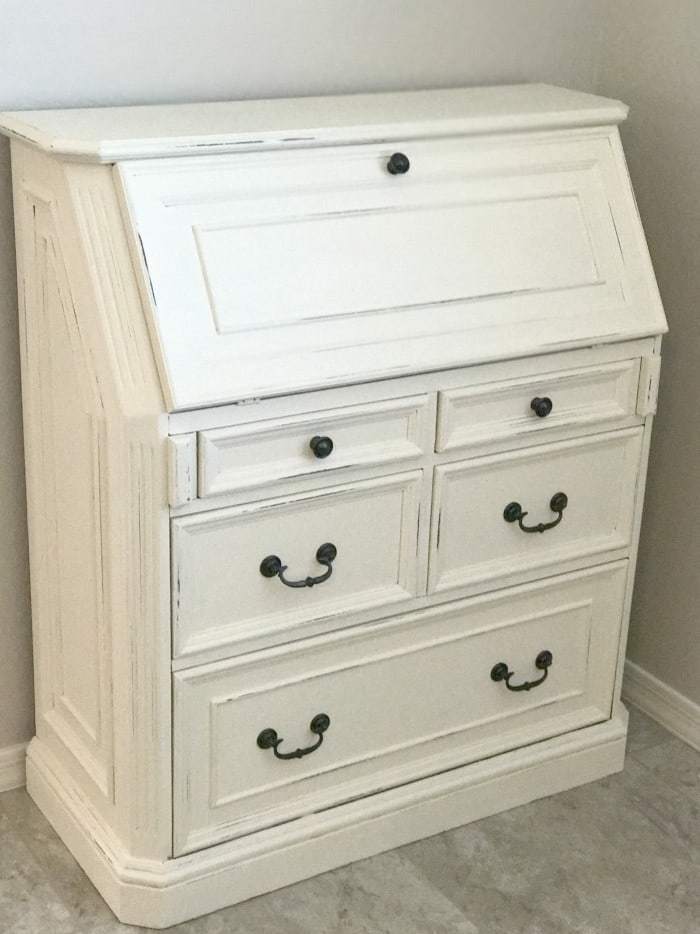
Here’s my first project, a DIY Chalk Painted Desk. Plus, all the steps that you can follow along and learn how to refinish furniture with chalk paint!
Affiliate links are included below for your convenience.
How to Refinish Furniture with Chalk Paint
Supplies:
- A vintage desk or other furniture piece
- Chalk Paint (I used Annie Sloan Old White)
- Paintbrush
- 200 grit sandpaper
- 400 grit extra-fine sandpaper
- Spray bottle with water
- Finishing Wax (I used Minwax Natural)
- Cheesecloth
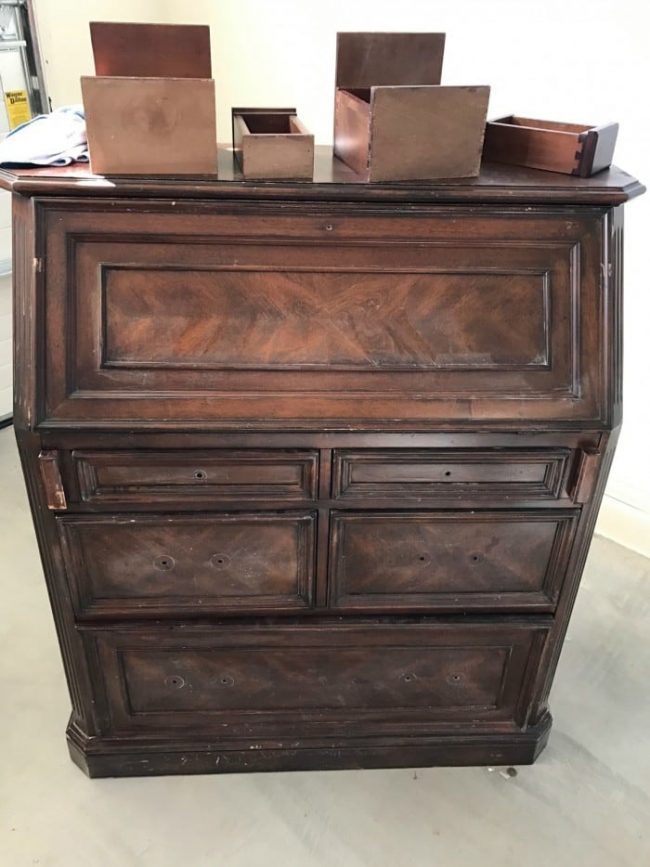
I started with this plain, boring, fold out desk with so much storage. It is quite a few years old, but I knew it had potential.
I didn’t love the stain that was originally on it, or all the extra stains and gouges from over the years. I wanted to try out chalk paint because I had heard that you can paint right onto the furniture without much prep.
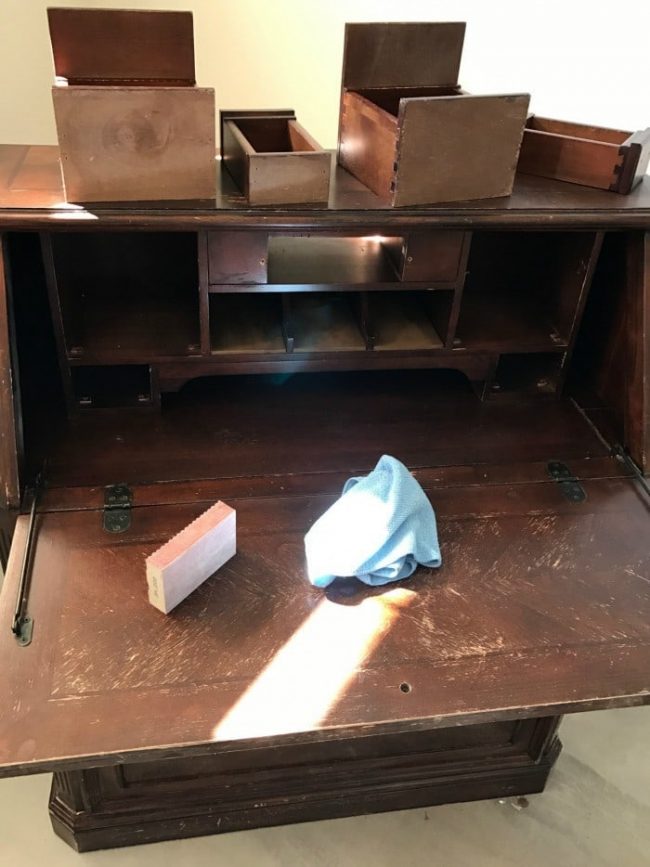
I loved that it was a fold-out desk. I can close it up and not take up too much space. It was, however, pretty daunting with all the nooks and crannies to paint as a first time project.
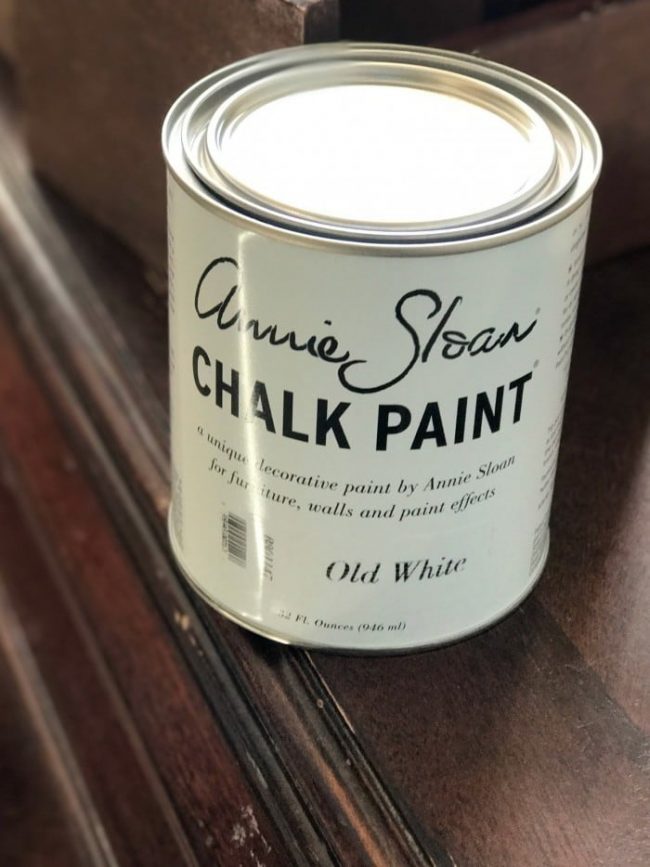
I decided to go with Chalk Paint® in Old White by Annie Sloan for this project. They only sell it in small boutiques around the country you can visit the website to see where you can locate a local carrier.
I did a light sanding all over (I used 200 grit sandpaper).
Not enough to strip anything, but just rough it up a little bit.
When you first start to apply the paint, you’ll be surprised at how quickly it dries. It helps to have a spray bottle full of water nearby to spritz your paint brush or paint that you’ve poured to keep it moist.
The key to the chalk paint is light layers. Don’t put it on too thick.
First Coat:
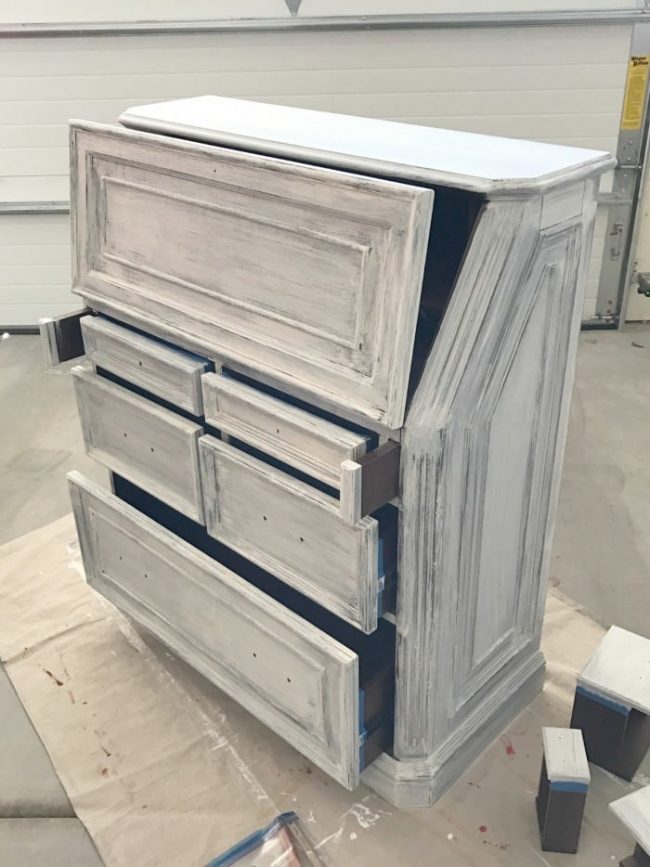
In between each coat, do a light sanding again. I used 400 grit extra-fine sandpaper. I also sanded a little more where
I wanted the distressing so that I wasn’t having to get through 3 coats of paint to get to the original color at the very end. It was easy to distress through one coat at a time.
Second Coat:
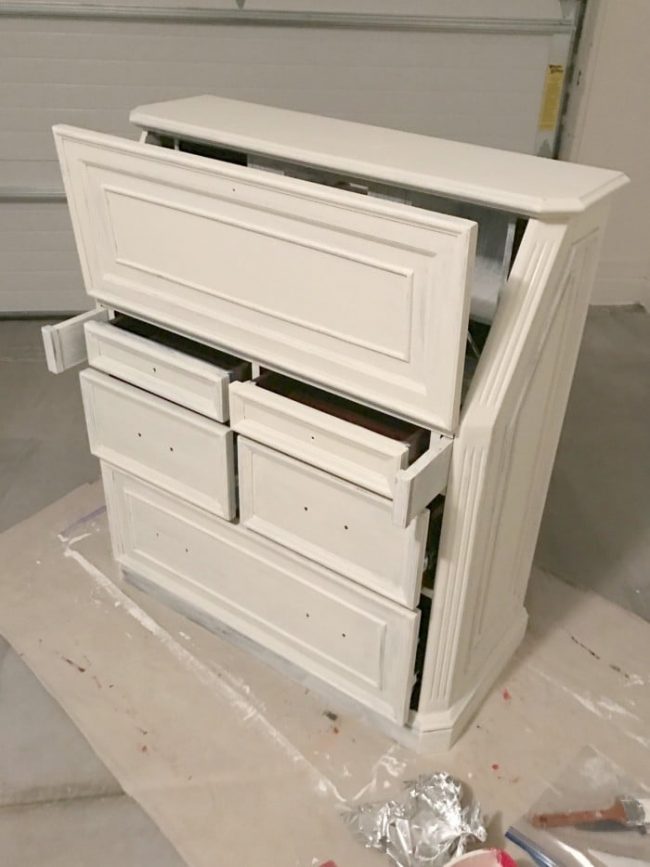
Make sure to let it dry completely before putting on the next coat.
Third Coat:
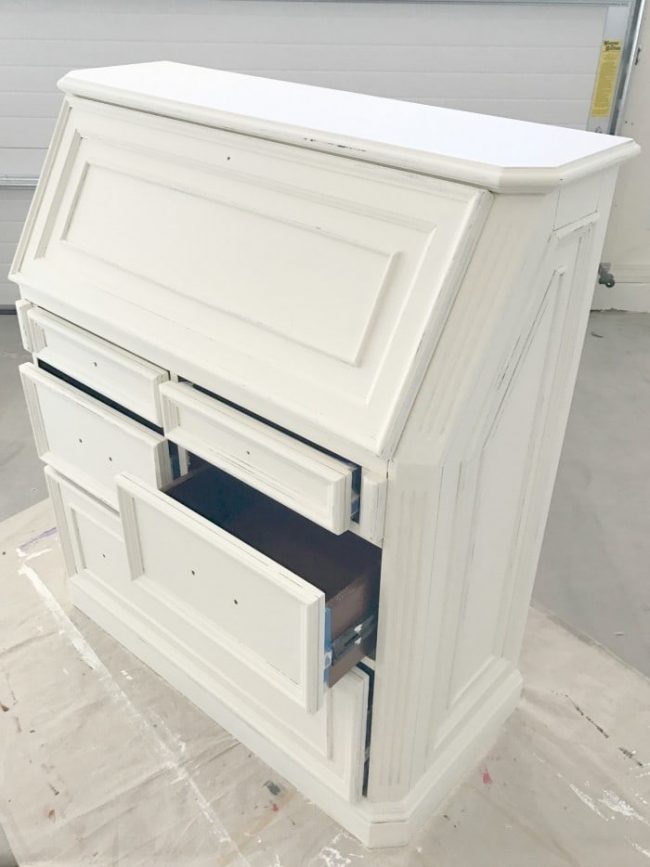
In some of the areas I had to do a fourth coat. It was a very dark desk to begin with and a really light white paint.
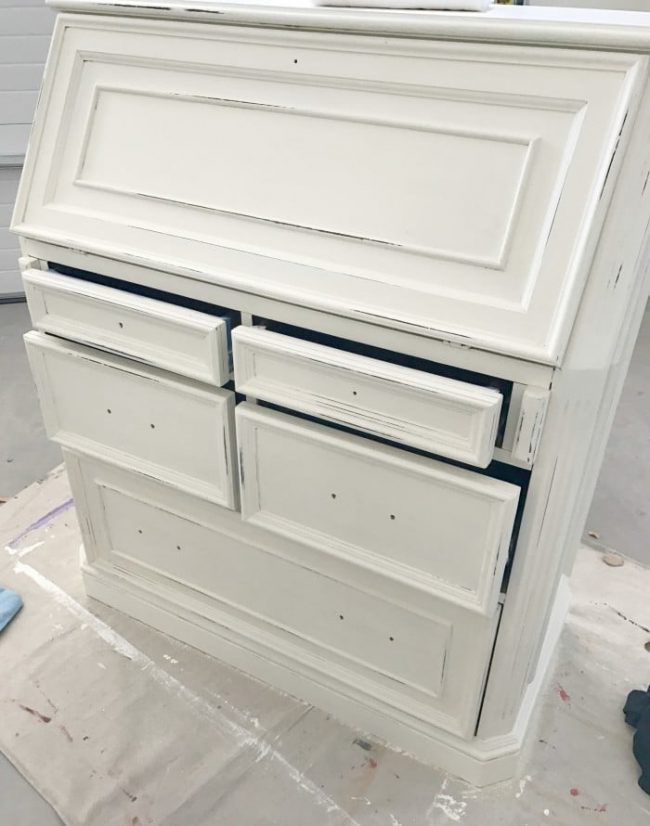
Lightly sand the areas that you want to distress. I loved distressing the edges, where paint would naturally be worn down. I didn’t distress any of the middle area that wouldn’t normally get wear and tear.
Once I had the paint the way that I liked it, it was time to seal it with some wax.
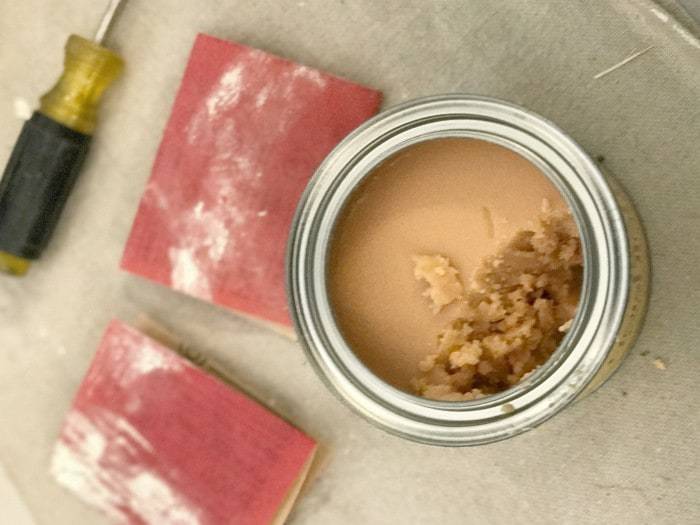
You can use any finishing paste wax, I chose the Minwax Natural color. I really liked the outcome of the white paint and didn’t want to change the color with a colored wax.
Cut out a piece of cheesecloth and double it over. Scoop some of the Minwax into a pile into the middle of the cheesecloth.
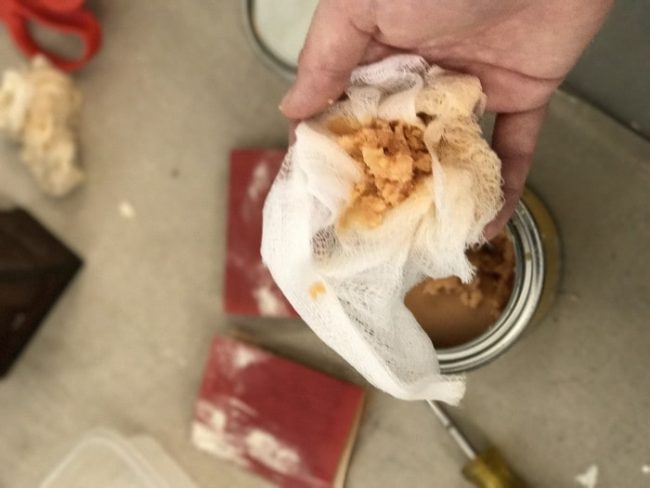
Keep all the wax inside the cheesecloth and gently rub it over the desk.
Do one section at a time so that the wax has time to soak in, but not enough time to completely harden (buff within 30 minutes).
The cheesecloth will disintegrate, but just keep folding over a piece over the holes and keep rubbing the wax over the project.
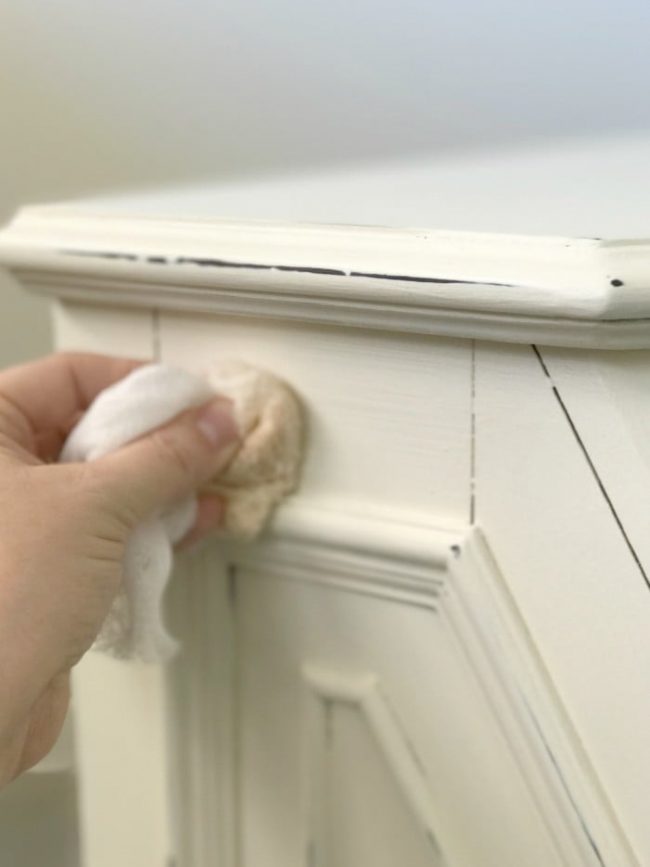
After a layer of wax is put on, buff it with an old t-shirt or sock. Rub it in a circular direction until you can see a bit of a sheen on the area. High use areas (top of the desk, the fold-out table) put a second layer of wax for extra protection.
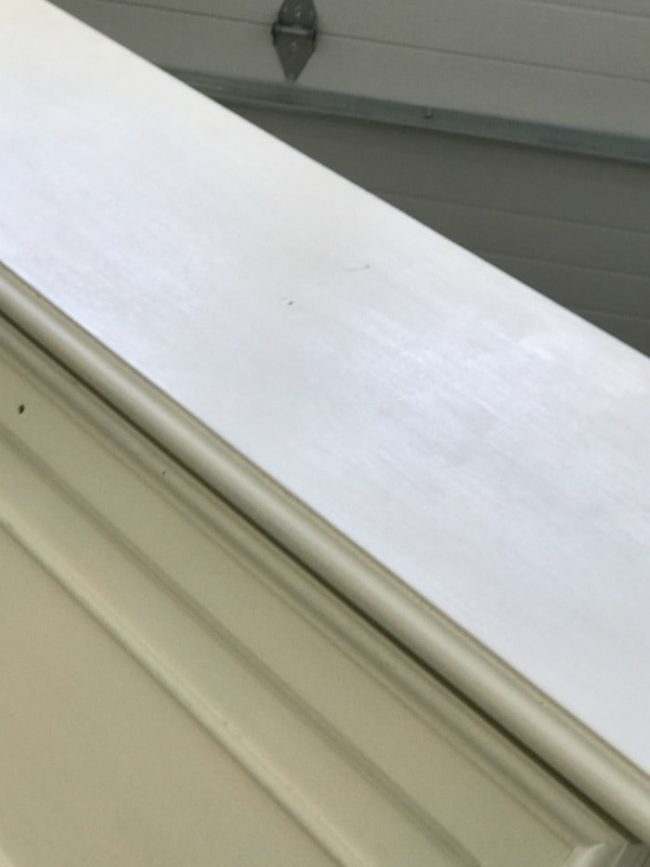
I tried to capture the shiny sheen on the top of the desk. It’s a little difficult to capture in a picture.
I wasn’t sure if I was going to keep the old hardware or find some new knobs and pulls, but I ended up LOVING the original hardware with the new paint job. I think it really pulls in the distressing and ties it all together.
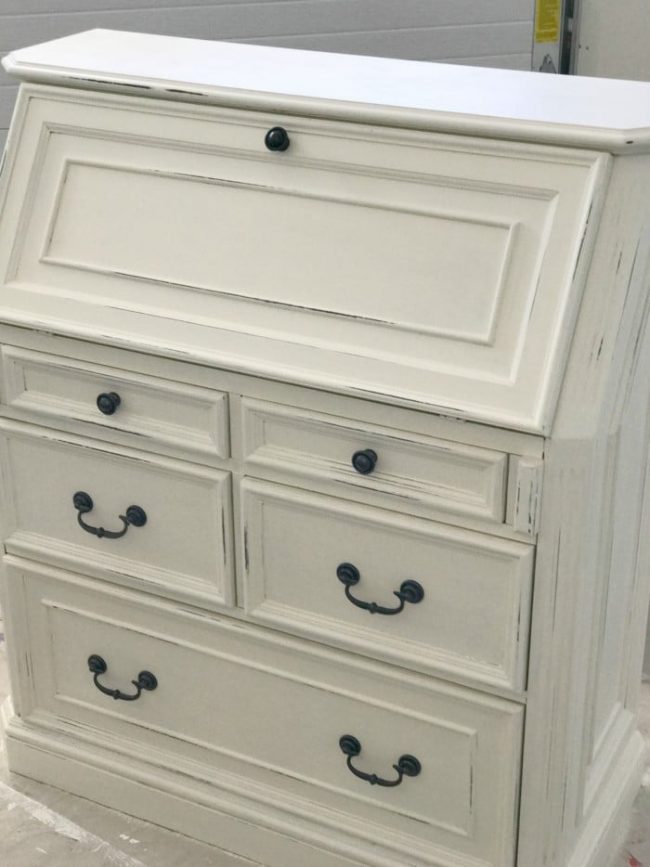
Love how it turned out! It has so much storage, lots of room on the desk, and the color is just beautiful now!
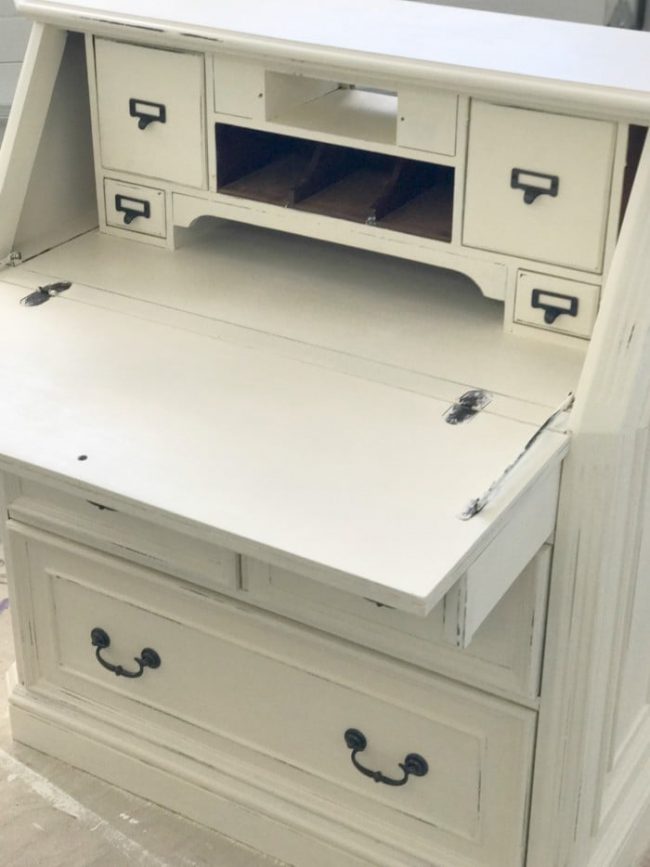
It was quite a complicated piece to tackle on my first refinish job, but I love all the character that the desk has! If I can refinish an old piece of furniture, anyone can!
Has this post inspired you to start your own refinishing project? Save this tutorial by pinning it now!
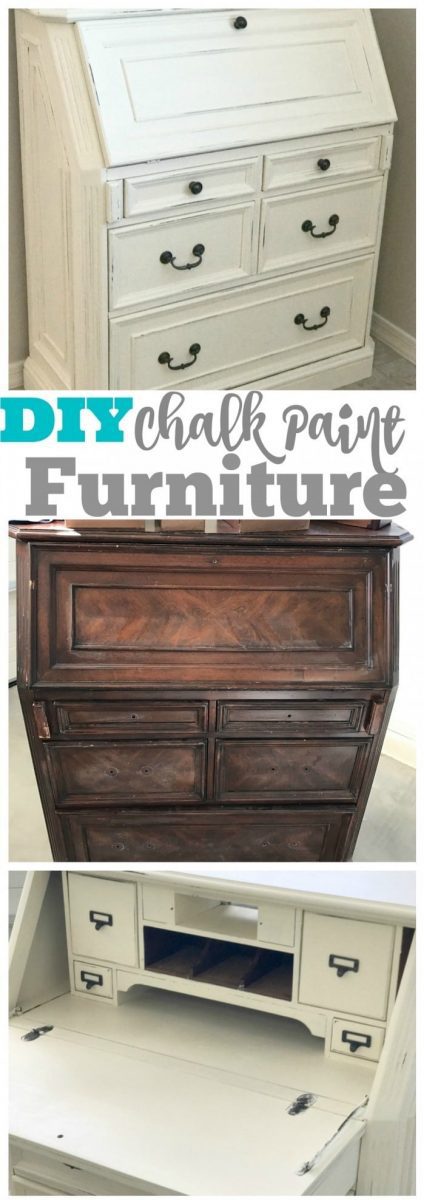
What piece of furniture would you refinish?

hannah
Saturday 1st of April 2017
this piece has so much character! And I love the slight distressing on the edges. I have a piece that is a perfect candidate for chalk paint + distressing.
Peggy Nunn
Tuesday 28th of March 2017
You did such an amazing job. You make me think I can do this. I don't have a piece of furniture now but I will not be afraid to try.
Brianne
Friday 3rd of March 2017
Wow this came out great! I love chalk paint and all of its possibilities for redesigning something!
Lorri
Friday 3rd of March 2017
very inspirational!!!! I will definitely try a project lie this.
Claudia Krusch
Friday 3rd of March 2017
It looks amazing! I can't wait to try a project like this!