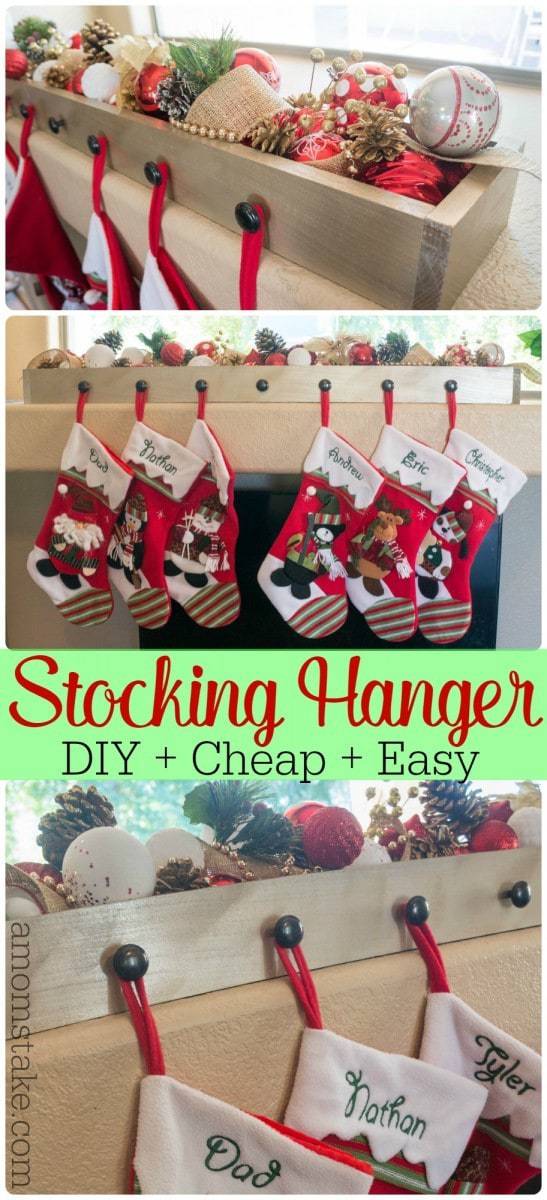
I’ve always wanted a fancy mantel to hang my stockings. Each year, it’s been a bit of a game and question of where to place our stockings. So this year, I set out to make my own DIY stocking hanger that would both be functional and add to our home décor. I love how this stocking hanger turned out and how I can change up the look each year by what I add to the hanger box!
How to Make a DIY Stocking Hanger

Supplies:
- Pre-cut poplar boards
- (3) 0.75 inches thick by 3.5 inches wide by desired length (one cut to form two 7-inch end caps)
- (1) 0.75 inches thick by 5.5 inches wide by desired length
- Wood glue
- Finishing nails
- Cabinet knobs (1 per stocking)
- Drill and drill bits
- Spray paint
- Decorations: ornaments, decorative picks, ribbon, and beads
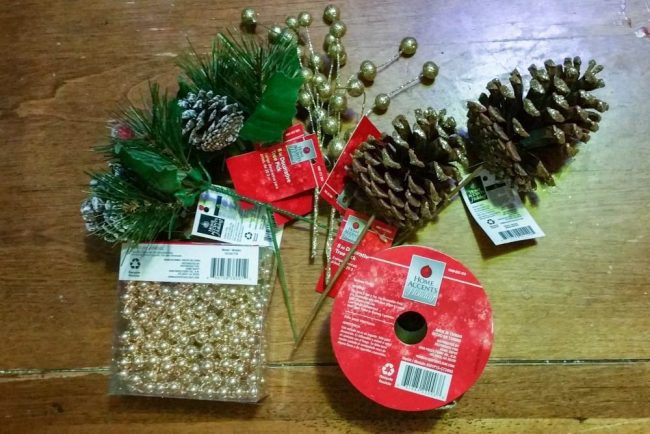
Directions:
Visit your local hardware store to gather supplies, including wood and hardware. They offer poplar wood in pre-cut sections perfectly sized for this project.
My DIY stocking hanger is 4 feet wide because I needed to hang seven total stockings, but keep in mind the space you have available and how many stockings you’ll need to hang when deciding your size. Three feet would work well for a smaller family and could fit on a bookshelf.
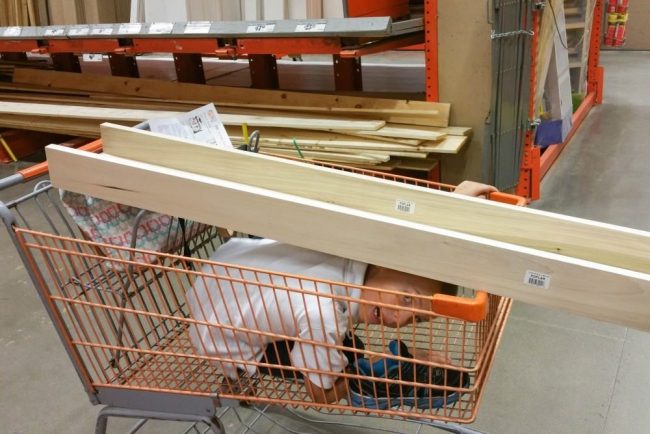
You’ll need three boards of the 3.5-inch-wide poplar, which will form the front, back, and two side end caps for your stocking hanger box. You’ll also need one 5.5-inch-wide board in the same length. Once you’ve picked your size and grabbed your boards, head to the back of the wood department and have one of the staff help you cut your third board to size to create two boards able to cap the end of your boards when lined up to form the box. For us, that was the 5.5-inch board with the two 0.75-inch-thick boards on either side for a total of 7-inch-wide cuts. Your actual measurements may vary if you choose different boards.
While in the store, pick up your wood glue, finishing nails, cabinet knobs, spray paint, and anything else you might need. I found really cute decorative picks, burlap ribbon, and a gold bead chain with the Holiday at the front of the store, which I used to fill my stocking hanger.
Determine how many stockings you’ll hang. Measure the long side of one of your 3.5-inch-wide boards and divide it by the number of knobs you’ll be adding, plus one extra, to create equal distance across the whole width of the board. Adding one when you divide gives you the buffer space before and after your knobs. Since I had seven knobs to add to the front of my 48-inch board, I divided 48 by eight which gave me 6 inches apart.
Mark your holes along the front of the board with a pen. I grabbed a ruler to hold right against the bottom edge of the board so all of my knobs would automatically be at the same height, and marked each 6 inches where I would drill a hole. Drill a hole to accommodate the screw of each of your knobs, where you just marked.
Assembling the DIY Stocking Hanger
Now assemble your DIY stocking hanger by first applying a thin line of wood glue along the space where the two boards will meet. Press the lower part of the 3.5-inch-wide wide board against the bottom edge (0.75-inch edge) of the 5.5-inch-wide board, being careful to make sure the edges and corners meet.
Press and hold together while the glue adheres for at least a few minutes, then nail several finishing nails along the edge. Repeat on the other side, attaching the second 3.5-inch-wide board to the other exposed 0.75-inch edge of the 5.5-inch-wide bottom board by gluing and then nailing the board into place.
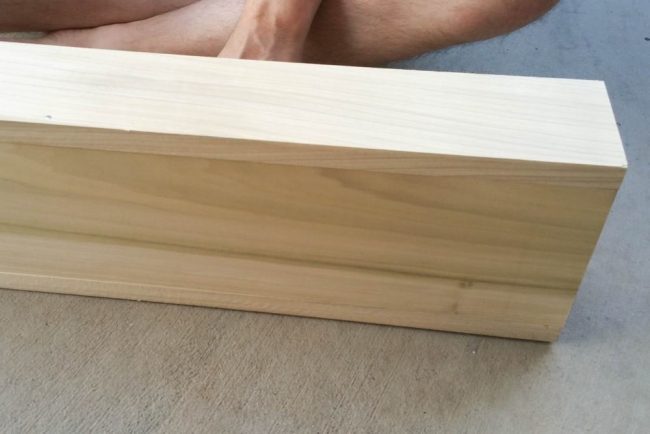
Next, add the two cut end boards by gluing along the exposed edges shaped like a “U” at each end. Press and hold the end board into place, aligning the edges and corners for a clean finish. Add finishing nails to secure each end board into place.
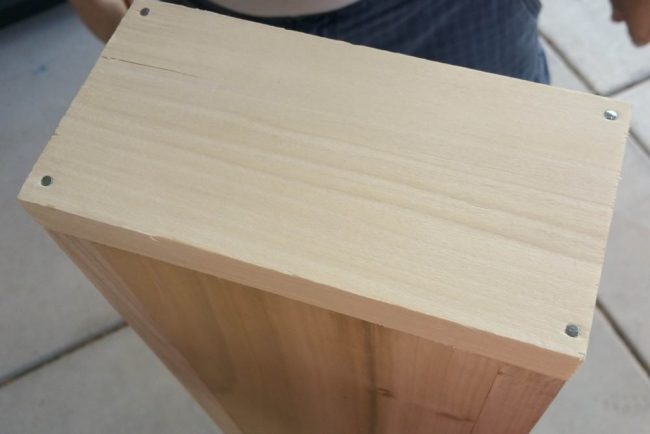
Spray paint your entire stocking hanger box, both inside and bottom. I sprayed the bottom and all the sides first, then waited for the paint to dry and flipped the box over and painted the top edges and inside of the box, adding a second coat to the sides as needed.

Once your stocking hanger box is dry, add the knobs to your pre-drilled holes.
Now you can decorate and fill in the box and hang your stockings. I added ornaments, decorative picks, burlap ribbon, pinecones, and a gold bead chain to the box portion of my DIY stocking hanger to give lots of color and interest, and an elegant look. You could also add fresh greenery if you have access to trees!
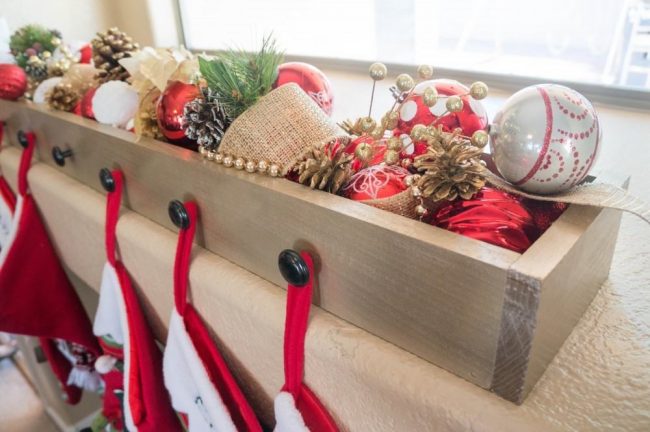
If you plan to add tons of weight to the stockings, you can also weigh down the stocking hanger box by adding sand or rocks. If you place your stocking hanger on a mantel or bookshelf, though, the overhang of the box will create some resistance that the box won’t easily pull over or topple.

Sherry
Sunday 29th of November 2015
What a great tutorial! The stocking hangar is gorgeous. I hope Santa fills the stockings with lots of goodies:-) Thanks for sharing your tutorial with us at Merry Monday.
Jessica
Friday 27th of November 2015
I just looked at this, and though that it was nice to see one with a lot of stockings. I have three girls, so we have a full mantle, too. Five boys, though!! That must be so much fun!!
Carlee
Thursday 26th of November 2015
What a cute idea! I love the decorations you put inside too!
Mary-the boondocks blog
Monday 23rd of November 2015
What a smart idea. It's like you're getting 2 for the prioce of one. A planter and a hanger. And of course it looks fantastic! Thanks for showing us how to.
Liz Mays
Wednesday 11th of November 2015
That definitely beats having to use nails, and I love that it can be filled with all kinds of festive things! Great idea!