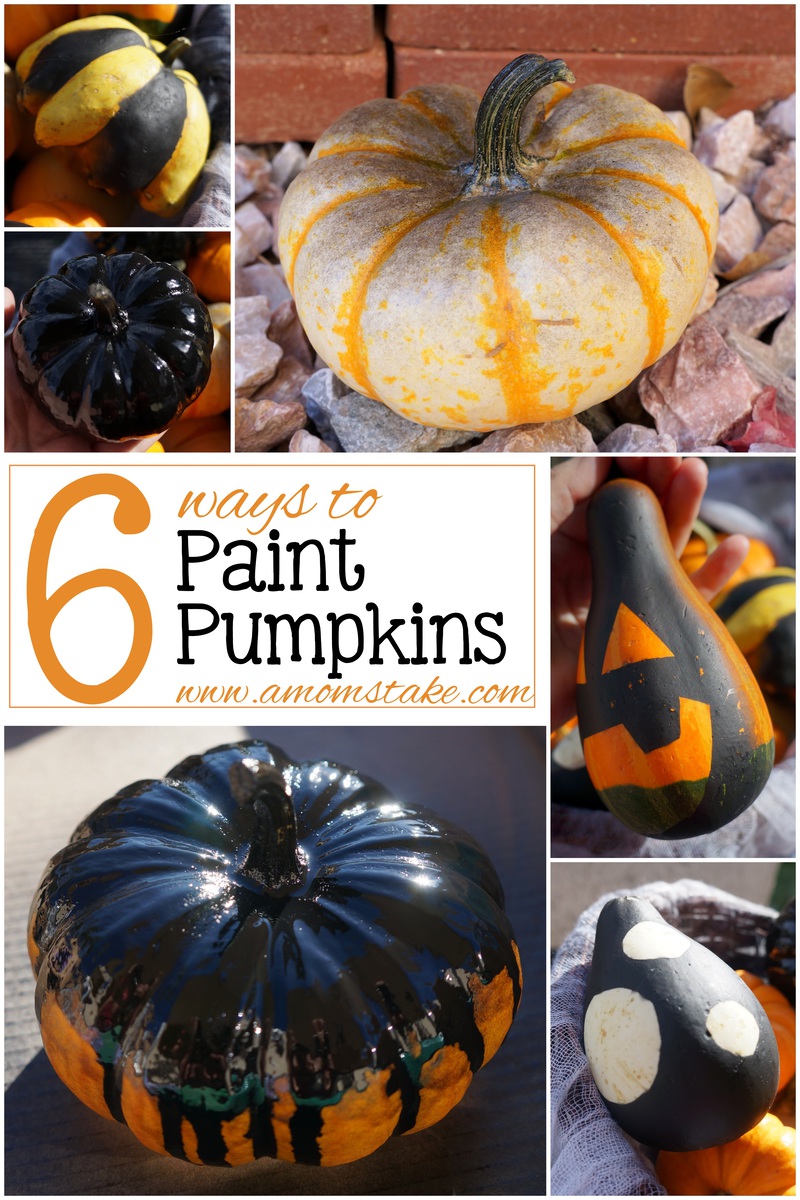
It’s time to start pulling out your big bucket of Halloween decorations and setting up your home. One of the fun traditions of Halloween is carving pumpkins. Well, carving pumpkins is a messy and very time consuming job. Let me suggest another way you can decorate your home with pumpkins this year – I’ll show you how to paint pumpkins with 6 different styles to inspire you to get creative this year!

- Pumpkins or Gourds – any shape or size!
- Black spray paint (or other color)
- Painting tape, masking tape, or washi tape
- Cardboard, newspapers, or other scraps to protect your surfaces while painting
- Optional: Scissors, plastic gloves
The first three pumpkins, I created designs using painters tape. If you don’t have painter’s tape on hand, masking tape or a washi or similar tape should work. I wouldn’t use the thin tape for wrapping paper and common household use or packing tape for this project.
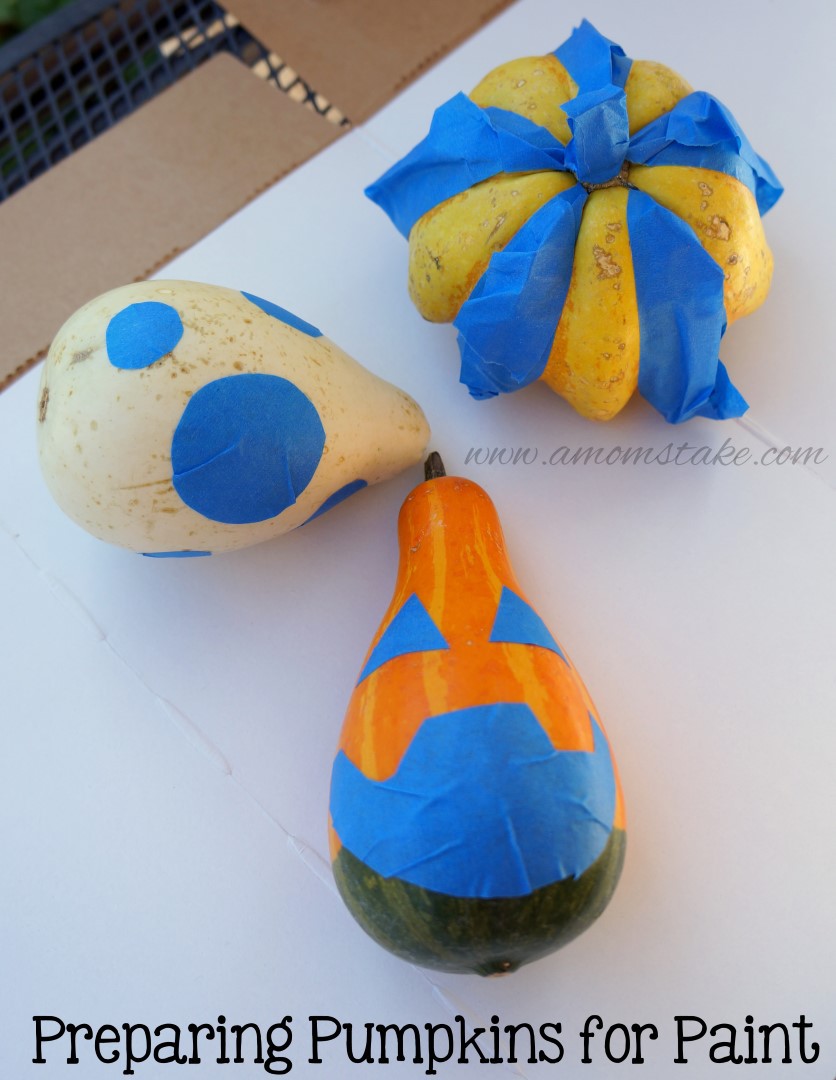

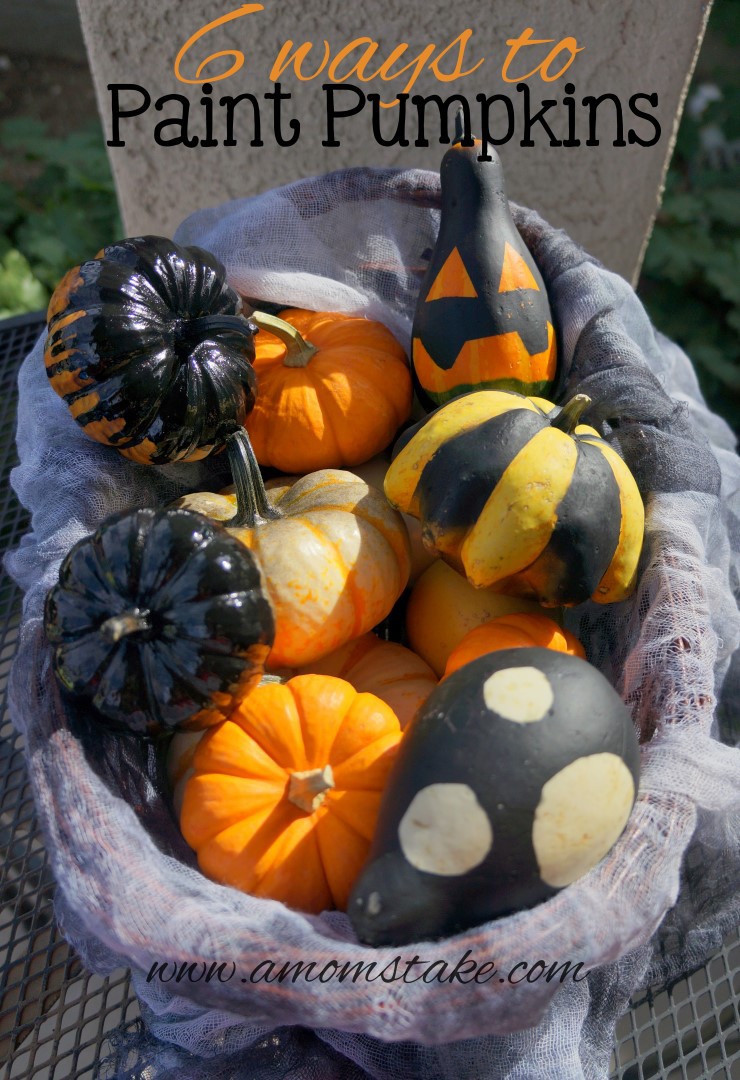
Polka Dots: Cut out circles from your tape in a variety of sizes. You can also find stickers already circular and just stick those onto your pumpkin. Those small colored circles often used to label pricing at a garage sale would work well.
Jack O’ Lantern: You can create an inverse pumpkin by leaving the original pumpkin color as the eyes, mouth, or other facial features. I just cut out two triangles and a mouth including cut outs for teeth.
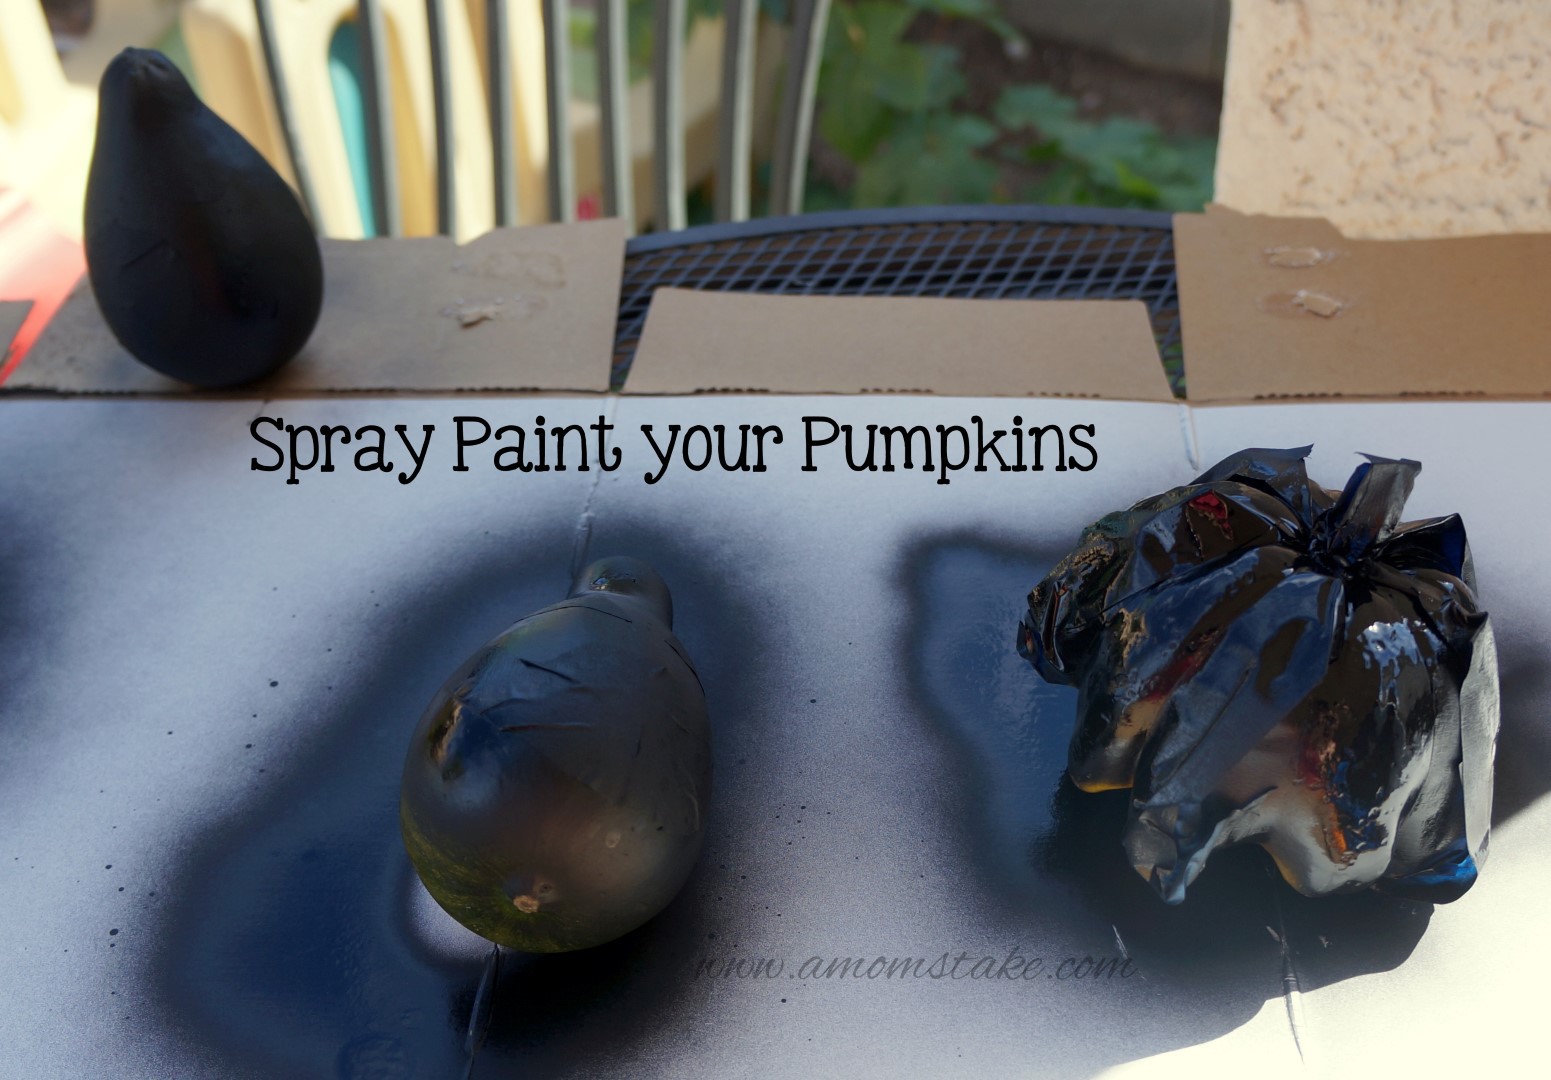
For all three of these designs, I used my matte black spray paint. Pay attention to the difference in how the matte versus shiny finish looks on the pumpkins to help you decide what kind of spray paint to buy.
On the stripes and polka dot pumpkins, I sprayed around all side of the pumpkins. On the Jack O’ Lantern pumpkin, I faced the face towards me and only sprayed the front half of the pumpkin creating even more of a “face” feel on the pumpkin. You can see this in the top picture all the way up at the top as I show you the side of the pumpkin. I absolutely love the way this pumpkin turned out, it’s my favorite! I took advantage of the natural orange/green straight split line on the pumpkin to add to the look as well. Use what the pumpkin gives you to make something really unique!
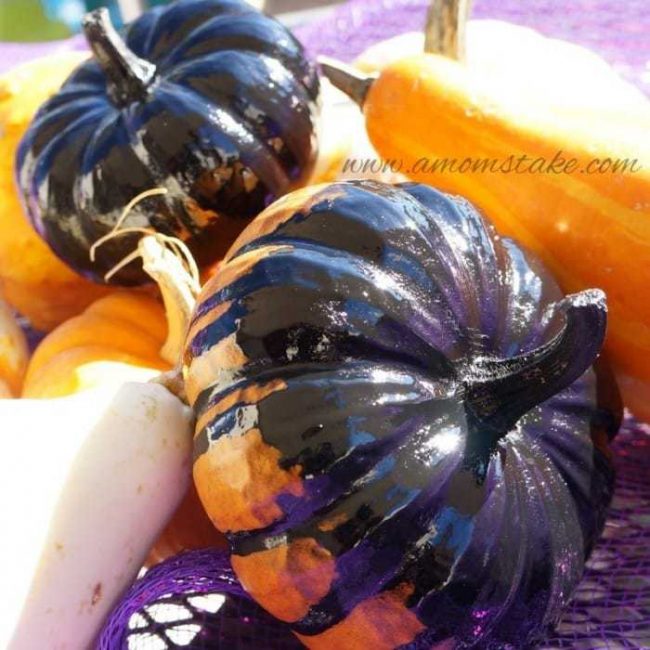

Solid Black: For this design, completely coat your pumpkin with your spray paint. You’ll need to start with one half, wait for it to dry, and then flip over the pumpkin and finish it off.
Dripping Black: To create a dripping effect, point your spray paint facing so that it is spraying directly down on a level pumpkin. Point it right at the center and have the nozzle close to the pumpkin. Spray until enough spray is on the pumpkin that it naturally starts dripping down the side of your pumpkin. All of the paint will be sprayed directly at the top stem and just be allowed to drip down the sides.
Just a hint of Black: To just lightly tint your pumpkin black (see the top picture, top right corner), hold your spray paint 2-3′ away from your pumpkin. Don’t allow your stream of paint to sit in one direct area for too long. Move your arm so that the stream of spray is moving back and forth coating the areas you want to apply paint evenly with just a very thin coat. You can keep painting until it is as thick as you’d like or leave it with just one quick pass for a thin coat with most of the color behind showing through. This may not look like a showcase pumpkin when you see it in the basket below, but it is really pretty and elegant looking with just a touch of black to the pumpkin.
Be sure to allow your pumpkins a good 30-60 minutes to dry before you move them so you don’t get paint on anything else!

Looking for more Halloween posts? Come see our favorite Halloween tradition – Trunk or Treat and 5 Safety tips for Halloween!

Tutorial – Six Ways to Paint Pumpkins
Thursday 16th of October 2014
[…] Tutorial at A Mom’s Take Blog […]
30 Non-Traditional Pumpkin Ideas - Hairspray and Highheels
Saturday 4th of October 2014
[…] 6 Ways To Paint Pumpkins // A Mom’s Take […]
Halloween Decorating Ideas - A Mom's Take
Saturday 4th of October 2014
[…] them if you choose fresh to avoid rotting. To add in more variety and a great pop of black, try to paint pumpkins with a black spray paint like I showed you in my earlier […]
Creative Ideas with Pumpkins - A Mom's Take
Wednesday 1st of October 2014
[…] 6 Ways to Paint Pumpkins in this crafty tutorial These are all really easy ways to spruce up your […]
Are You Curious Why Today is Pay It Forward Friday? {PayItForward} | What's On The List?
Friday 26th of September 2014
[…] but not least, I can say when I saw Janel from a Mom’s take‘s 6 Ways to paint Pumpkins, it brought a joyful tear to my eye as I can close my eyes and vividly remember each and every year […]