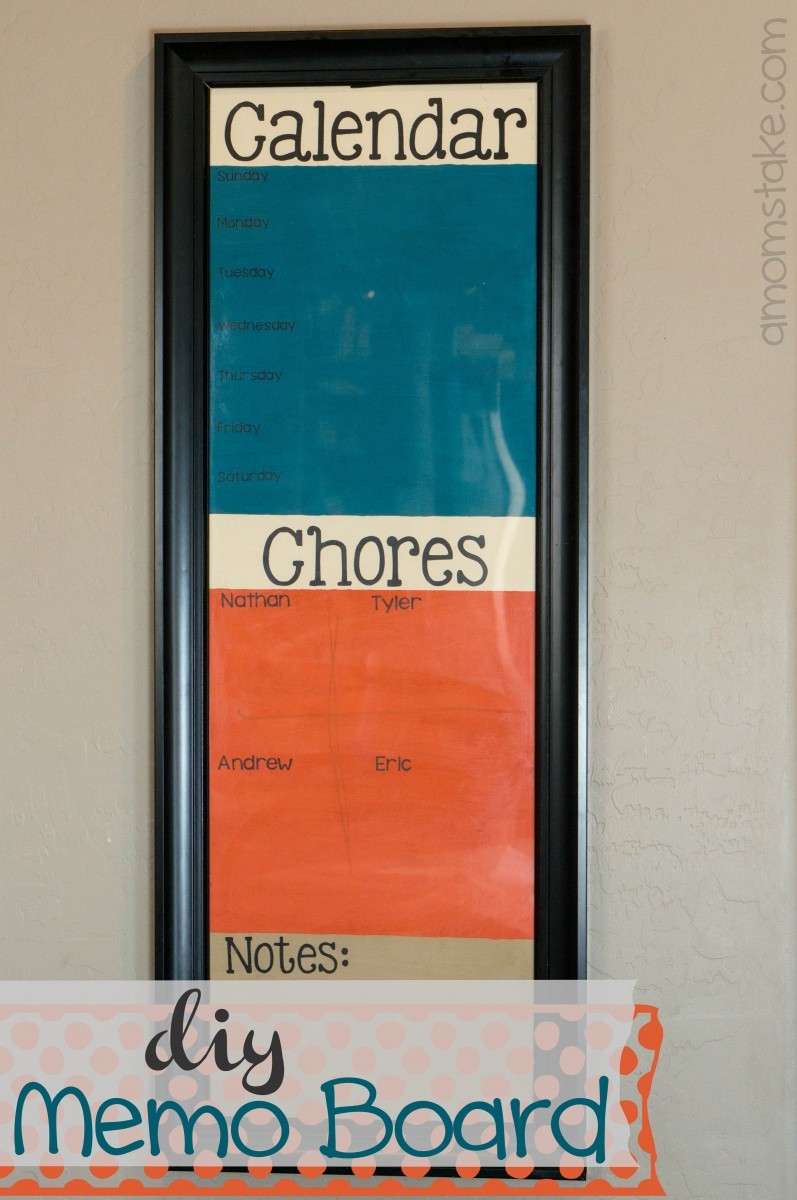
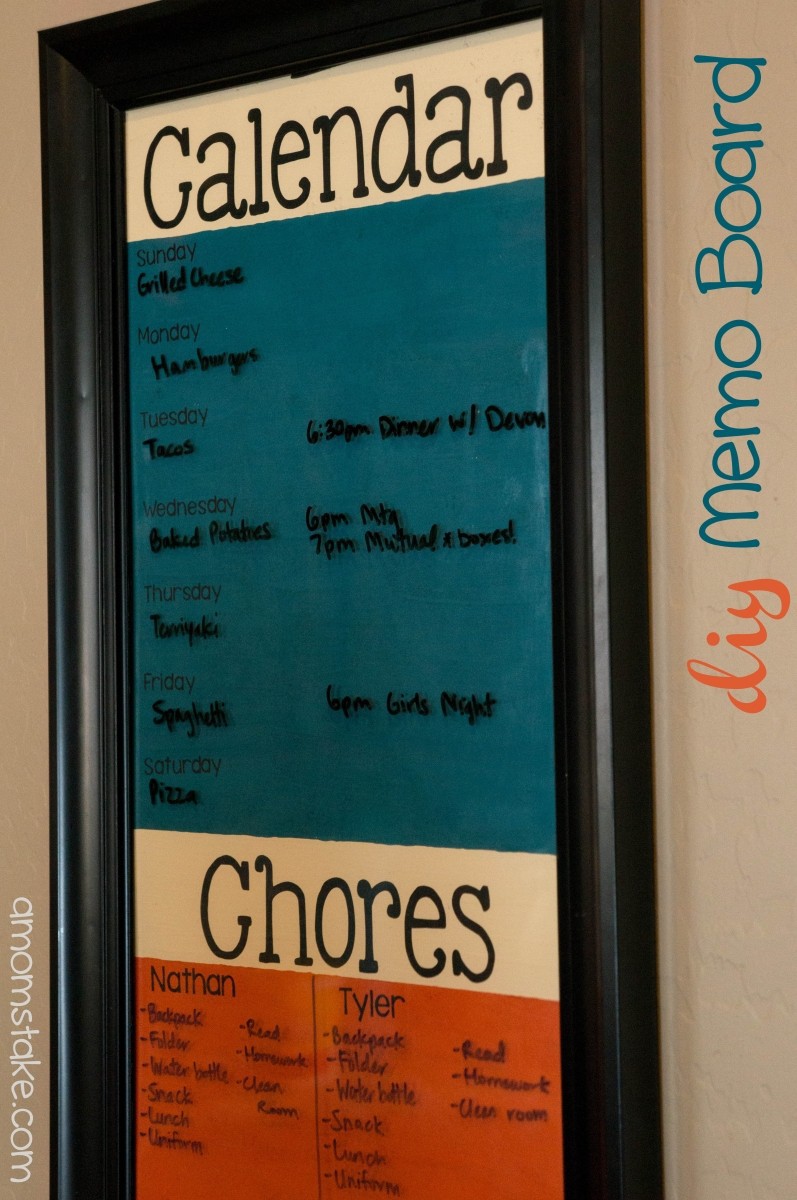
Staying organized is key to running a busy household. I love the idea of having a calendar, shopping list, to-dos, or other notes all organized and in one spot. I decided to create my own DIY Memo board using a long poster frame, a bit of paint, and few pieces of masking tape a little bit of time. This is a really easy and fun project you can even do with your kids and tweens and is perfect to get your family organized for back to school!
I received a Cricut Explore for review. All opinions expressed are my own.
DIY Memo Board

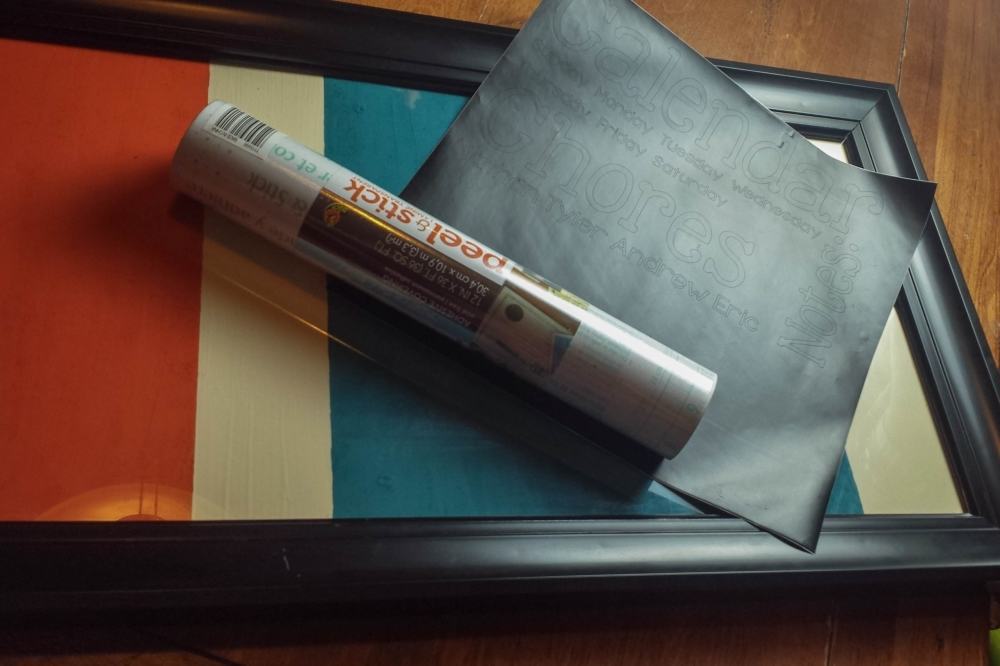
- Picture frame of choice
- Paint, color(s) of choice
- Masking tape
- Dry erase markers
- Cricut Explore
- Vinyl, color of choice
Pull apart your frame and decide where you want to paint. You can paint directly on the back of the sheet of glass or directly to the pressed board at the back of the frame or you can even layer the back of your frame with cute scrapbook paper or photos. The choice is completely up to you. I painted directly on the pressed board that formed the back of my picture frame. My frame didn’t have a glass front, just a plastic piece so I didn’t want to paint directly on that.
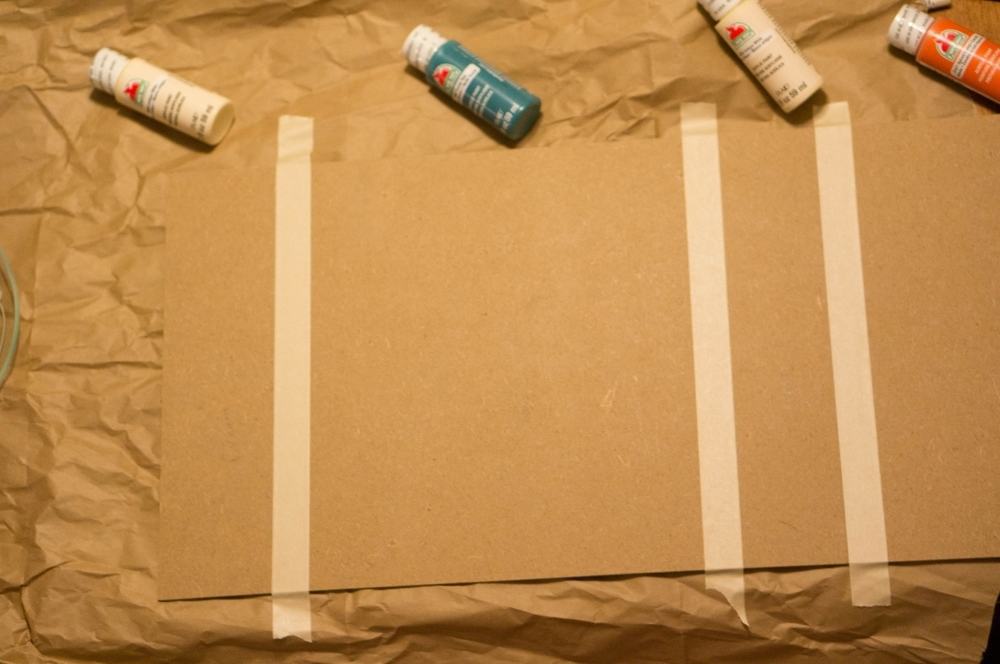
I started by measuring the area available to me and marking off what space I would like for what different areas of my memo board. I decided to section off an area for a weekday calendar, chore chart, and a bonus flex area at the bottom that could be filled with other notes as needed such a a shopping list, phone messages, or important reminders. You could make areas for a dinner menu, shopping list, phone messages, baby sitter reminders, homework checklist, or whatever you may need for your own family.
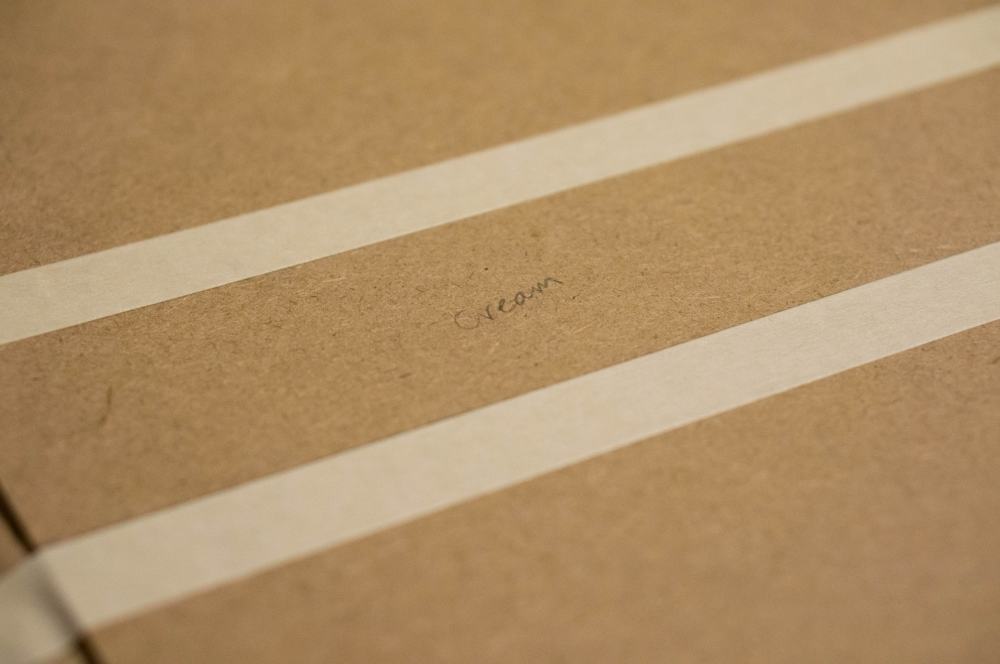
Using a ruler and a pencil and masking tape, section off the areas for the different paint colors you’d like to paint or paint your entire board one single color. I chose a few colors to carry the main colors of our family room into our connected open floor plan kitchen where our DIY memo board would hang.
Paint each section, allowing the paint to dry and apply a second coat as needed. Then remove any marked off areas and switch to your other paint colors. I started with two paint colors for alternate areas that wouldn’t be touching and then after those areas dried I switched to the two bordering paint colors.
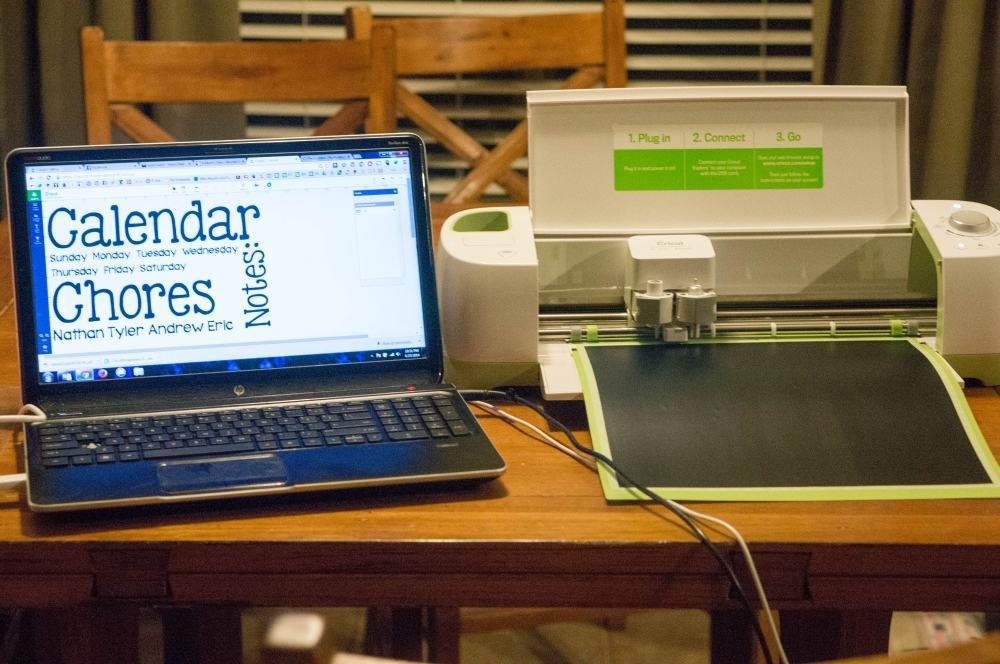
Next, I designed all of the words I would be using for my DIY memo board using my own fonts and PicMonkey to quickly collage them together and rearrange them. Then, I just uploaded my image with a transparent background to Cricut’s online platform used for preparing your design. I loved that I could put in whatever my own design ideas were, and then the Cricut Explore could use that design and cut it for me!
You can grab a free copy of my Vinyl Memo Board words here! Just click the link to view the image full size and then right click and choose to save the image to your computer!
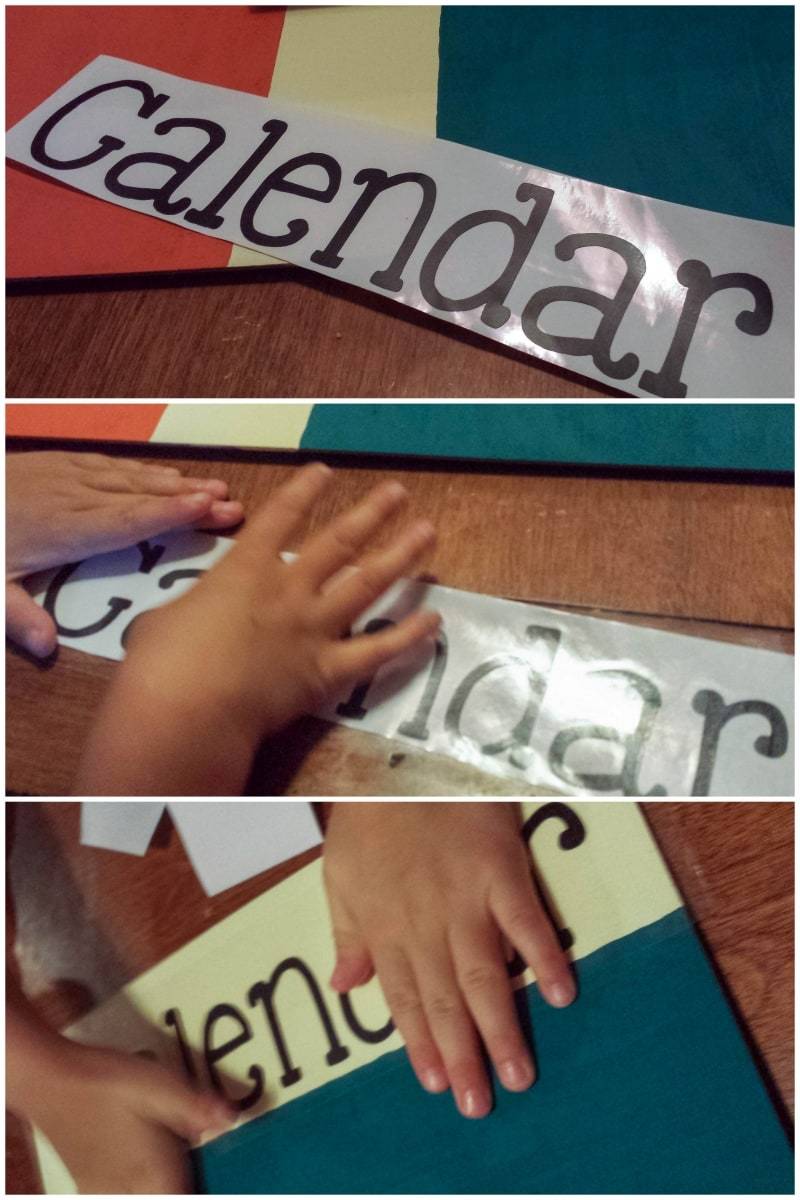
After the design was cut out, I cut out each word and peeled off the excess vinyl. I then used a piece of contact paper to lift off the letters onto the contact sheet and then transfer them all neatly in a row to the board. You can also print your designs in reverse, if you want to apply the letters to the back of the glass, rather than your board. I just applied them directly to the board as the different painted sections made it easy to line up the letters straight.

Cricut Explore Review
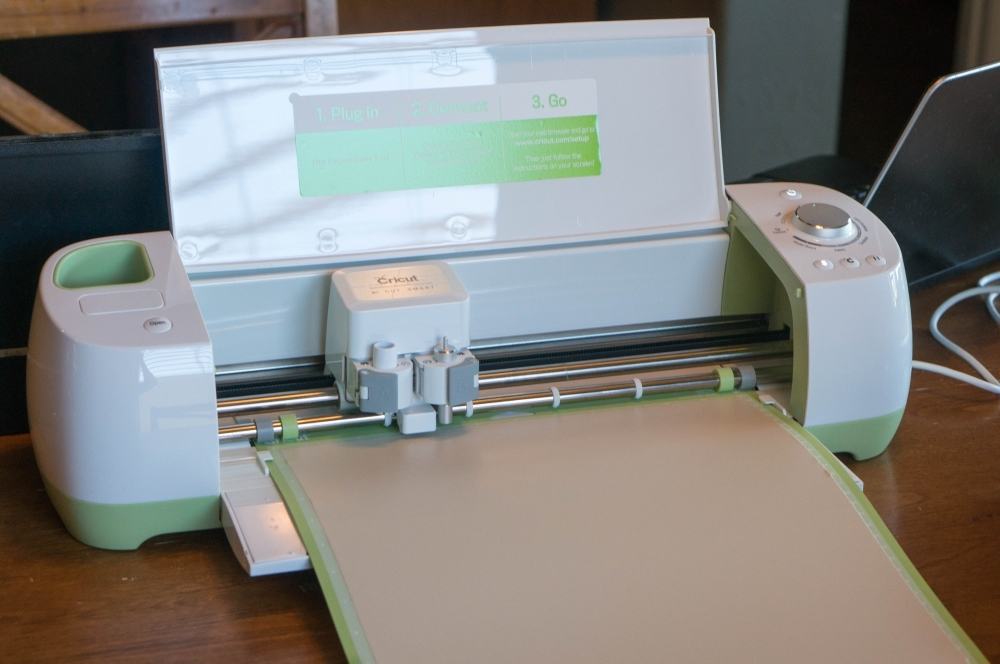
I have been really impressed with all that the Cricut Explore can do! It gives you the ability to design on a variety of formats. You can cut vinyl or paper for scrapbooking, home decor projects and more. Or cut out fabric, wood, leather, and others! If you don’t want to cut, no worries. The Explore has a second head so you can load in a pen and create poster boards or greeting cards – even being able to write and cut in one step! Check out this cute Thank You card design they made by writing and cutting in one step!
The Cricut Explore gives you the flexibility to shop from their design store to have easy inspirations that are ready to hit print and start your design, just like the card above. Or, you can create your own projects that can be loaded into the Explore. Designs can be purchased one at a time or choose a monthly subscription access. They have over 50,000 images ready for you to try! The Cricut Explore can also accept any cartridges you may already own from previous Cricut machines.
The design center took some getting use to, but the Cricut machine itself was extremely easy to use. I love that it has built-in places to store tools and accessories, so everything stays together. I’m already dreaming up my next projects!


KC Kahn the Kitchen Chopper
Monday 15th of September 2014
You're right, busy households will love this organizing idea. Thanks for sharing at #theWeekendSocial. Hope to see you again this week. Thursday 9:00 PM EST. Pinned
Melissa @ This Girl's Life Blog
Thursday 11th of September 2014
I love this. We have a little chores thing on our fridge and when we use it (because we have gotten bad about not doing it) it really comes in handy. It definitely keeps us on track.
Elizabeth@ Food Ramblings
Wednesday 10th of September 2014
I've been wanting a circuit so badly! what a cool project
Alexis AKA MOM
Wednesday 10th of September 2014
GREAT idea! I love this idea for the kids chores too! I've never used my cricut for that and so need to try.
Shannon Gosney
Tuesday 9th of September 2014
You are so creative girl! It looks great! We could definitely use one of these in our house!