Last year my two-year-old, who is a very articulate and deep thinker, had the following conversation with my husband:
Her: “Dad, how do you say much in Spanish?.”
Him: “Mucho.”
Her: “How do you say big?”
Him: “Grande.”
*Long Pause*
Her: “I love you mucho, mucho grande!”
The conversation made us all smile and laugh and since then we have adopted the phrase for our family and use it daily.

I adore Valentine’s Day and celebrating the love I have for others in my life. I decided to use our favorite phrase to make some new decor for this holiday season. It is easy, affordable, fun, and you can even involve your kids!
Supplies:
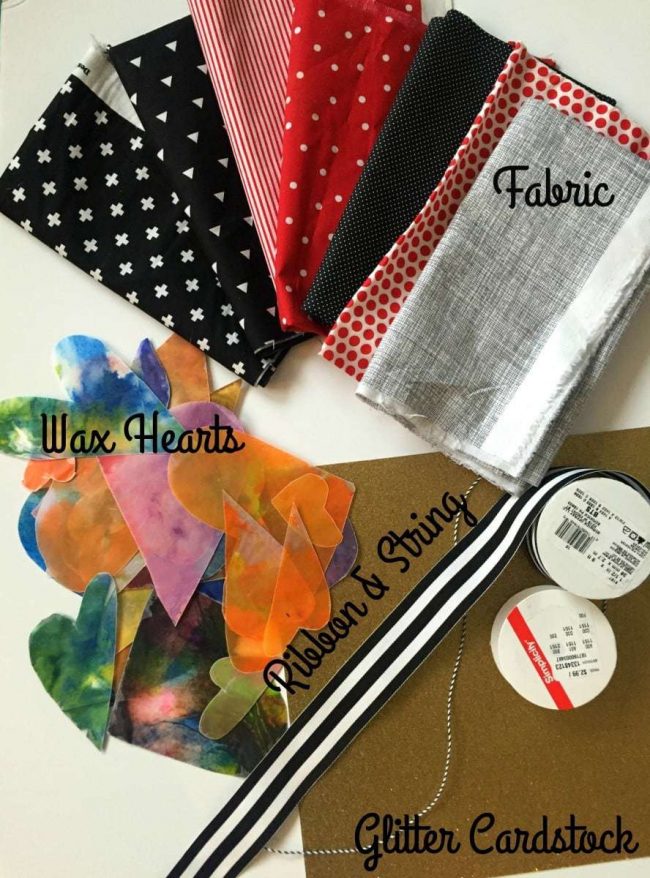
Not Pictured:
Wax Paper
Crayons
Iron
Sewing machine
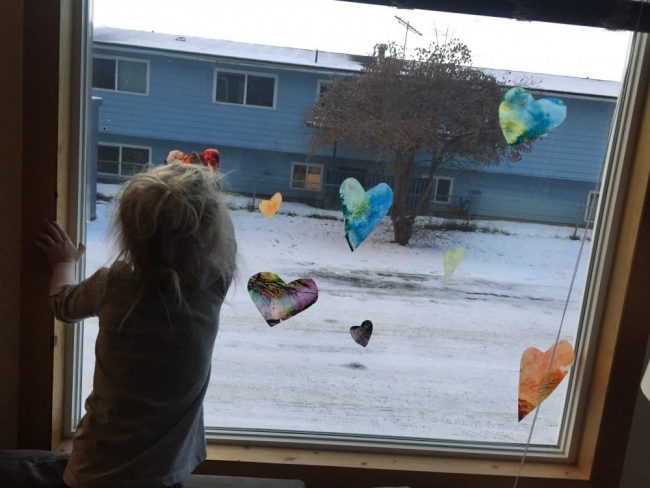
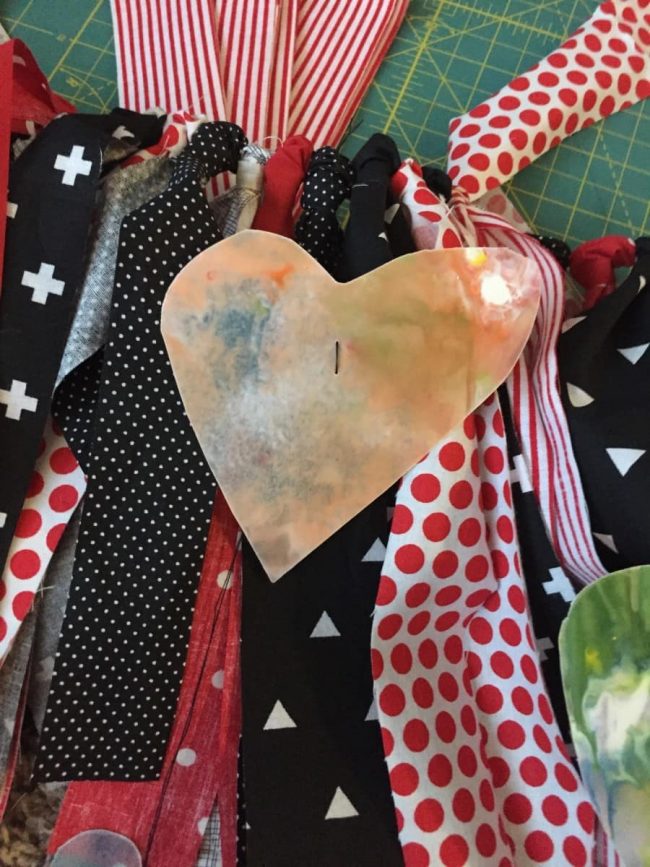
We started out by making these melted wax sun catcher hearts. I first made them when I was in elementary school, you can find tutorials for them all over the web, but here is how we made ours:
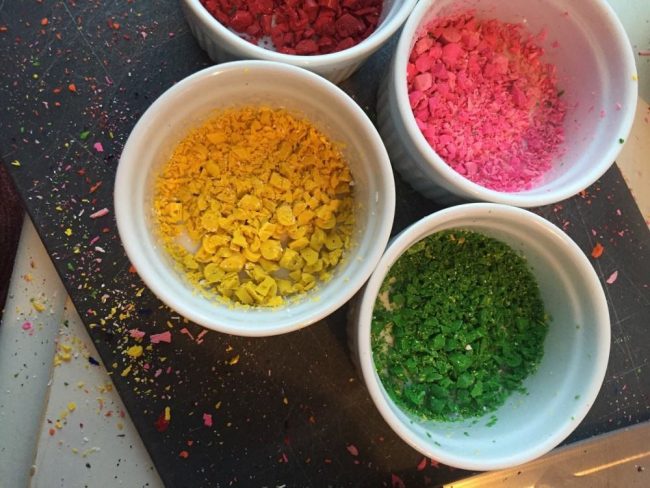
Chop up some crayons shavings in your desired color combinations. Sandwich the shavings between a folded sheet of wax paper. Iron the folded sheet on the lowest heat setting. The crayon really melts quick, less is more!
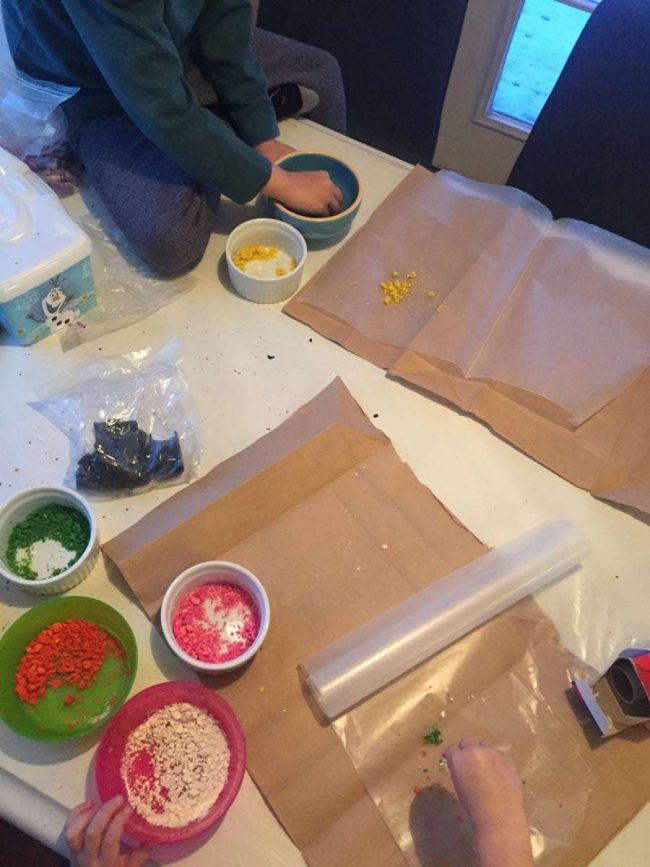
You can sandwich the wax paper in parchment paper to prevent bleeding wax or just watch really closely.
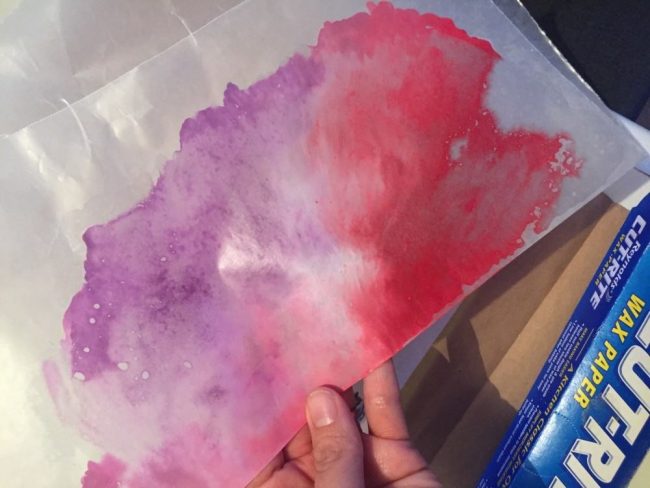
Once these hearts have cooled down, cut them into hearts of all sizes. Set aside for later!
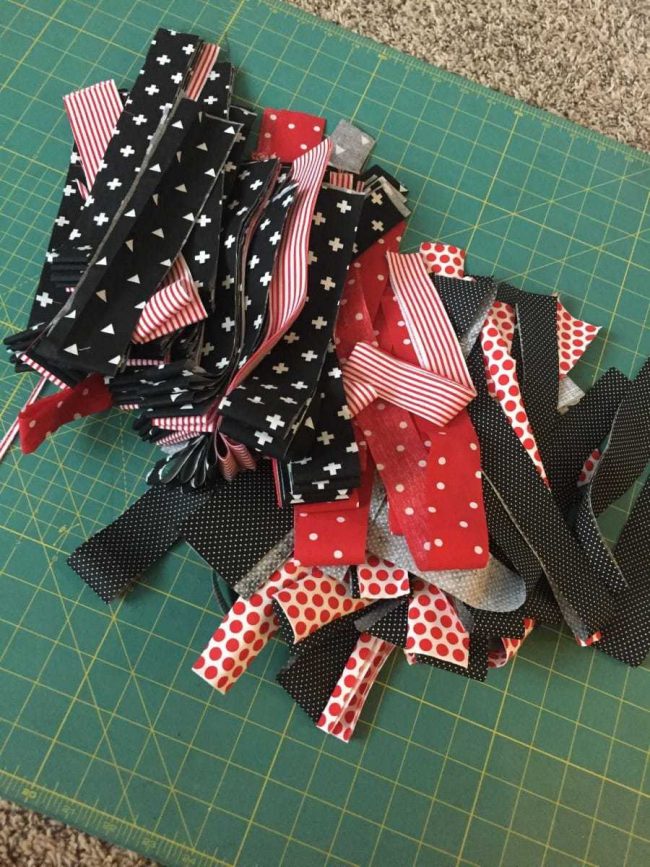
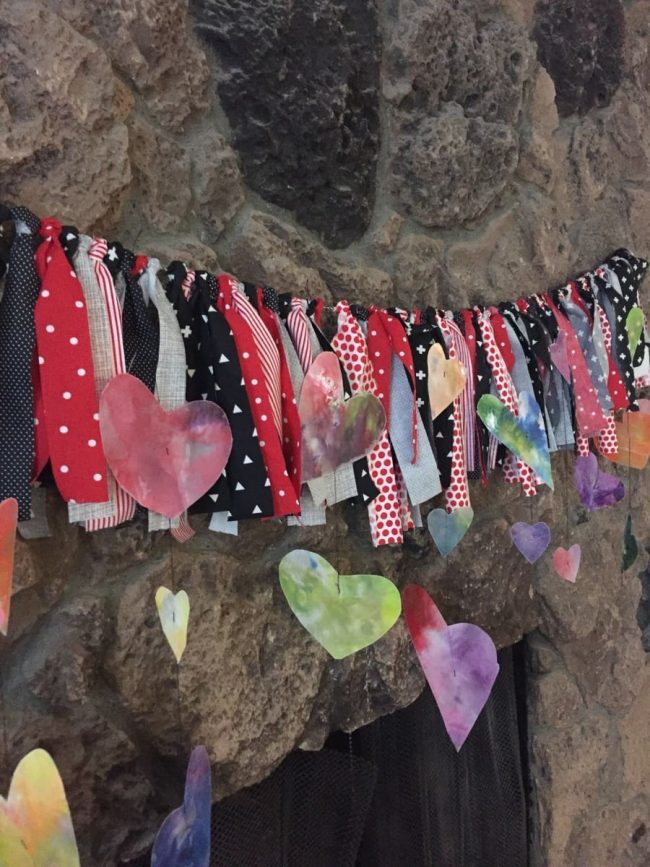
Next, make your fabric garland. Cut your fabric scraps into strips, you can use ribbon as strips as well. The best part about this is they don’t have to be exactly the same size. Mine are anywhere from 1-2 inches thick and a variety of lengths. I used about a quarter yard of each of the patterns included.
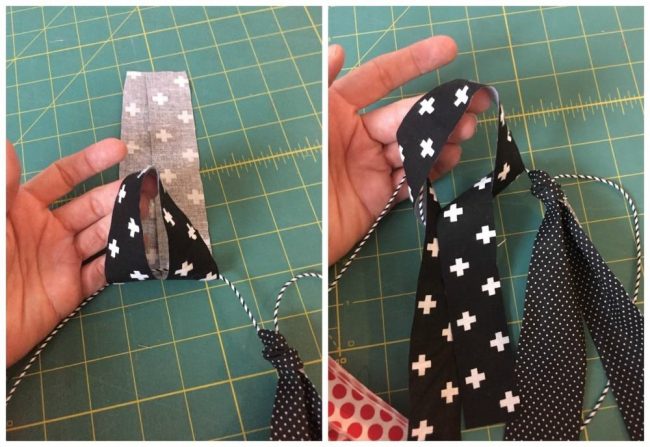
Measure a string the length you would like your banner to be. Begin tying the strips to the string. You can arrange them in a set pattern or just wing it. I laid the folded strip on top of the string and then pulled the end through the loop to secure it to the string. Continue until your string is full.
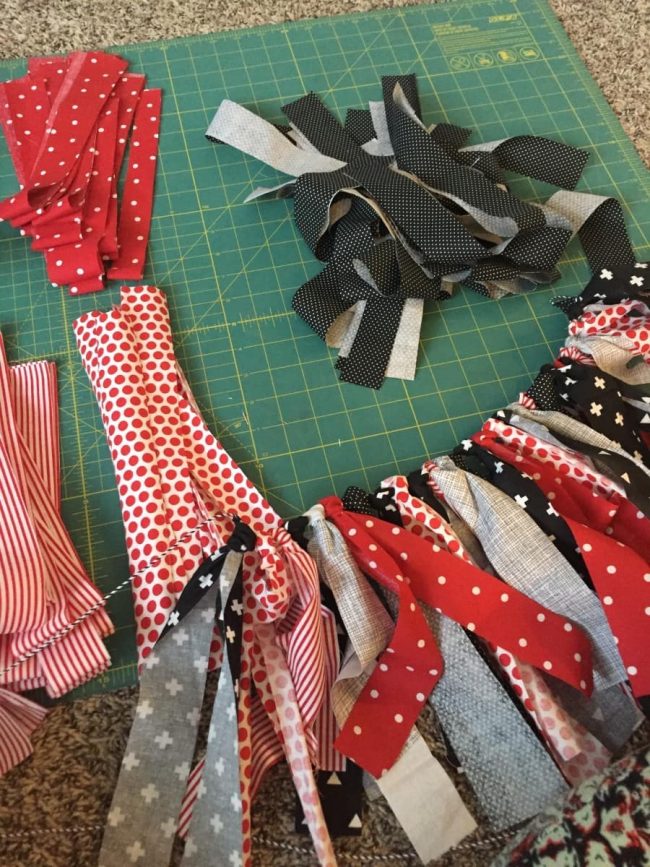
Next, using a needle and thread, string your wax hearts along the fabric garland. Sometimes the bottom heart will like to flip upside down, just stick some scotch tape on the back to keep it from spinning.
Using glitter scrapbooking cardstock I cut out the words “I Love You Mucho”. This can be done super quick and perfect using a craft cutter like a Silhouette, but I really wanted my banner to be whimsical and childlike, so I free handed my letters with the scissors.
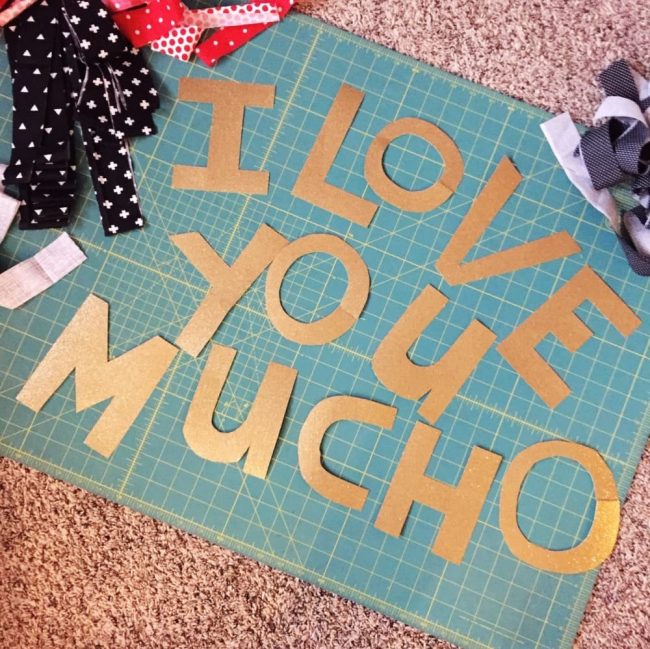
Quick tip. When free cutting letters, I always cut squares of the same size from paper for each letter (in this case 13- 6×6″ pieces) so when I am cutting I know they will be about the same hight and width.
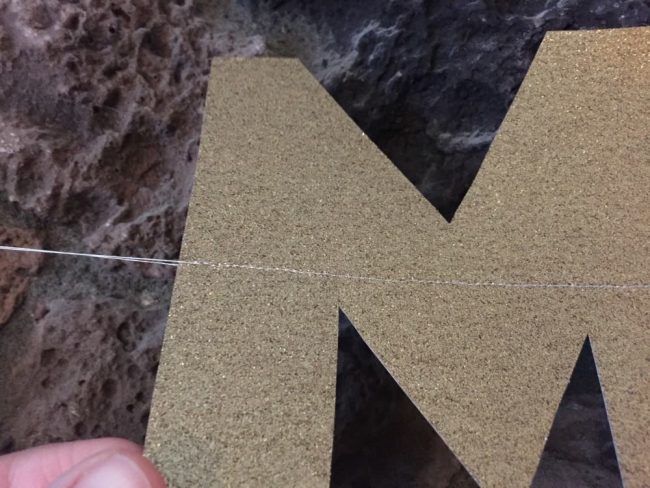
Lay them out the way you want them. I added some extra wax hearts to the fun for some extra color. Now run them through your sewing machine to connect all the letters. Yes, you can sew paper on your sewing machine!
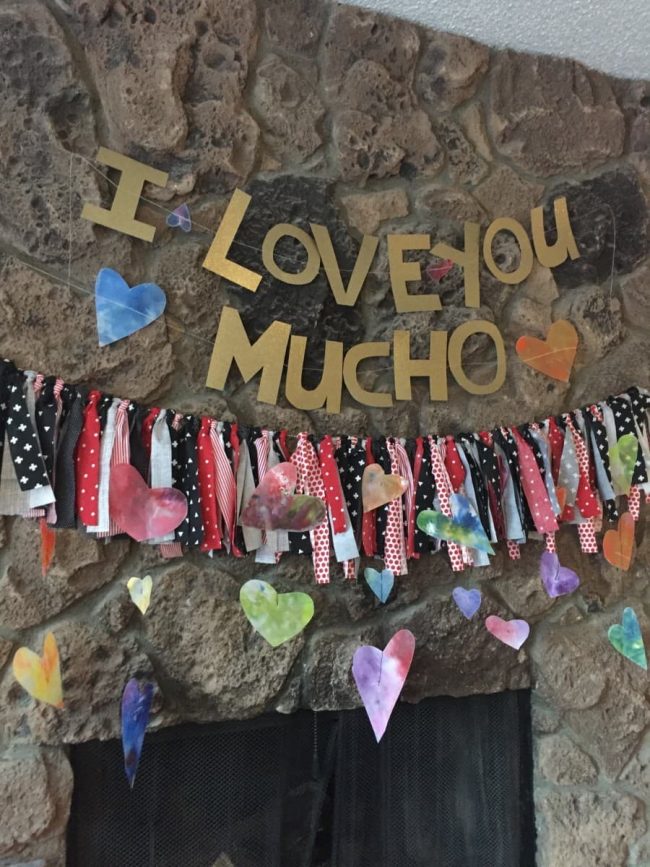
Hang all your banners on the wall, mantle, or window and let everyone know just how much you love them!

Crystal Green
Monday 8th of February 2016
We say "I love you to the moon and back." I think this is such a cute garland to use for Valentine's Day.
Thank you for sharing with us on the #HomeMattersParty.
Erlene
Thursday 4th of February 2016
This is a great way to use up a fabric stash and something easy to do. Thanks for sharing on Merry Monday.
Cara
Monday 1st of February 2016
This is so pretty! Thanks for the great tutorial!
Jennifer Mercurio
Wednesday 27th of January 2016
I've always wondered how people make fabric garland! Thank you so much for the easy tutorial!
Amy Desrosiers
Tuesday 26th of January 2016
This is a very cute idea! I love the whole crayon melted hearts decor and must try them with my kids.