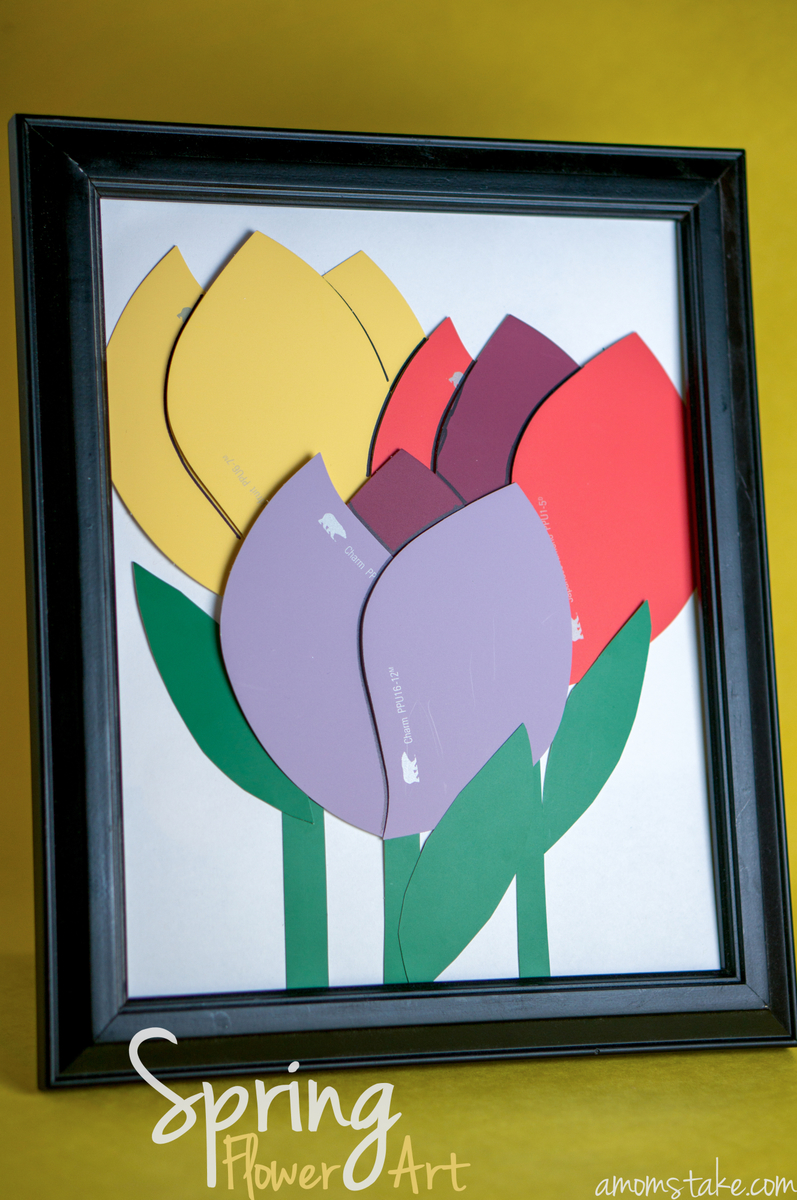
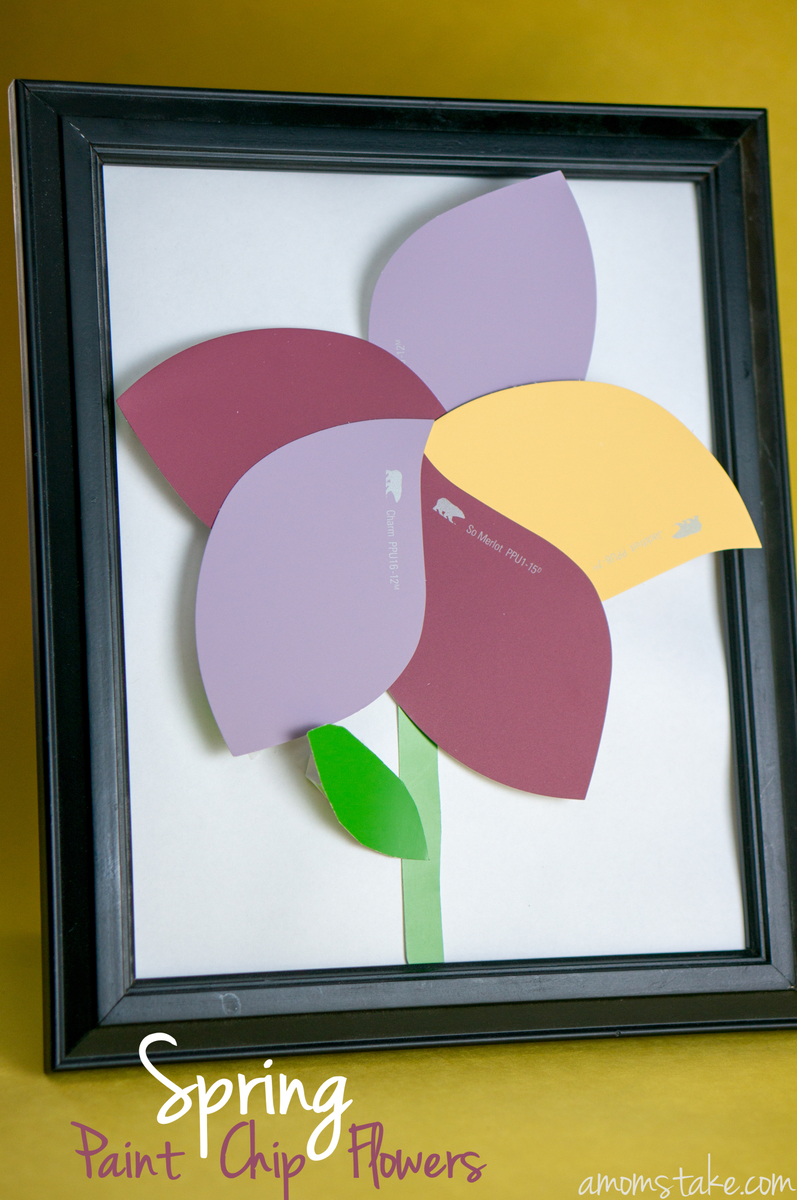
I found these really uniquely shaped paint samples at Home Depot and just had to take some home! I started playing with the samples the whole drive home, creating stars, flowers, boats, you name it. Ultimately, I though they were perfect for bringing a bit of spring in with colorful, 3D paint chip flowers!
Spring Paint Chip Tulips
The first flower arrangement I made was a set of tulips. You’ll need three of each of three different colored paint chips for the petals. You’ll also need a few green standard style paint chip to form petals and stems.


The best part of all is this project didn’t take very long at all. First, I formed the flower buds the way I wanted them to look. I secure the flower by taping a single piece of tape across the back connecting all three petals. I then taped the back two flowers down in the arrangement I liked.
Next came the stems. I cut long and skinny green strips to form a stem and slipped it right under the flower bud and secured it in place with a loop of tape on the back of it. You can also use glue for any of these steps, if it’s easier for you to work with. I then added on a leave for each of these two flowers.
Then, I added on the front flower as well as a stem and leave for this flower as well.
Finally, I traced lines with a permanent black marker to make the individual petals stand out more. This step is completely optional. Place your art in a frame and set it on your counter or hang it on your wall to spruce up your living space!
Paint Chip Flowers
Another fun flower I created was a more typical everyday flower with five petals. You can use a variety of colors for your petals as I did, or choose all the same petal colors to make your room’s color scheme.


The first step for this project was arranging the petals and then taping the back of the paint chips with long pieces of tape to overlap several of the paint chips holding them together and in place. I then made a bubble of tape by folding a piece of tape backwards and sticking the end to itself. This gave the flower a bit of depth, rather than being flat to the paper. I used just one piece at the center of the flower.
Next, I cut small strips out of paint chip scraps and folded them into the shape of a trapezoid. I used these on the different petals to make them pop up off of the paper and out of the frame. Tape the bigger edge of the trapezoid onto the paper and then tape the shorter edge to the back of the individual petal.
Finally, I added a stem and leaf giving the leaf a 3D pop as well with another paint strip scrap. Frame your art or have your tween make paint chip flowers and show them off on the front of their binders.

25 Fun and Fabulous Easter Crafts! - Optimistic Mommy
Thursday 3rd of April 2014
[…] Paint Chip Flowers // A Mom’s Take […]