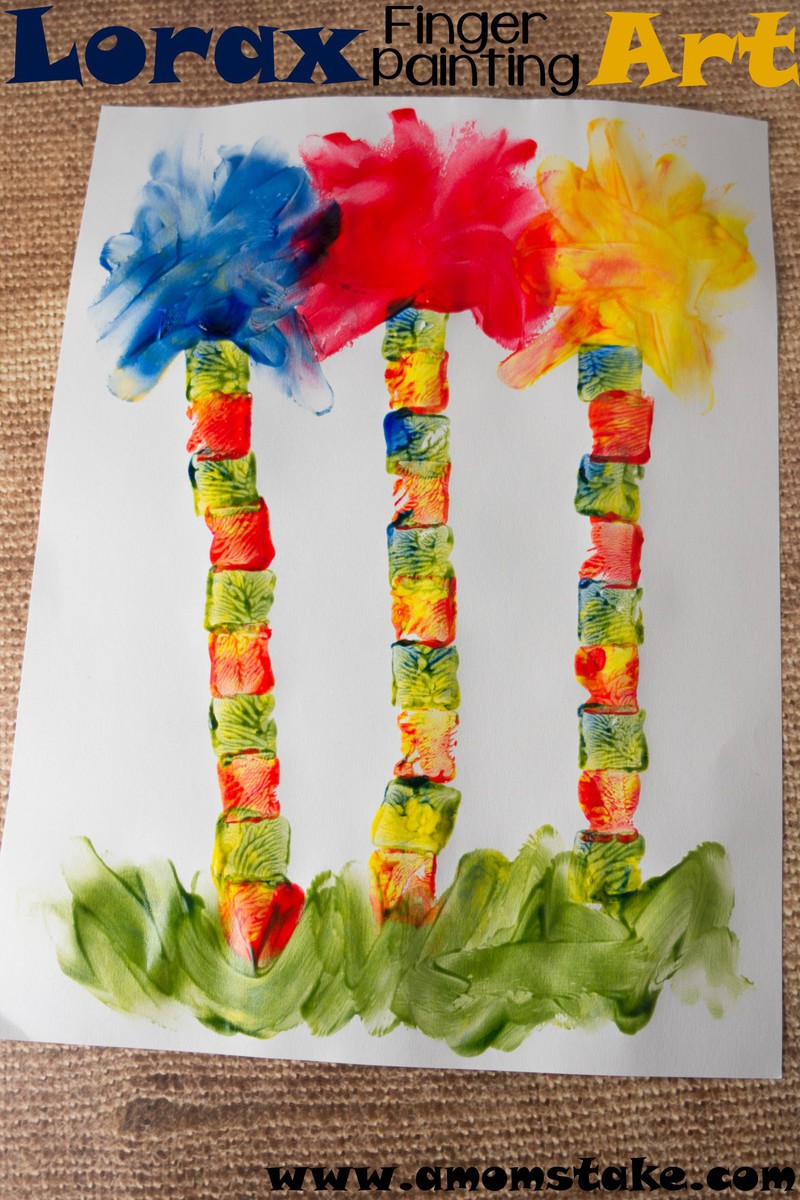
When the movie The Lorax came out my family fell in love with the story, and catchy music, of a town that lived without trees. It’s a cute story that teaches why we should value the trees in our beautiful world that we have before us. Learning from the Lorax becomes fun for kids and adults alike when you pull out some paint and create your own colorful Lorax inspired trees. Be prepared to get your fingers messy and have fun together, that’s the best way to learn!

Supplies:
- Red, blue, and yellow paint
- Small block (about the size of a dice)
- Cardstock or construction paper
Directions:
To recreate these Lorax trees, you’ll start with a small block, about the size of a dice. A dice might work if you have nothing else, or make a square shaped stamp out of a potato.
Add a dab of blue, red and yellow paint onto a disposable plate. Let your child mix the colors between where each of the colors sit so that you still have the pure color but can used fun swirled colors to make your trunk.
Dip your square block into the swirled colors of paint and then stamp the block forming a trunk onto your paper. I did 3 trunks doing all my blue/yellow swirled paint and leaving a space between each stamp and then I went back to do my red/yellow swirled stamps.

When the trunks are complete, use your finger to finger paint a bushy tree top one in each of your three colors. Then, swirl your blue and yellow paint together to make green and finish off your picture with finger painted messy green grass.
When you’re finished painting, sit down together and read The Lorax pointing out all the colorful trees in the book.
